¶ Working with workflow
If the workflow module is used within your organization and you have sufficient rights to the address, document or dossier, you can link a workflow to a registration. When the workflow module is in use, one of the tabs below the drop-down arrow in the Registration screen has the name ‘workflow’. If your organization does not use a workflow module, this tab is called Activities.
Depending on your rights, you can perform one or more of the following actions:
- Link predefined workflows to the item;
- Unlink predefined workflows from the item;
- Add individual actions next to a predefined workflow;
- Add one or more action handlers to a single action;
- Adding individual actions to an item, without workflow;
- Remove individual actions from an item;
- Handling workflow actions;
- Handle workflow actions from the list;
- Make workflow decisions;
- View workflow status;
- Add workflows to your favorites;
- Track records.
Depending on the rights granted per workflow, you will receive information on your screen. Per type of action that must be taken (for example, handling or sending a confirmation of receipt), your application manager can specify in the JOIN - Admin Tool which data you need to carry out the action.
¶ Link workflow
Once you have opened the registration, you can link a predefined workflow to the dossier via the button ‘Link workflow’.
- Select the registration to which you want to link the workflow from the list;
- Then click on the button ‘Link workflow’ in the Registration screen.
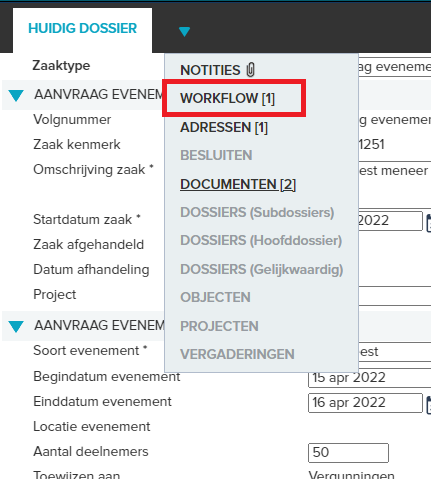
 You can also click on the drop-down arrow next to the ‘current document’ function in the Registration screen (in case you want to link a workflow to a document) and then click on the ‘Workflow’ function and click on the ‘Link workflow’ button
 - The list of available workflows appears;
- Search for the desired workflow via the search field ‘Workflow name’;
- Click once on the workflow that you want to link to the registration;
- The workflow is now activated, and the handlers automatically receive the actions recorded in the workflow.
In a number of cases it is possible to start multiple workflows on one registration. The condition to be able to do this is that starting the next workflow does not cause any conflict with previous workflows. For example, a workflow “call back” can be started several times on a file registration.
It is not always necessary to manually link a workflow. Usually your application manager will have configured a workflow to be started automatically when creating a registration.
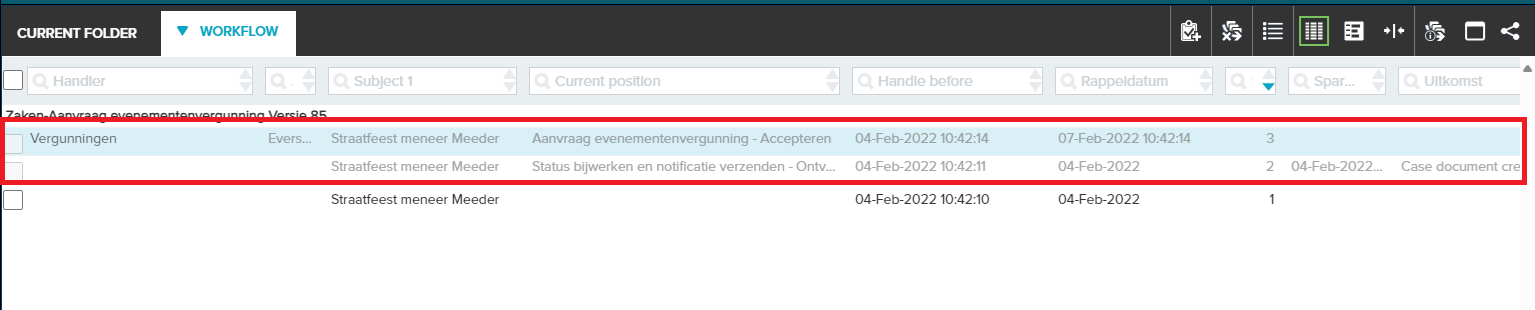
If you have linked a workflow to a registration, you will see when you have selected the registration in the List on the right-hand side in the Registration screen that a workflow is active and who has been assigned an action. You can also see which actions should be performed.
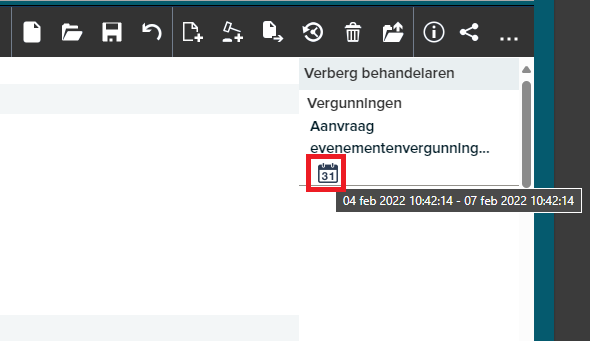
When you hover the mouse over the calendar icon, you will see the date when the action was created on the left and when the action should be completed on the right. If you work with user roles, you will see the names of all persons within the relevant role.
¶ Unlinking a workflow
If the handling of an item no longer has to run according to a workflow, it can be disconnected. This can only be done by the application manager, or by a user who has been granted the ‘Delete activities’ right.
If you have selected the function Workflow under the drop-down arrow, you will see the button Unlink Workflow(s) in the toolbar. Click on this and you can now check the workflow you want to unlink. Click on the button ‘Unlink’ (the check mark) and all activities already completed will be archived. You can therefore continue to see them, although they cannot be changed, and the activities cannot be continued. All actions that are still active are removed.
¶ Restoring a workflow
If you have delete rights to the activity it is possible to restore an activity that has already been completed from the workflow tab. You do this by changing the status of the activity back from “completed” to “active”. This is only possible with an activity with a handler. You will receive a warning that you can confirm. The activities that follow this action will be deleted, but will remain visible (grayed out).
¶ Create individual activities
If you do not want to process an item according to an existing workflow, but want to add individual actions yourself, select the Workflow tab in the Registration screen. You can only manually add actions if you have the right to ‘Create new activities’.
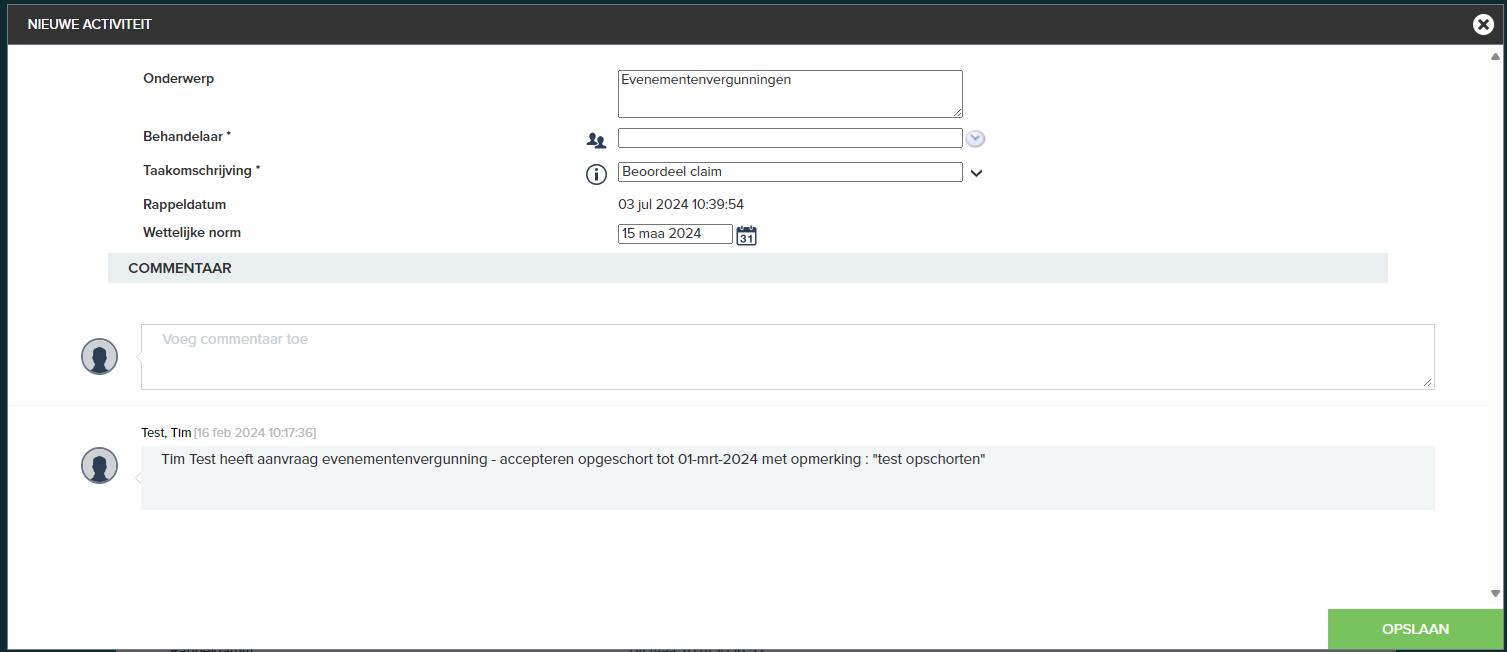
- Click under the drop-down arrow on the ‘Workflow’ tab and then on the button “new activity”;
- An empty workflow is associated with the item containing one manual action;
- You will immediately see the Registration screen of this action;
- Indicate which action must be taken. You can select an action by clicking the drop-down arrow;
- Now indicate who should perform the action by selecting the relevant person or user role under the drop-down arrow;
- Click on Save. The action has now been assigned to the user and is in his Worklist.
You can add multiple activities. In addition, you can also add individual activities if a workflow is already linked to the item.
¶ Add activities from the work list
You can also add activities as a user from the work list. In the action screen, click on the + icon and follow the same steps as explained above.

¶ Deleting single activities
If you want to delete a single action for an item, select the ‘Workflow’ function under the drop-down arrow in the Registration screen. Then click on the button ‘Delete’. You must have the right ‘Delete activities’ for this.
¶ Multiple action holders per activity
If you want to have a single action treated by several people, you can add multiple handlers to an action. You can do this in the ‘Workflow’ function under the drop-down arrow in the Registration screen.
When you have added a new action, you can assign multiple practitioners to this action by clicking on the icon behind the ‘task handler’ function. By then selecting the handlers and clicking the button ‘link handlers’ you link several handlers to the same activity.
For existing actions, you must first select the appropriate action. Then, just like with a new action, you have to click on the icon behind the function ‘task handlers’, select the handlers and click on ‘link handlers’ to add handlers to the action.
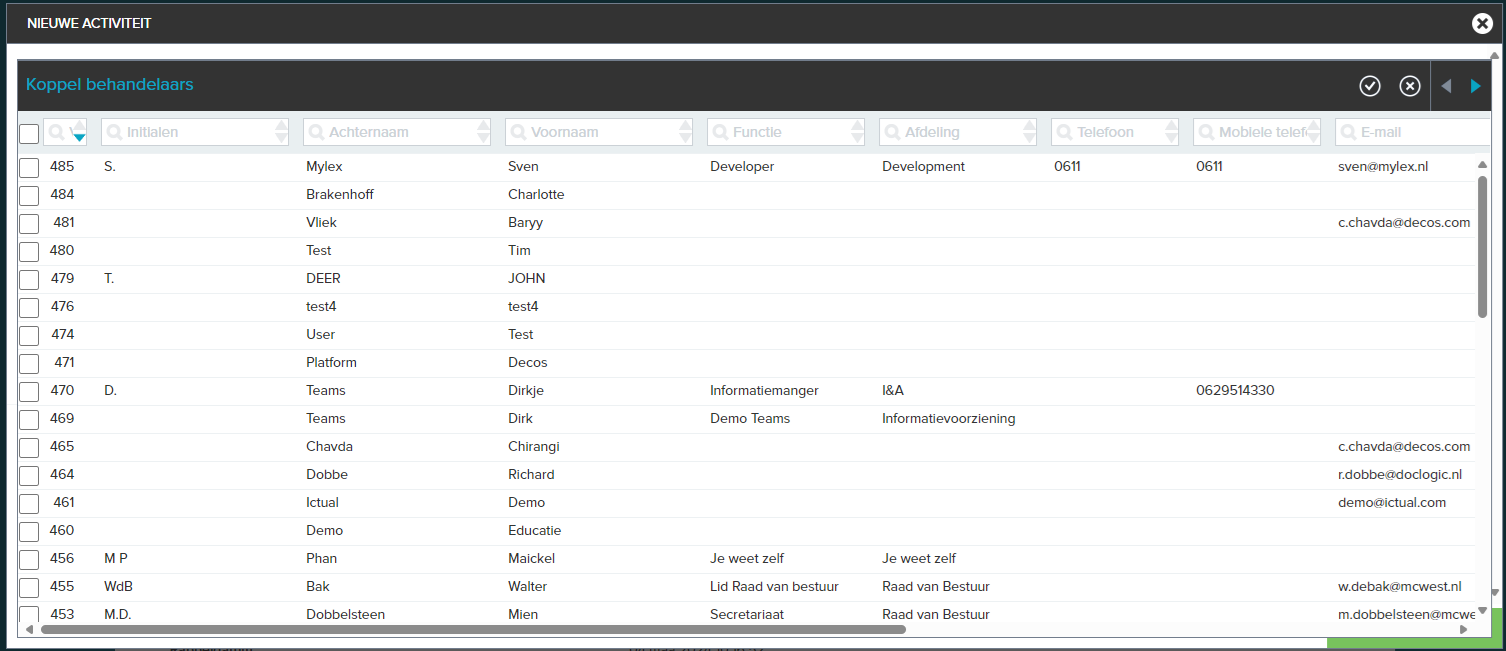
The action is added to the work queue for each associated handler.
¶ Handling workflow actions
There are three ways to handle a workflow action:
- From the function ‘Work list’. In the chapter Work stock (not yet the new version) you will find an explanation of the working method;
- From the Input screen;
- From List View.
¶ From the Entry screen
Workflow activities can be handled from the function ‘Workflow’ which you can find under the drop-down arrow in the Registration screen of the relevant registration to which this workflow is linked. Within the Workflow function you click on the relevant action and then on the button ‘Input screen’. Via the drop-down arrow behind the function ‘Task progress’ you change the status of the action from ‘Active’ to ‘Completed’ and press ‘Save’.
The end date of the promotion is automatically entered for you. The action is now completed.
¶ From List View
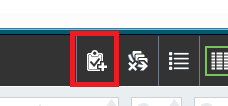
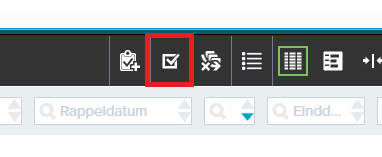
In addition to being able to handle workflow actions by means of the button ‘Input screen’, it is also possible by using the List view of actions. This way of handling can come in handy if you want to handle a number of actions at the same time. In the Workflow function of the registration to which the workflow is linked, select the list view. Then select the activities to be handled by ticking the box in front of the activities.
Then press the button ‘Handle’.  The activities you have selected will now be handled and the end date of these actions will be automatically entered for you. When the list is then displayed again, you will see that the activities have been completed.
This option to handle more actions simultaneously cannot be used if decisions have to be made in the workflow. A conscious choice must then be made for one of the options.
¶ View workflow status
You can view the status of the workflow. You select the registration to which the workflow is linked. Then choose the Workflow function in the Registration screen. By first clicking on Input screen in the toolbar and then on the button ‘Show extended workflow information’, you will get detailed information on your screen.
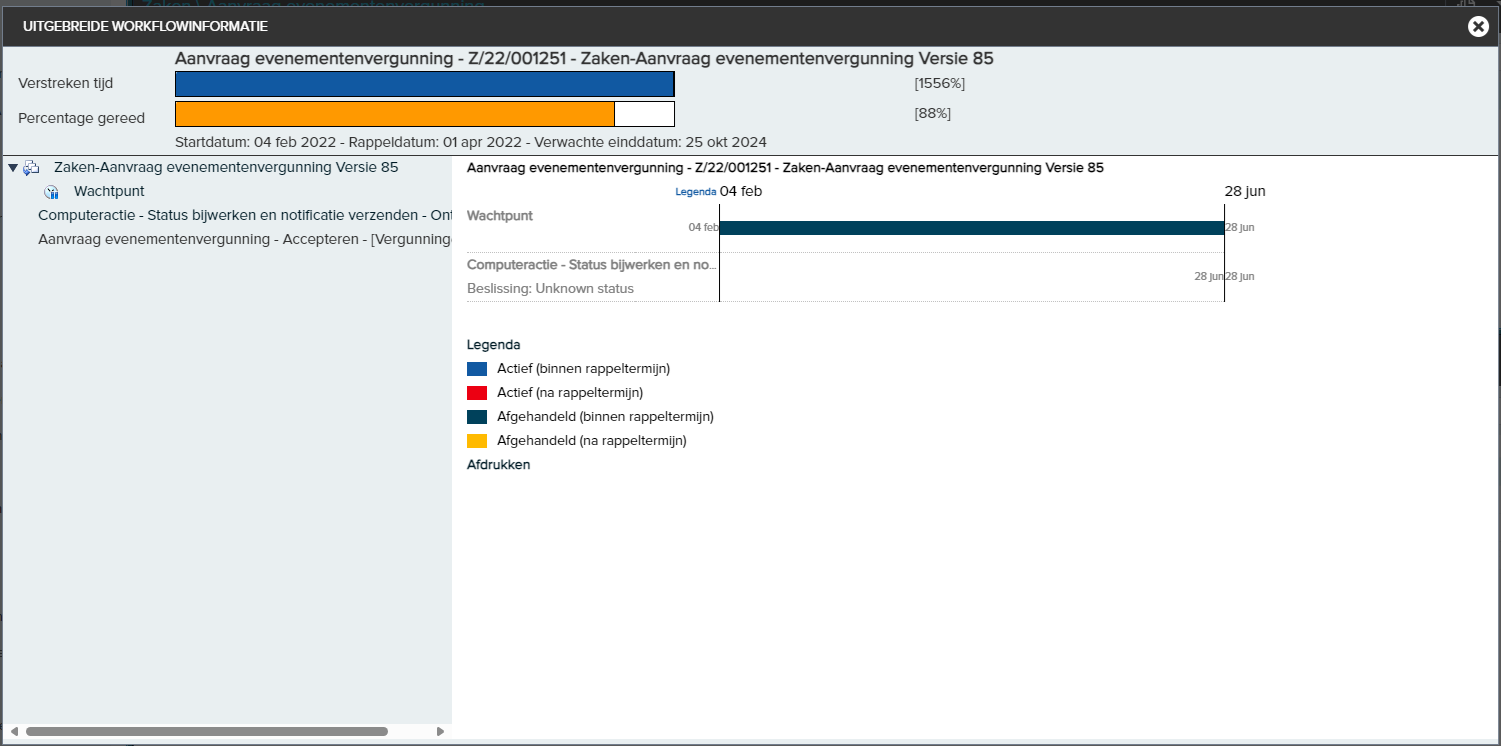
This way you can see which workflow is active, what the expected end date is (this is based on the reminder period set by the administrator) and what the progress of the workflow is.
In the left part of the screen you can see which steps there are in the workflow. The right section contains information about the step selected on the left. If a document has been created as an action during the workflow, this will be stated in this screen.
You can also view your workflow status by clicking on the button ‘List’ and then on ‘Show extended workflow information’. Even then the screen is divided into a left and right part. On the left you can see the different steps in the workflow. If you select one of the steps by clicking on it, the date on which it started is displayed on the right.
In addition, a horizontal bar is visible in the right-hand section that shows how long this step was (or is) active. Once a step has been completed, the settlement date is displayed behind the horizontal bar.
The horizontal bar can be displayed in different colors. The meaning of the colors used is:
- Blue: Active (within the recall period)
- Red: Active (after expiry of the reminder period)
- Green: Completed (within the reminder period)
- Yellow: Completed (after expiry of the reminder period)