¶ Dossiers
You can place documents related to a project or case in a dossier (or case). This makes it easier to work on a project basis, to save in a structured way and to archive your documents. These dossiers in JOIN can not only be dossiers of electronic files, but also a collection of metadata of your physical archive.
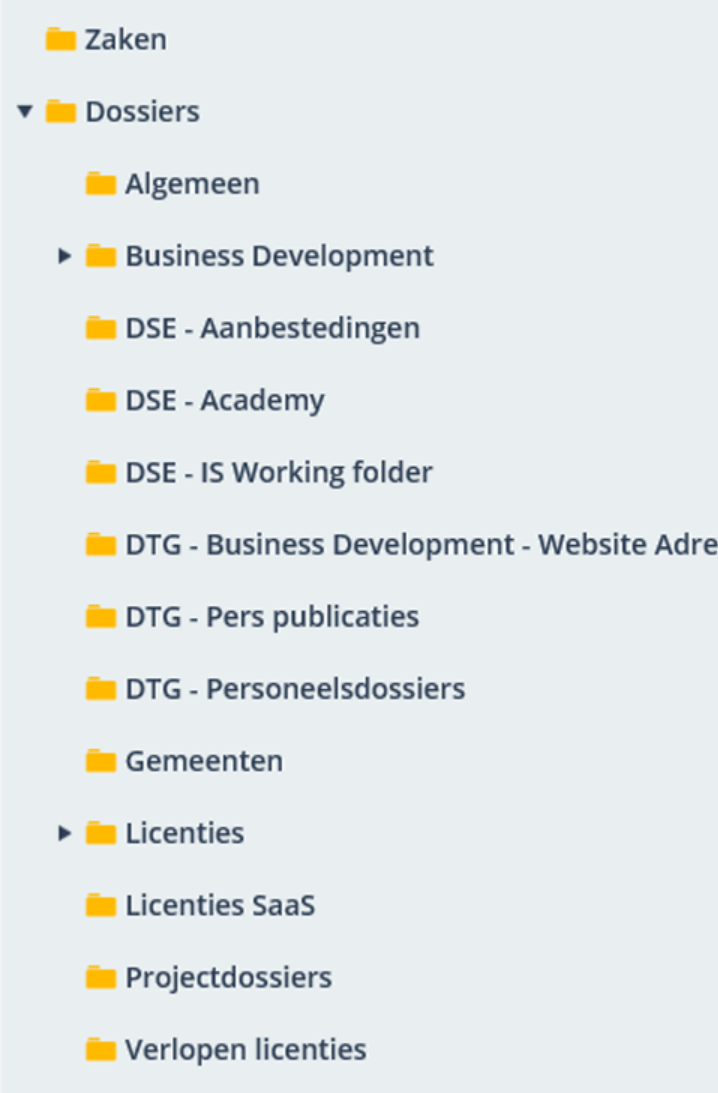
¶ Creating a dossier
A dossier collection contains a number of dossiers. For every dossier you create, you can register data, add notes, link addresses and contacts, assign actions and link documents.
A dossier is created as follows:
- In the Menu, open the Registrations -> Dossiers panel and then select the desired Dossier collection;
- The contents of the book are displayed in the List;
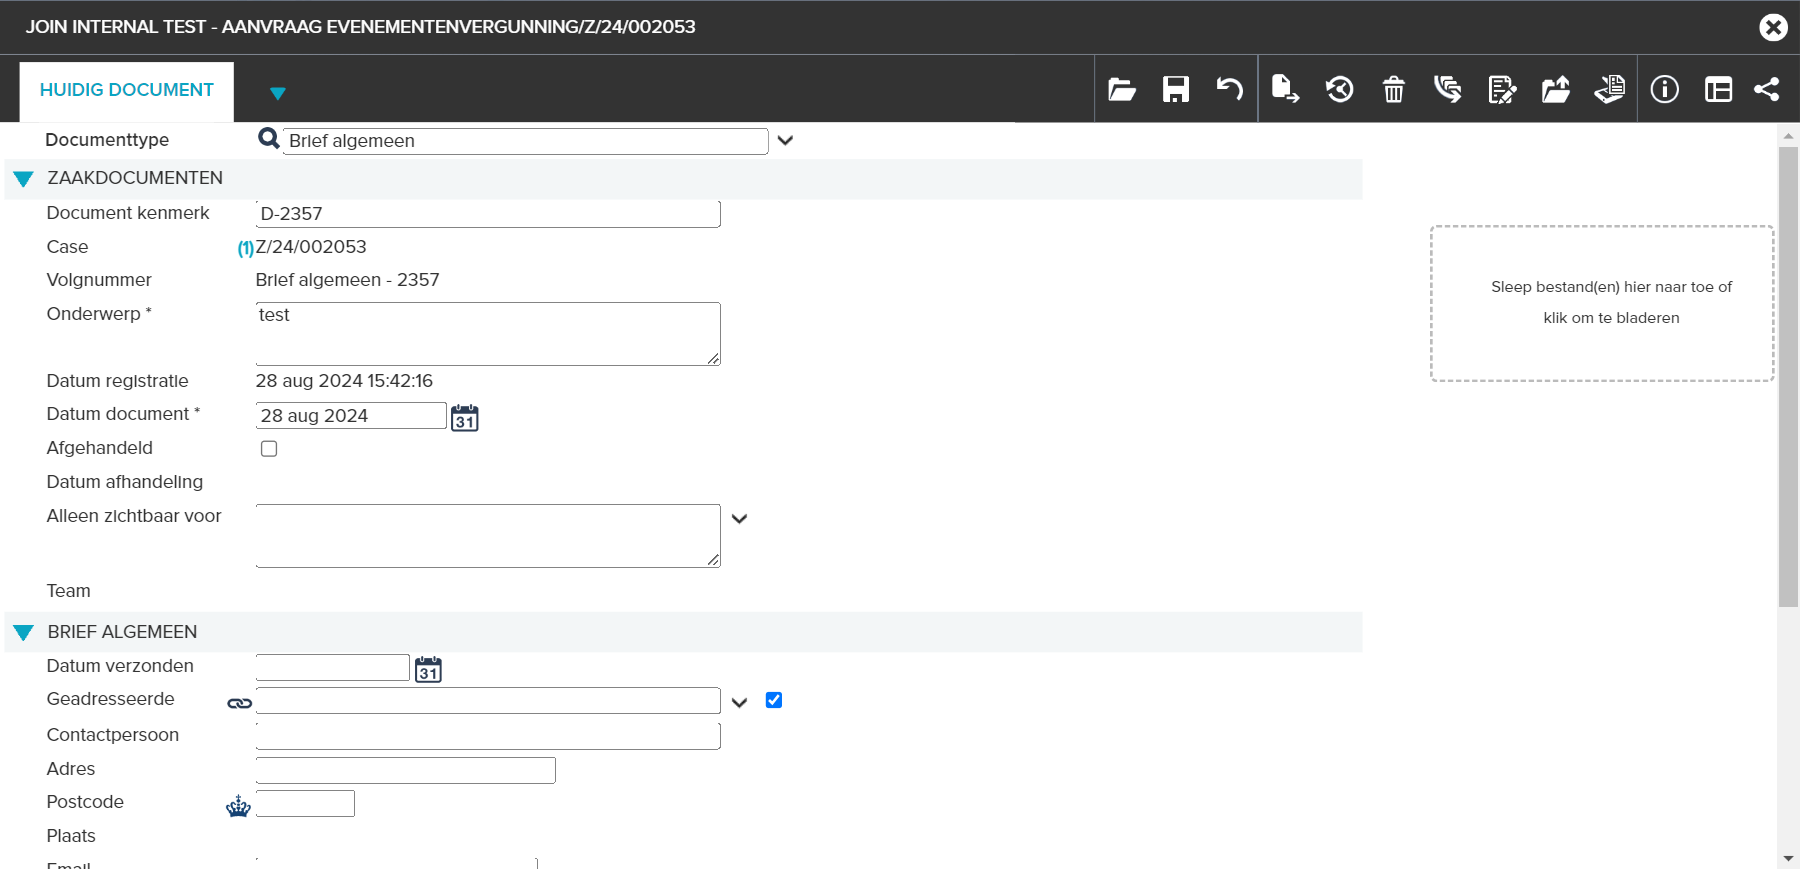
- Make sure you are working in the Current Dossier tab and click New;
- Enter the desired information;
- After entering the data, click on Save;
- The new dossier has been created.
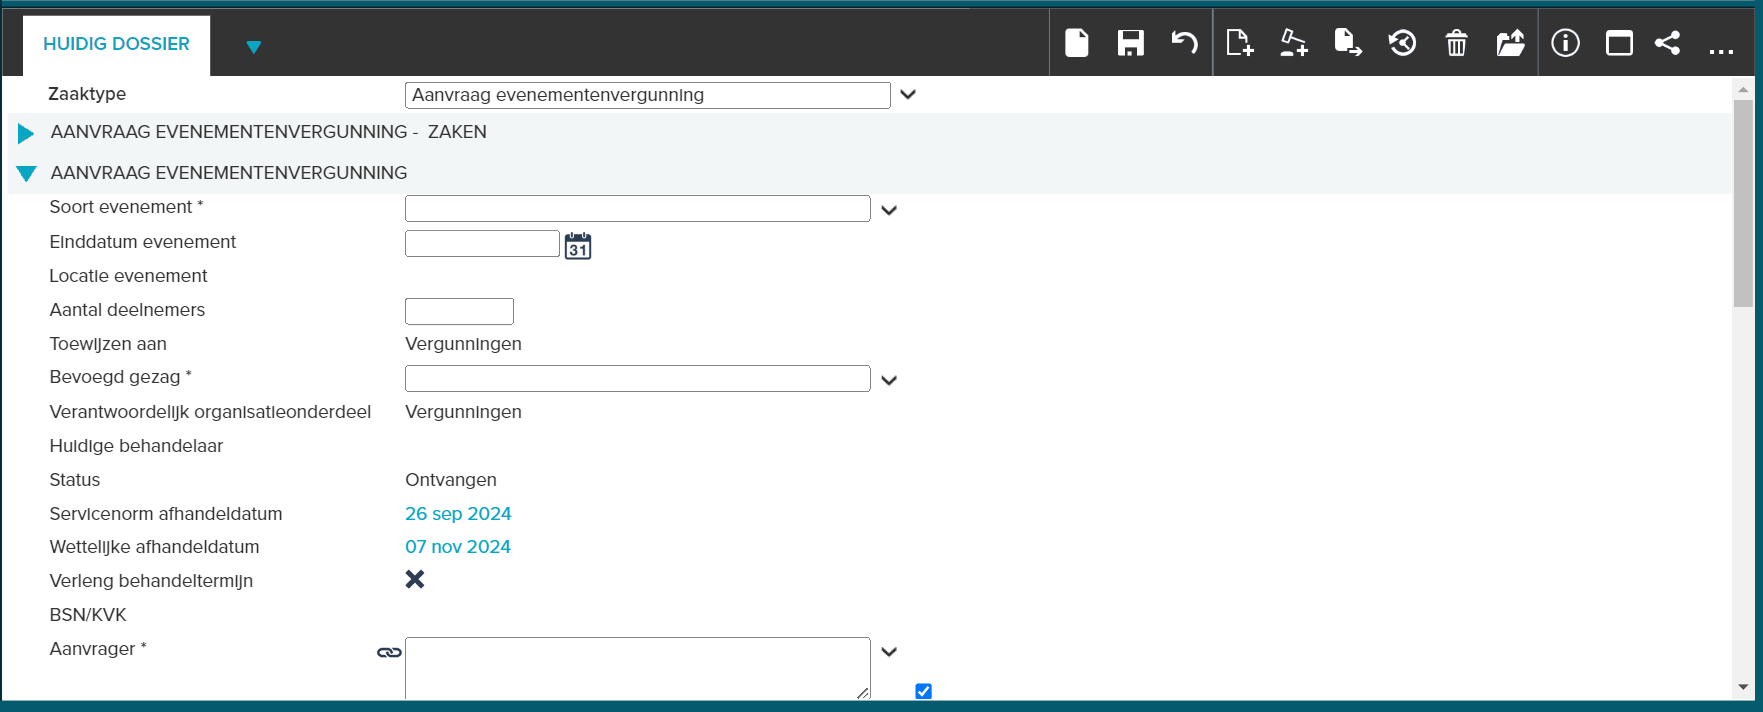
To simplify the registration of dossiers, your application manager can have fields pre-filled with formulas. Ask your administrator or Decos what the options are.
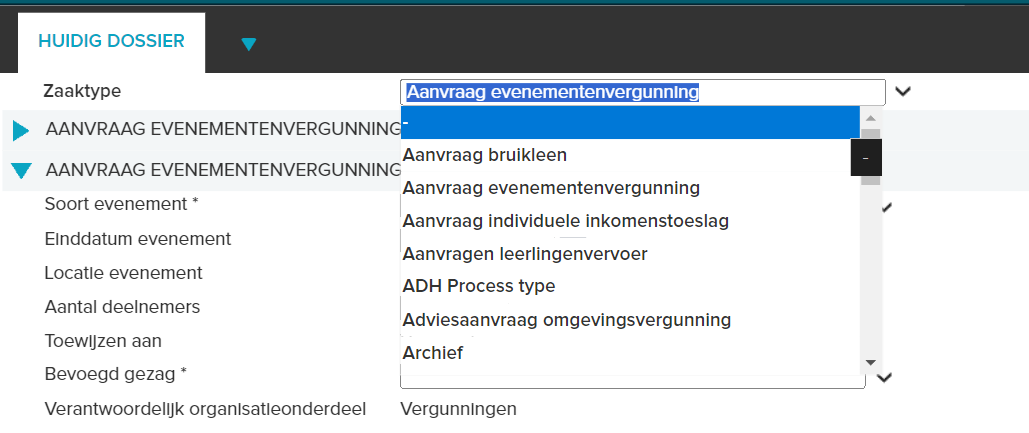
If you work with cases, the only difference is that you choose one of the case types when registering. With the search function “find a sub-level” you can select the correct case type.
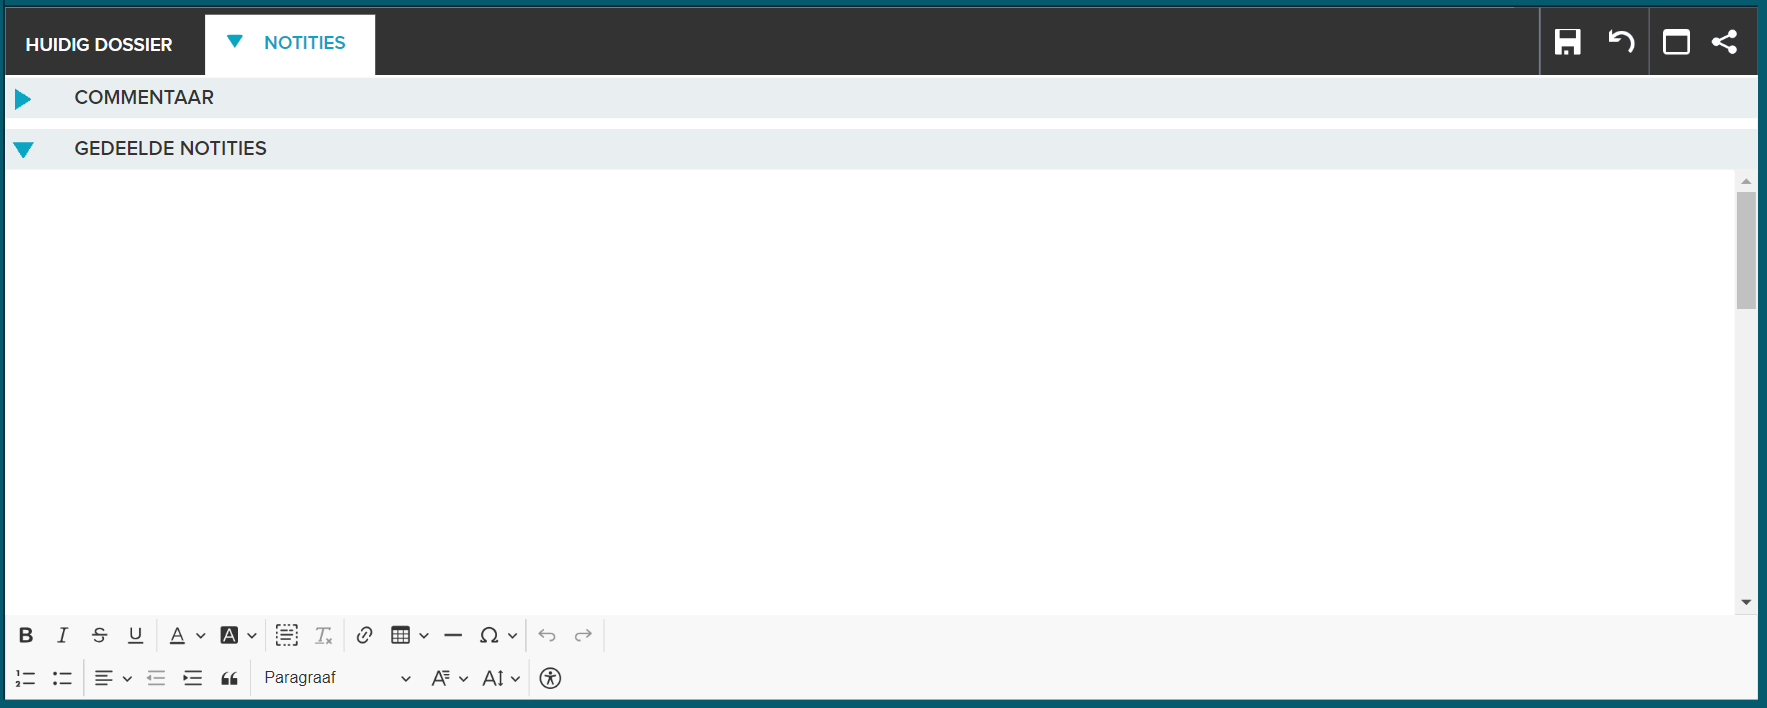
¶ Add additional content/notes
Notes or information belonging to a dossier but for which no field has been created can be entered on the Extended Content/notes tab.
- In the Menu, open the Registrations -> Dossiers pane and then select the desired Dossier book;
- Select the correct dossier in the List;
- Select the Extended Content.notes tab;
- Add the desired information in the text field;
- Add formatting if necessary;
- Click Save to save the information.
After you have saved the information, a paper clip will appear on the tab to indicate that the tab contains data and is therefore in use. If another user selects the file, he will see from the paperclip that there is additional information in the Extended Content/notes field.
¶ Linking an address
Linking an address to a dossier is done as follows:
- In the Menu, open the Registrations -> Dossiers panel and then select the desired Dossier book;
- Select the correct dossier in the List;
- In the Registration screen, go to the Addresses tab and click Link. You can also click the Link address button in the Registration screen;
- The existing address books appear on the left of the Registration screen;
- Open the correct book and select the desired address via the filter bar by placing a check mark in front of it;
- Click on Link and the link with the address is now a fact.
To unlink an address, click Unlink in the Registration screen under the Addresses tab. Check the addresses and then click Unlink.
After you have linked an address, a paper clip appears on the tab to indicate that the tab contains data and is therefore in use.
It is also possible to link contacts to a dossier. After you have linked an address, you will see a drop-down list in the Contact field on the Registration screen with which the person can be selected.
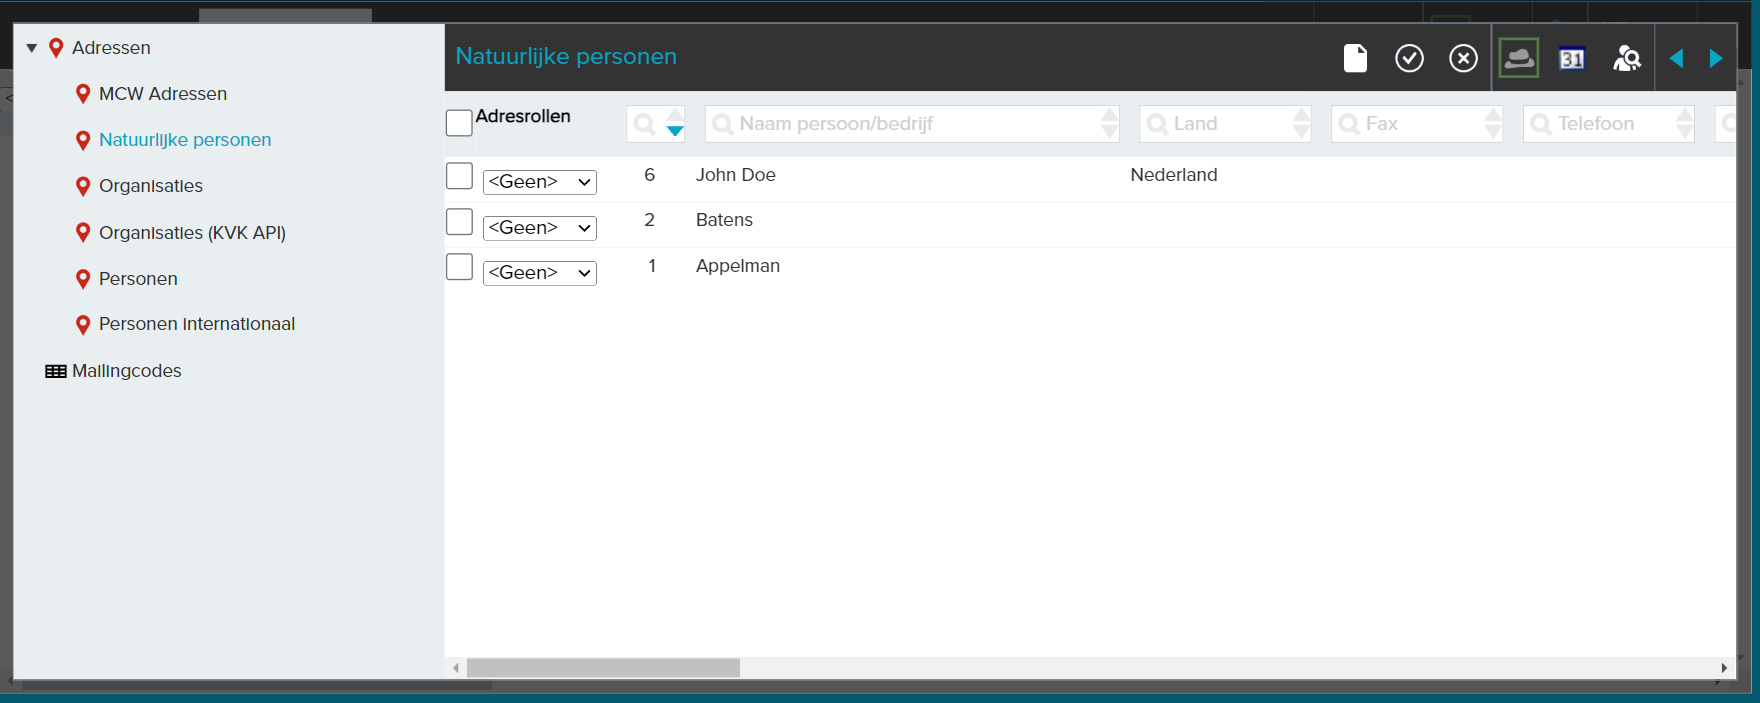
Optionally, you can indicate at dossier level what the role of a company or organization is in relation to the dossier. For example, for file A, a law firm may be the person submitting a request, while the same office may, for another dossier, submit an objection. For correct communication with this organization it is important to know what the role is with regard to the dossier. You can also indicate for which period a role applies. In the toolbar of the Addresses tab Click on the button ![]() Show Address Roles. A new Address Roles field appears in front of the names of the already linked addresses.
Show Address Roles. A new Address Roles field appears in front of the names of the already linked addresses.
In the first field Roles, the correct value can be selected via a drop-down. If you also want to indicate a period for which this role applies, click on the date button in the toolbar. For each linked address, you will receive a field in which a start date can be entered and a field in which an end date can be entered. By clicking on Save in the toolbar, you save the address roles.
If you have not selected any dates, the linked addresses will have the same address role for the entire duration of the dossier.

If you do not want to display all linked address roles, you can select the role you want to see in the toolbar. Select the role you want to see using the drop-down arrow behind <all>; the other roles are then temporarily hidden. If you want to make all persons visible again, select <all>.
If you do not want to display all linked address roles in the toolbar, you can select the role you want to see in the toolbar. Select the role you want to see using the drop-down arrow behind <all>; the other roles are then temporarily hidden. If you want to make all persons visible again, select <all> .
If you choose the Hide roles option ![]() in the toolbar, the Address roles, start date, and End date fields are hidden.
in the toolbar, the Address roles, start date, and End date fields are hidden.
¶ Actions and workflows
You can manually assign actions to one or more handler from a dossier registration. You can also manually link a workflow to a dossier. You do need rights for this, these can be set by the application manager via the JOIN - Admin Tool.
- In the Menu, open the Registrations -> Cases panel and then select the desired case collection.
- Select the correct dossier in the List;
- In the Registration screen, go to the Workflow tab. If your organization does not use a workflow module, go to the Activities tab;
- Click on New;
- Choose the action and the practitioner from the table;
- Finally, click on Save;
- You can also manually link a predefined workflow. Click the Link workflow button in the toolbar;
- In the list that appears, click on the workflow of your choice;
The newly created action will automatically be placed in the Worklist of the relevant handler.
Note: in the Workflow chapter you will find a detailed explanation of working with workflow.
¶ Documents and records
JOIN offers you the option of linking document registrations to a dossier.
-
In the Menu, open the Registrations -> Dossiers panel and select the desired Dossier book;
-
Then select the correct dossier in the List;
-
In the Registration screen, go to the Documents tab and click Link;
-
The existing document books appear on the left of the Registration screen;
-
Open the correct book and tick the relevant document registration;
-
Click on Link.
After you have saved the data, a paper clip will appear on the tab to indicate that the tab contains data and is therefore in use.
To unlink a document registration, click Unlink in the toolbar of the Documents tab. Check the document registrations you want to unlink and then click Unlink.
You can also create a new document registration from the Documents tab. To do this, click on the New button. From the list of document books that appears in the Registration screen, select the document book in which you want to place a new document registration. In the Registration screen you can now enter the data for the new document registration. The link with the file from which you are working is therefore immediately made.
If there are files linked to the document registrations, you can open them directly from the Registration screen of the dossier (Current dossier tab). To do this, click the Open file button. In the screen that appears you will get an overview of the linked document registrations with the associated files:
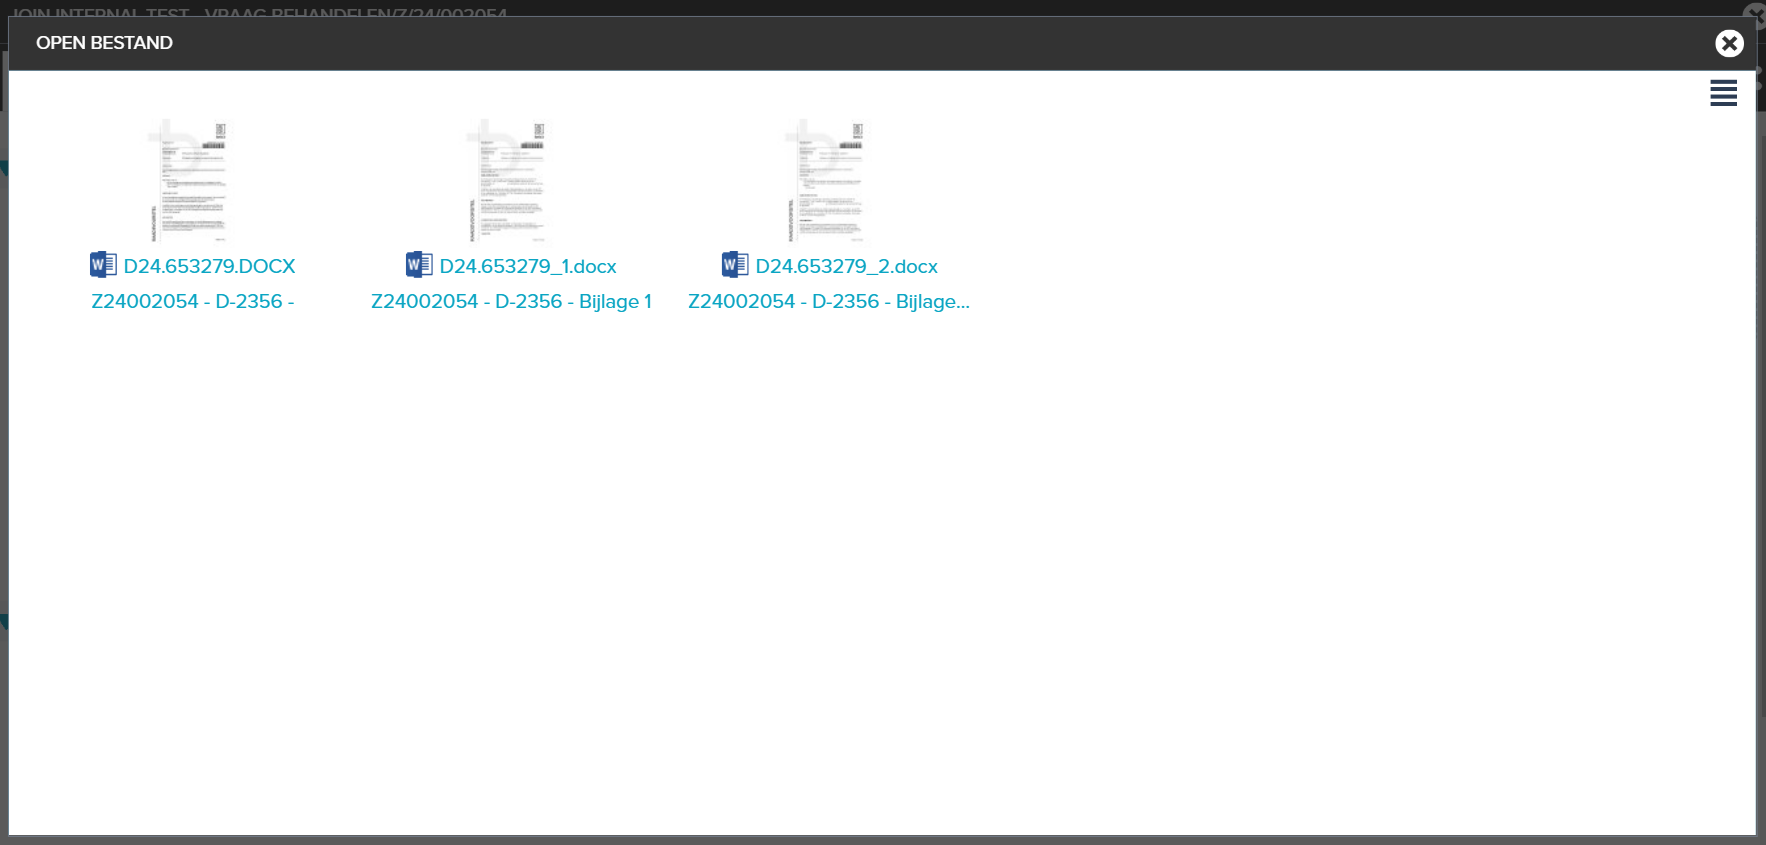
By clicking on the desired name, the file associated with the relevant registration will be opened. However, if you want to see the registration information of the linked file first, then first click the ![]() button behind a file name.
button behind a file name.
If you want to stay informed about all documents that are linked to a dossier, click RSS feed in the toolbar of the Documents tab. In the screen that appears, there is a URL that you copy. Then paste it in the RSS feed of the Decos portal or in another RSS reader such as MS Outlook. You will then be notified as soon as the registration is changed.
¶ Add file from a registration template
It may be desirable to add a file to a dossier. By using a registration template, there is no need to select a document book in which a file is registered, but a document registration is automatically created based on a template.
- In the Menu, open the Registrations -> Dossiers panel and select the desired Dossier book;
- Then select the correct dossier in the List;
- In the Registration screen, go to the Documents tab and click
 New file from a registration template;
 - The file that is created is based on the registration template selected by your application manager;
- Complete the file with the correct information;
- Click on the cross at the top right and choose Save file.
The result is a new document registration, a new file that is linked to this registration and the new document registration is linked to the dossier.
¶ Deleting a dossier
A dossier can be deleted by clicking the Delete button in the toolbar of the Registration screen. The dossier registration including all links will then be deleted.
It may be desirable to delete not only the dossier registration with the links, but also the registration of the linked documents. For example, if the retention period of a dossier has expired, you want to destroy the dossier including all linked document records. This right is set by the application manager in the JOIN - Admin Tool.
Deleting a dossier with content is bound by a few rules:
- The relevant documents may not be linked to another dossier.
- You must have the right to delete the linked documents.
If you delete the file, you will see a screen stating how many documents will and will not be deleted.
¶ Set rights per dossier
You can set rights per individual dossier, regardless of the access rights set on the dossier book in which the dossier is located.
The JOIN - Admin Tool indicates per user whether this user may assign registrations to others. A user for whom this right has been activated will see an extra field under each registration. In this field you can select the users or user groups that are allowed to view the dossier from the drop-down list.
¶ Set tabs
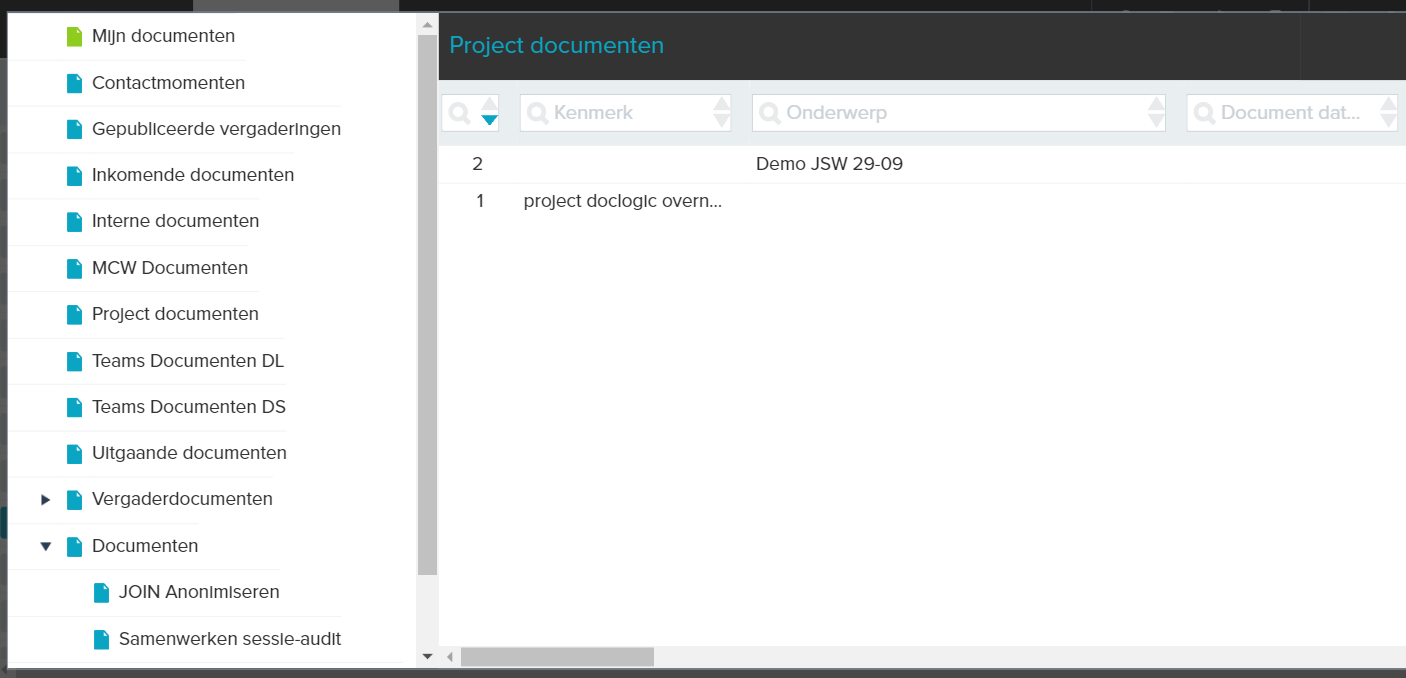
If you link many documents to a dossier, it can be useful to work with tabs within dossiers. With this you organize the document registrations within a dossier.
In the example below, a dossier is divided into tabs: Reporting sick - Leave - Reports of assessment interviews.
¶ Adding, editing and deleting tabs
¶ Adding tabs
-
Open a dossier book in the Menu via the Registrations -> Files panel;
-
Then select a dossier from the List;
-
In the Registration screen, go to the Documents tab and make sure that several documents are already linked;
-
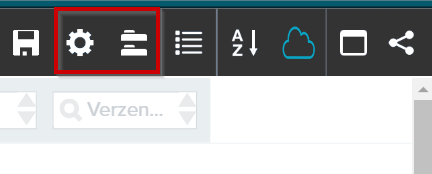
Click the Tool button in the toolbar of the Registration screen. A new screen will appear;
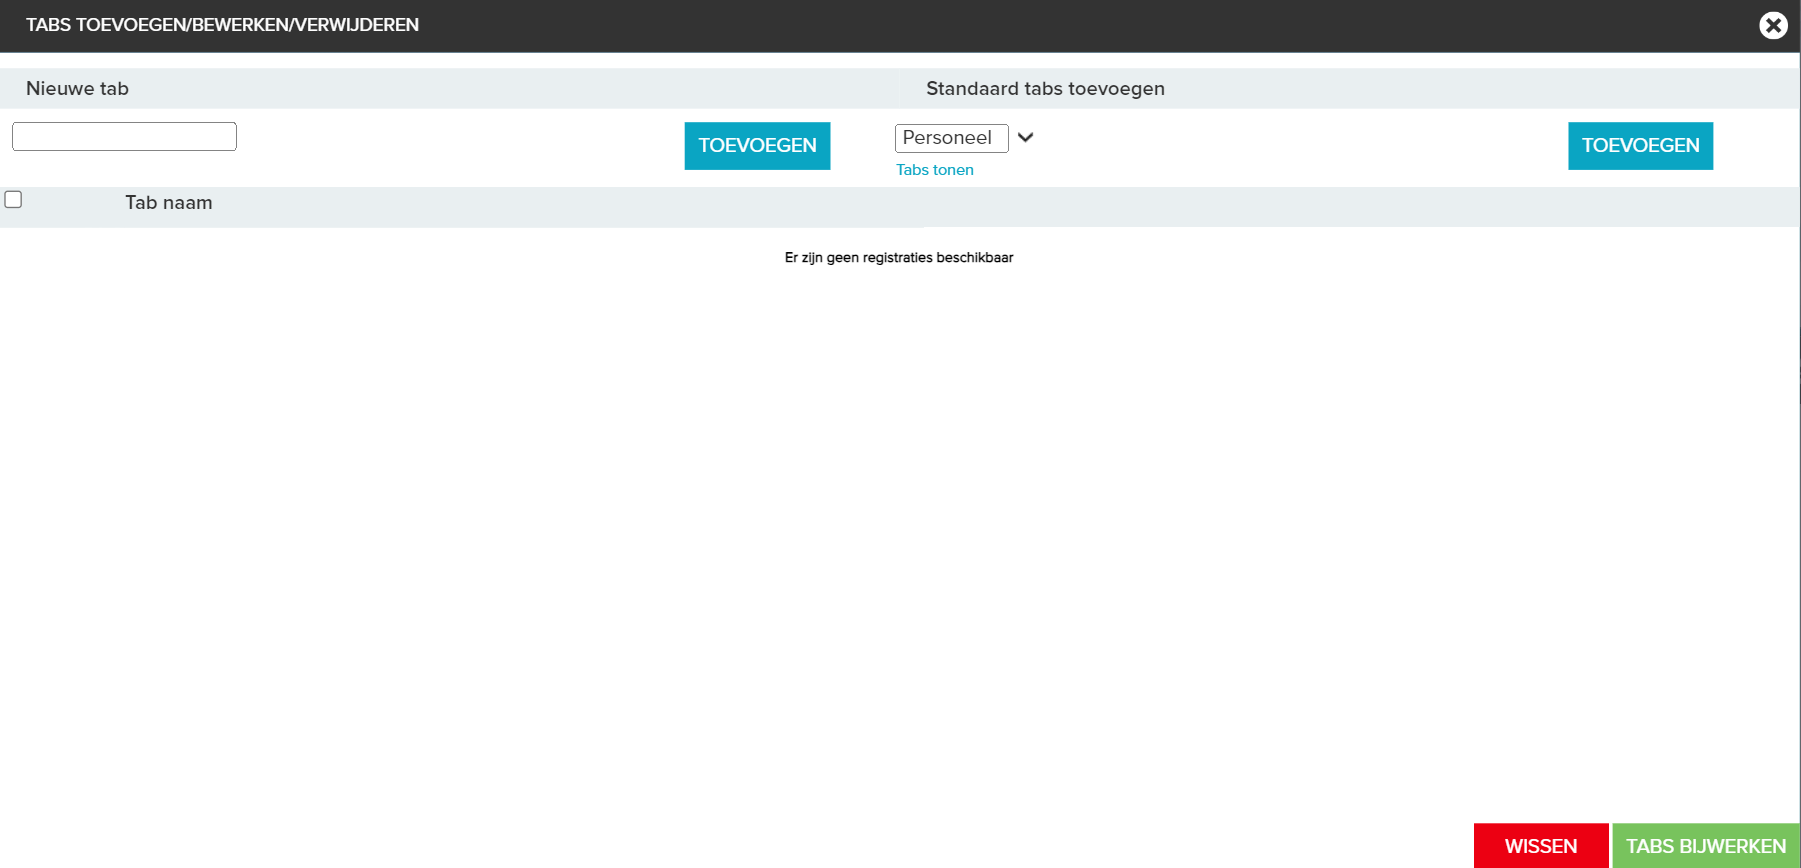
-
Enter the desired name in the New tab field and then click Add. A list of available tabs will appear at the bottom of the screen;
-
Once you have completed all the tabs, click Close.
¶ Updating tabs
- Enter a New name in the field behind the relevant tab;
- Click the Update Tab button for the change to take effect.
¶ Removing tabs
- To remove tabs, click the Tool button in the toolbar of the Registration screen;
- Check the tab(s) you want to delete and click Delete;
- The selected tabs have been removed
¶ Standard tabs
Within a dossier book, the same tabs are regularly added to dossiers. To streamline this process, there is the option of creating standard dossier tabs. These consist of one or more tabs of your choice. By selecting a standard tab, all these tabs are linked to the dossier. You can structure your dossiers using standard tabs.
The creation of standard dossier tabs is done in the Administration panel via System -> Standard dossier tabs.
¶ Link with standard tabs
- Via the Menu, open the Registrations -> Dossiers panel and select the desired dossier book;
- Then select the dossier in the List;
- Go to the Documents tab;
- Click the Tool button in the toolbar of the Registration screen. A new screen will appear;
- You can select the desired tab using the drop-down arrow behind the Add standard tabs field. In our example, this is Personnel Dossiers. If desired, you can view the descriptions of the various tabs by clicking on the Show tabs link;
- By clicking the Add button you link the structure of the standard tabs to the dossier. On the Documents tab you can see the added tabs via the drop-down arrow on the right side of the screen.
¶ Organizing documents into tabs
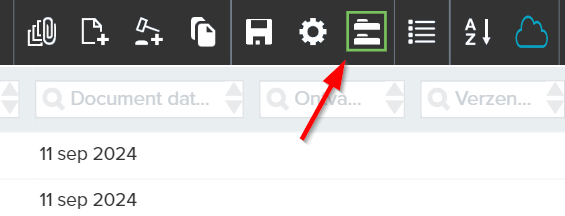
As soon as documents have been linked to a dossier, you will see the button in the Registration screen under the Documents tab to show or hide the tabs.
By clicking this button, a Tabs column is added to the registration screen (see screen above). You can select the desired tab using the drop-down arrows. By clicking on Save in the toolbar, the selected tabs are linked to the relevant documents. In this way you can create a layout of all linked documents.
¶ Linking a document to a dossier and tab
You can link multiple documents to a dossier and place them directly under the appropriate tab.
- In the Registration screen, select the Documents tab;
- Select the desired tab in the drop-down list in the toolbar, for example Employee Leaves. You will now only see the documents that are linked to the Employee Leaves tab;
- Now click on Link and select one or more documents that you want to link to dossier and tab;
- Click on Link and the documents are linked in the file to the Employee Leaves tab.
¶ Viewing the content of a tab
To get an overview of the documents linked to a particular tab, select the desired tab from the drop-down list at the top right of the Registration screen.
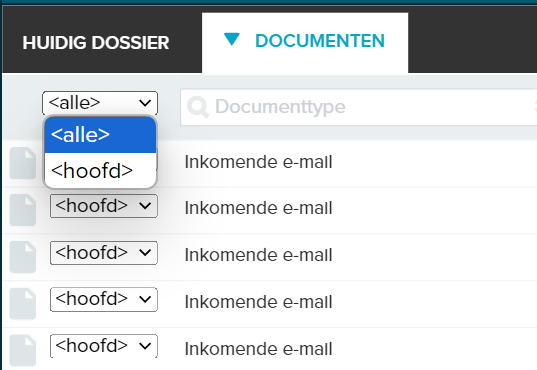
The Registration screen will then only show those documents that are linked to the relevant tab. With the option <all> you get a complete overview of all documents linked to the dossier. With the option <main> you get an overview of documents from this dossier that are not linked to a tab.
¶ Check out - Check in (work dossier)
This functionality offers the possibility to edit a dossier registration without another user being able to make changes in the meantime. This can be useful when modifying a linked document whose content should not be available to other users until it is completely finished.
It is not possible for other users to edit checked out documents or dossiers. It is also not possible to link dossiers or documents to documents or dossiers that have been checked out.
The check out - check in functionality is a user right that is granted by the application manager. A user who is granted this right has two additional folders in the Worklist, namely work documents and work dossiers.
All checked-out document registrations are placed in the Work documents folder, all checked-out dossiers are placed in the Work dossiers folder. In this case, changing document registrations linked to dossiers with possibly linked Word documents takes place from the Work dossiers folder.
- In the Menu, open the Registrations -> Files pane and select the desired Dossier book;
- Select the correct dossier in the List;
- In the toolbar of the Registration screen, select the option Check out;
- Under the toolbar of the Registration screen, the message now appears: You have checked out this dossier, it cannot be changed by others;
- Other JOIN users see the message: You cannot change this dossier, it has been checked out by [employee name];
- After editing the dossier, select the Check In option in the toolbar of the Registration screen. The dossier is now once available to other users.
¶ Linking a Thesaurus term
With a thesaurus, structure can be introduced within documents and dossiers. By using a thesaurus, you can find all relevant documents on a particular subject or on a particular classification code.
Whether or not you may (un)link thesaurus terms depends on the rights that the application manager has granted you.
- In the Registration screen, go to the Thesaurus tab and click Link;
- You can search systematically for thesaurus terms by using the [+] buttons to make parts of the tree structure visible on the left until you have the desired term in view;
- Click on the term you want to link;
- This is put in the list on the right;
- If you don’t know exactly where the term to be used is located in the thesaurus, search for text by entering one or more keywords in the search field above the list;
- Click on the term you want to link;
- After you have chosen all the desired terms, click on Link. The chosen thesaurus terms have now been added to the current dossier.
¶ Preferred Terms and Non Preferred Terms
To prevent employees from assigning different terms for the same concepts or using a different spelling, we work with preferred terms and non-preferred terms. If a term is not preferred, you will see this in the addition use after the term. For example, if you search for the word Nurseries, the thesaurus will state: Nurseries (use Daycare centers). If you select the non-preferred term Nurseries and then click on Link, the term Daycare centers is automatically used.
The thesaurus is managed in the JOIN - Admin Tool.
¶ Copy of dossier registration
You can make a copy of a dossier registration. This can be convenient if you want to create a new dossier, the data of which largely corresponds to another dossier.
- In the Menu, select the Registrations -> Dossiers pane and choose the desired dossier book;
- Select the dossier you want to copy from the List;
- In the toolbar of the Registration screen, click Copy from;
- A list of existing dossier books will appear on the left side of the Registration screen. Open the correct dossier book and then search for the registration you want to copy;
- By clicking this, the registered data of the selected dossier will be reused for the new dossier to be created;
- If necessary, you can add or change the registered data manually.
Once you have completed the above steps, a paper clip will appear on the Dossiers tab. This means that data is present. When you move your mouse to the Dossiers tab, you will see the following terms below: Sub-dossier, Main dossier and Equivalent.
After the term Main dossier a (1) is shown. Not only does this mean that data is present, but in this specific case it displays the link to the original (main) registration. If desired, you can click on the link to get the original registration directly on your screen.
A paper clip has also become visible on the dossier from which the copy was made. If you move the mouse to this tab, you will see a (1) behind Subdossier. This refers to the copy you just made of the dossier.
If you then make another copy of the same dossier, a (1) will also appear after the term Equivalent for both copies, which indicates the relationship between the two equivalent dossiers.
¶ E-mailing dossier details
To send a dossier by e-mail from JOIN, click on E-mail in the toolbar of the Registration screen. The email screen of the application appears;
- Enter the e-mail address of the addressee;
- You can check the option Send me a copy so that you will also receive a copy of the sent message;
- Fill in the “Add CC” field if you want to send someone else a copy of the email;
- Fill in the field “Add BCC” if you want to send someone an e-mail whose e-mail address should not be visible;
- Fill in the ‘Reply address’ field and any response from the addressee will be sent to this entered e-mail address;
- Under Details, indicate whether you want to send all registration data or just the serial number and description or a shortcut;
- If a document registration including files is linked, you can choose from three ways of sending. Behind Files you can choose not to send, attach or send a shortcut to the dossier. In the latter case, the recipient can open the desired file directly in JOIN via the shortcut;
- If you do not want to send all linked files, you can select your file choice via Select files per document registration;
- If necessary, tick Save the sent e-mail in… (if set by your application manager);
- Finally, click on Send Email to send the email.
Note: for an e-mail to colleagues, you can select the shortcut option. They can then immediately open the registration in JOIN. If you are sending the e-mail to an external address, select Attach. The registration is then sent as an attachment and can be opened from any location.
¶ Printing documents
From the registration screen of the dossier (current dossier tab) you can directly order the linked files to be printed. To do this, click on the printer button. In the screen that appears you can select which files of linked document registrations you want to print. If desired, you can print the metadata of the relevant file. And you can view the metadata of a document record by clicking the arrows behind the text. In this way you can print an entire dossier at once without opening the individual files.