¶ Validation sets
since version 2021.12 of JOIN Case & Document it is possible to use validation sets. With a validation set it is possible to add extra input checks on fields in a form (item profile). The purpose of this is to improve the quality of registrations (as an administrator you can manage even better on the data that users enter) as well as to support users in filling in a registration form.
This page explains how the validation sets can be configured and linked to the correct books in JOIN Case & Document.
To use this function you must have a valid license “VALIDATIONS”. If you do not have a license yet, please contact your Decos Account Manager.
¶ Validation sets
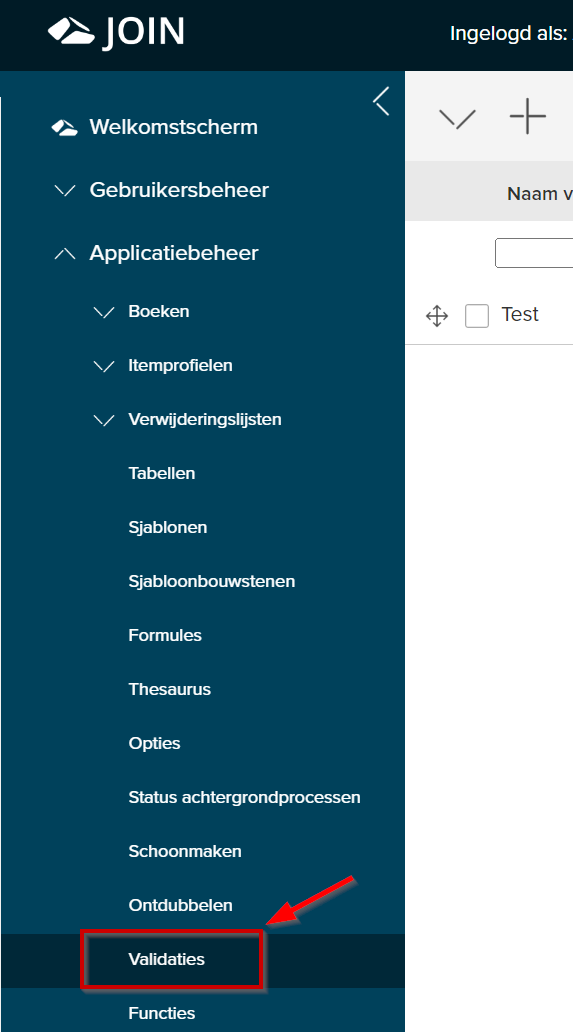
The configuration of the validation sets starts in JOIN Admin at Application management > Validations
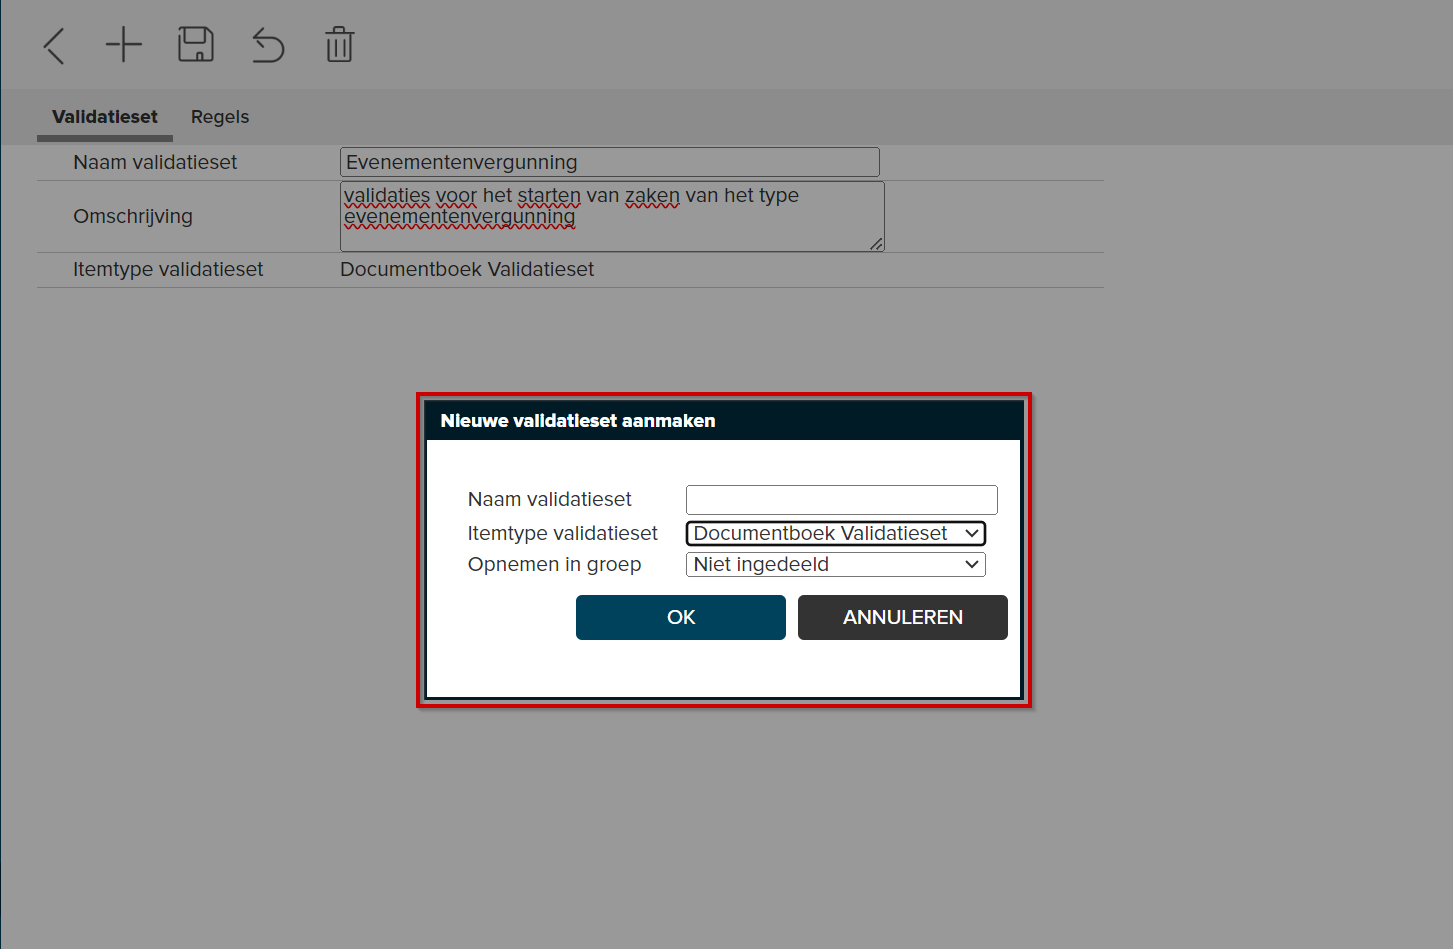
If you want to create a new validation set, you can create a new validation set at the top of the menu. You choose the item type (for example, file, document or meeting books) and give the validation set a recognizable name. You can reuse the validation set for multiple books at the same time.
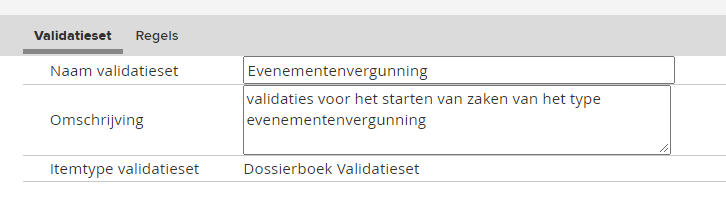
As soon as you have created the validation set, you can start setting up the validations:
- on the validations tab you can change the name and add an explanation
- on the rules tab you can create a rule for each validation. The free text you enter here is also the message that is shown to the user who receives this message in JOIN Case & Document.
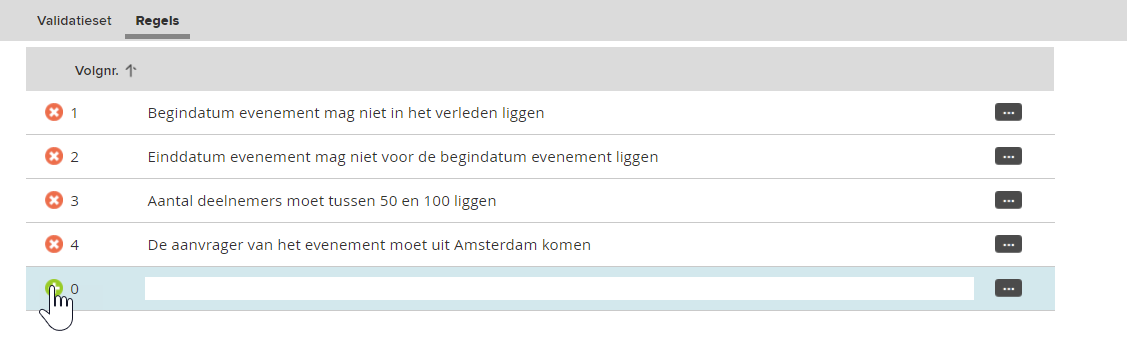
- let’s take line 1 here as an example. Here we want the date field “event start” (DATE5) not to enter a date in the past. First of all, create the rule and type a clear error message.
- then click on the far right

- in the screen that now opens you can first enter the validation. Because a comparison has to be made with
today, we use a macro here:
- klik in dit scherm ook op de

- In the screen that opens you can choose a field at the top OR (we will do that now) enter a macro. In this case, a macro that checks whether the value in the DATE3 field is equal to or greater than
today.
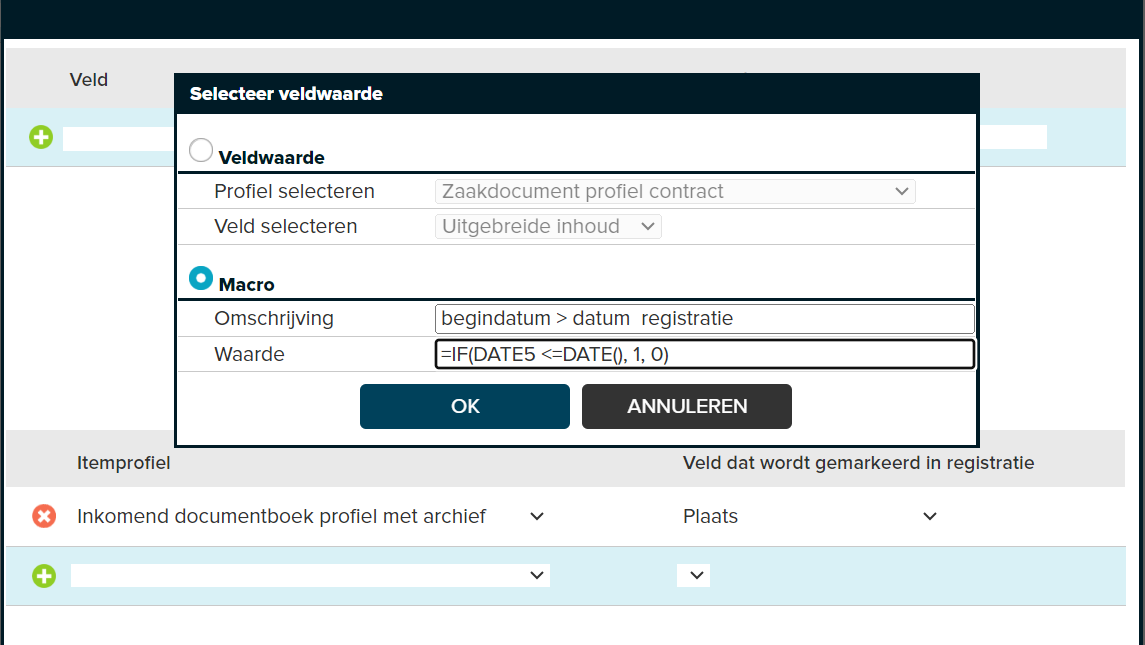
- When the macro has been entered, you will return to the previous screen. Here you can then compare the result of the macro with the value to be validated against. In this case if the macro returns 1 the validation rule must be applied (ie give a message to the end user) and with 0 not.

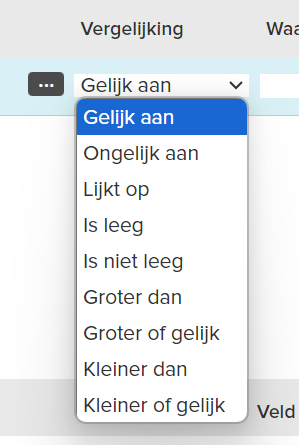
Here you can of course use various types of equations:)
- Finally, in the lower part of the screen you can indicate which fields in the registration form should “light up” when the validation produces an error message for the end user. The end user then knows which fields he has to do something with!

¶ Another example
Of course, many more validations are possible:
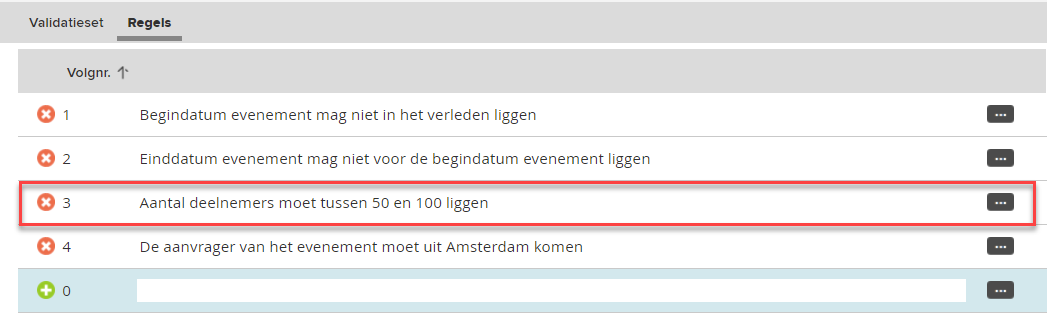
- a validation can be based on a comparison of several values. In the example we used, we check whether the number of participants in an event is a minimum of 50 and a maximum of 100.
- in this case you use the AND/OR operator. You create 2 lines and add the AND operator to ensure validation is done on both lines.

¶ And one last example
- in this example we check whether the requester of an event is from Amsterdam. We then have to check in the linked address registration whether the place of residence (CITY) of the applicant is equal to AMSTERDAM
- in this case we also use a macro:

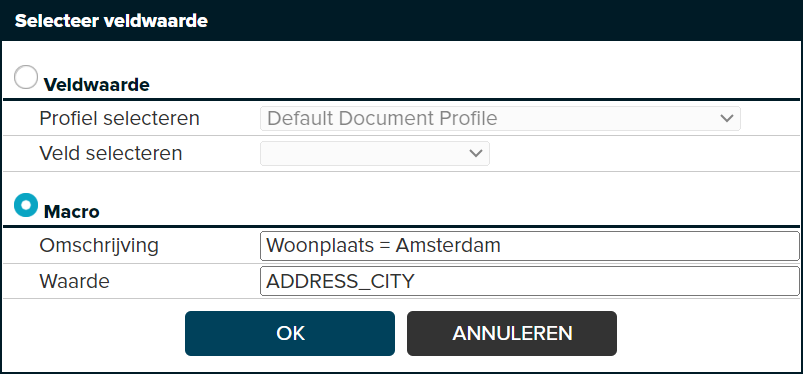
- because a field in a linked registration cannot of course be marked, you can choose to do this in the APPLICANT field in the case registration.
And there are many more examples, such as comparing different fields with each other or giving the message conditionally in a field if another field has a certain value. (in our favor "if the event is of the type “trade party”, then alcohol must be checked (check box). Or, for example, to enforce that a certain document must be linked to the file. In short, with this functionality adds you add enormous value to JOIN Case & Document.
¶ Link validation sets to book
As soon as you have set up your validations, you can start applying them in one of the books.
To do this, go to the book to which you want to link the validation set and scroll down in the options screen. Here you will find the “validations” section.
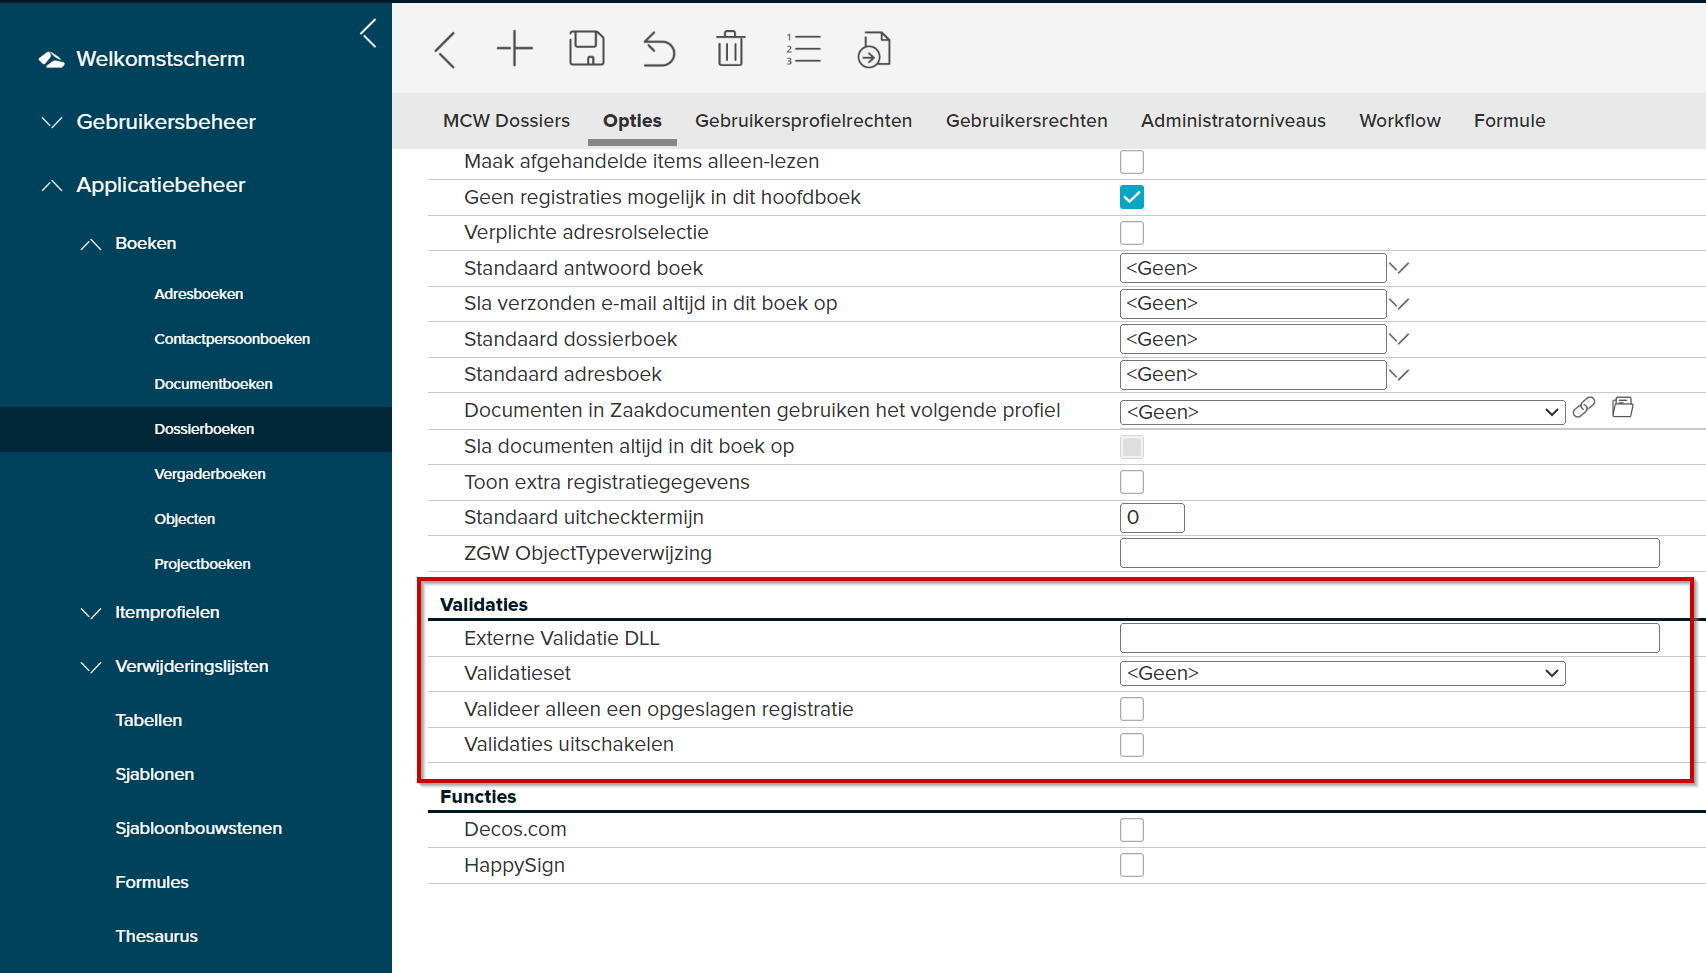
You can configure the following options here:
- External validation DLL: this is a function that can be set up for you by a consultant from Decos. By means of a so-called DLL file (which we install on the server) you can configure very advanced validations with which you can set up even your most complex forms. Think, for example, of validations that look very specifically at the input (such as a “license plate”) or validations that check all kinds of related information. For more information about this functionality, we advise you to contact a Decos specialist.
- Validation set: select the previously configured validation set. This is immediately active in the application. Of course we only show the validation sets configured for the respective item type here
- Only validate a saved validation set: this prevents the validation error messages from being shown when, for example, you need to link a file or address and the validation relates to, for example, a linked address
- Disable Validations: Allows you to (temporarily) disable the application of the validation set.