¶ All Scans
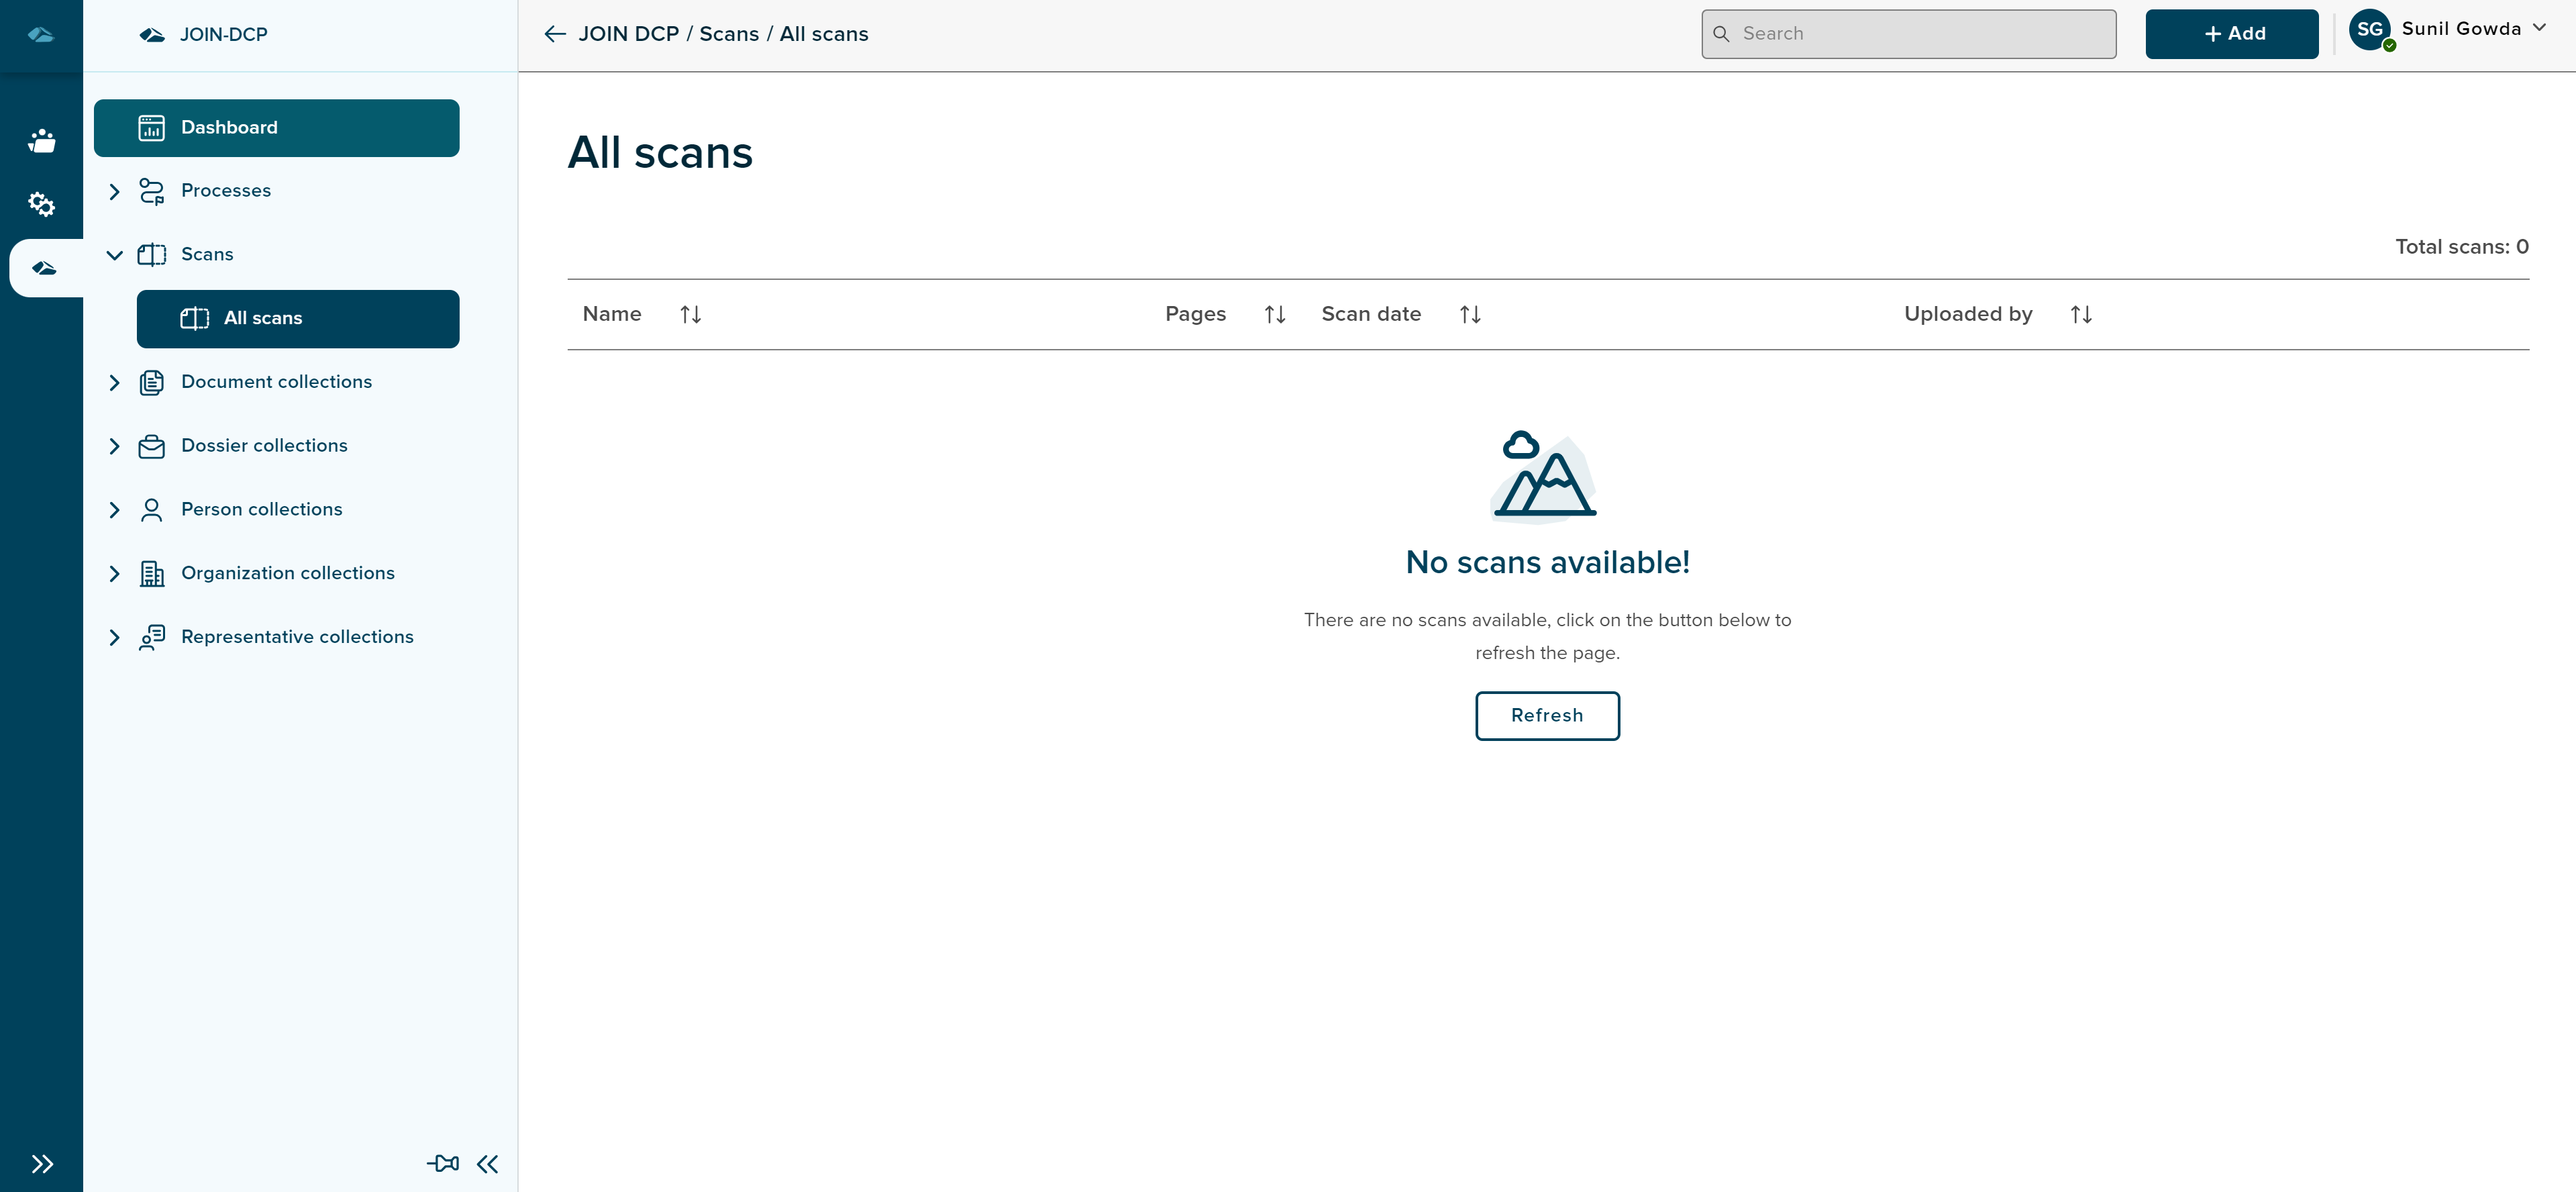
When user lands in the home page of the all scans, user can see the empty state of the page which can be seen in below image
Once the scans are added to system, all the scans will be available in list in the home page, which can be seen in the below image
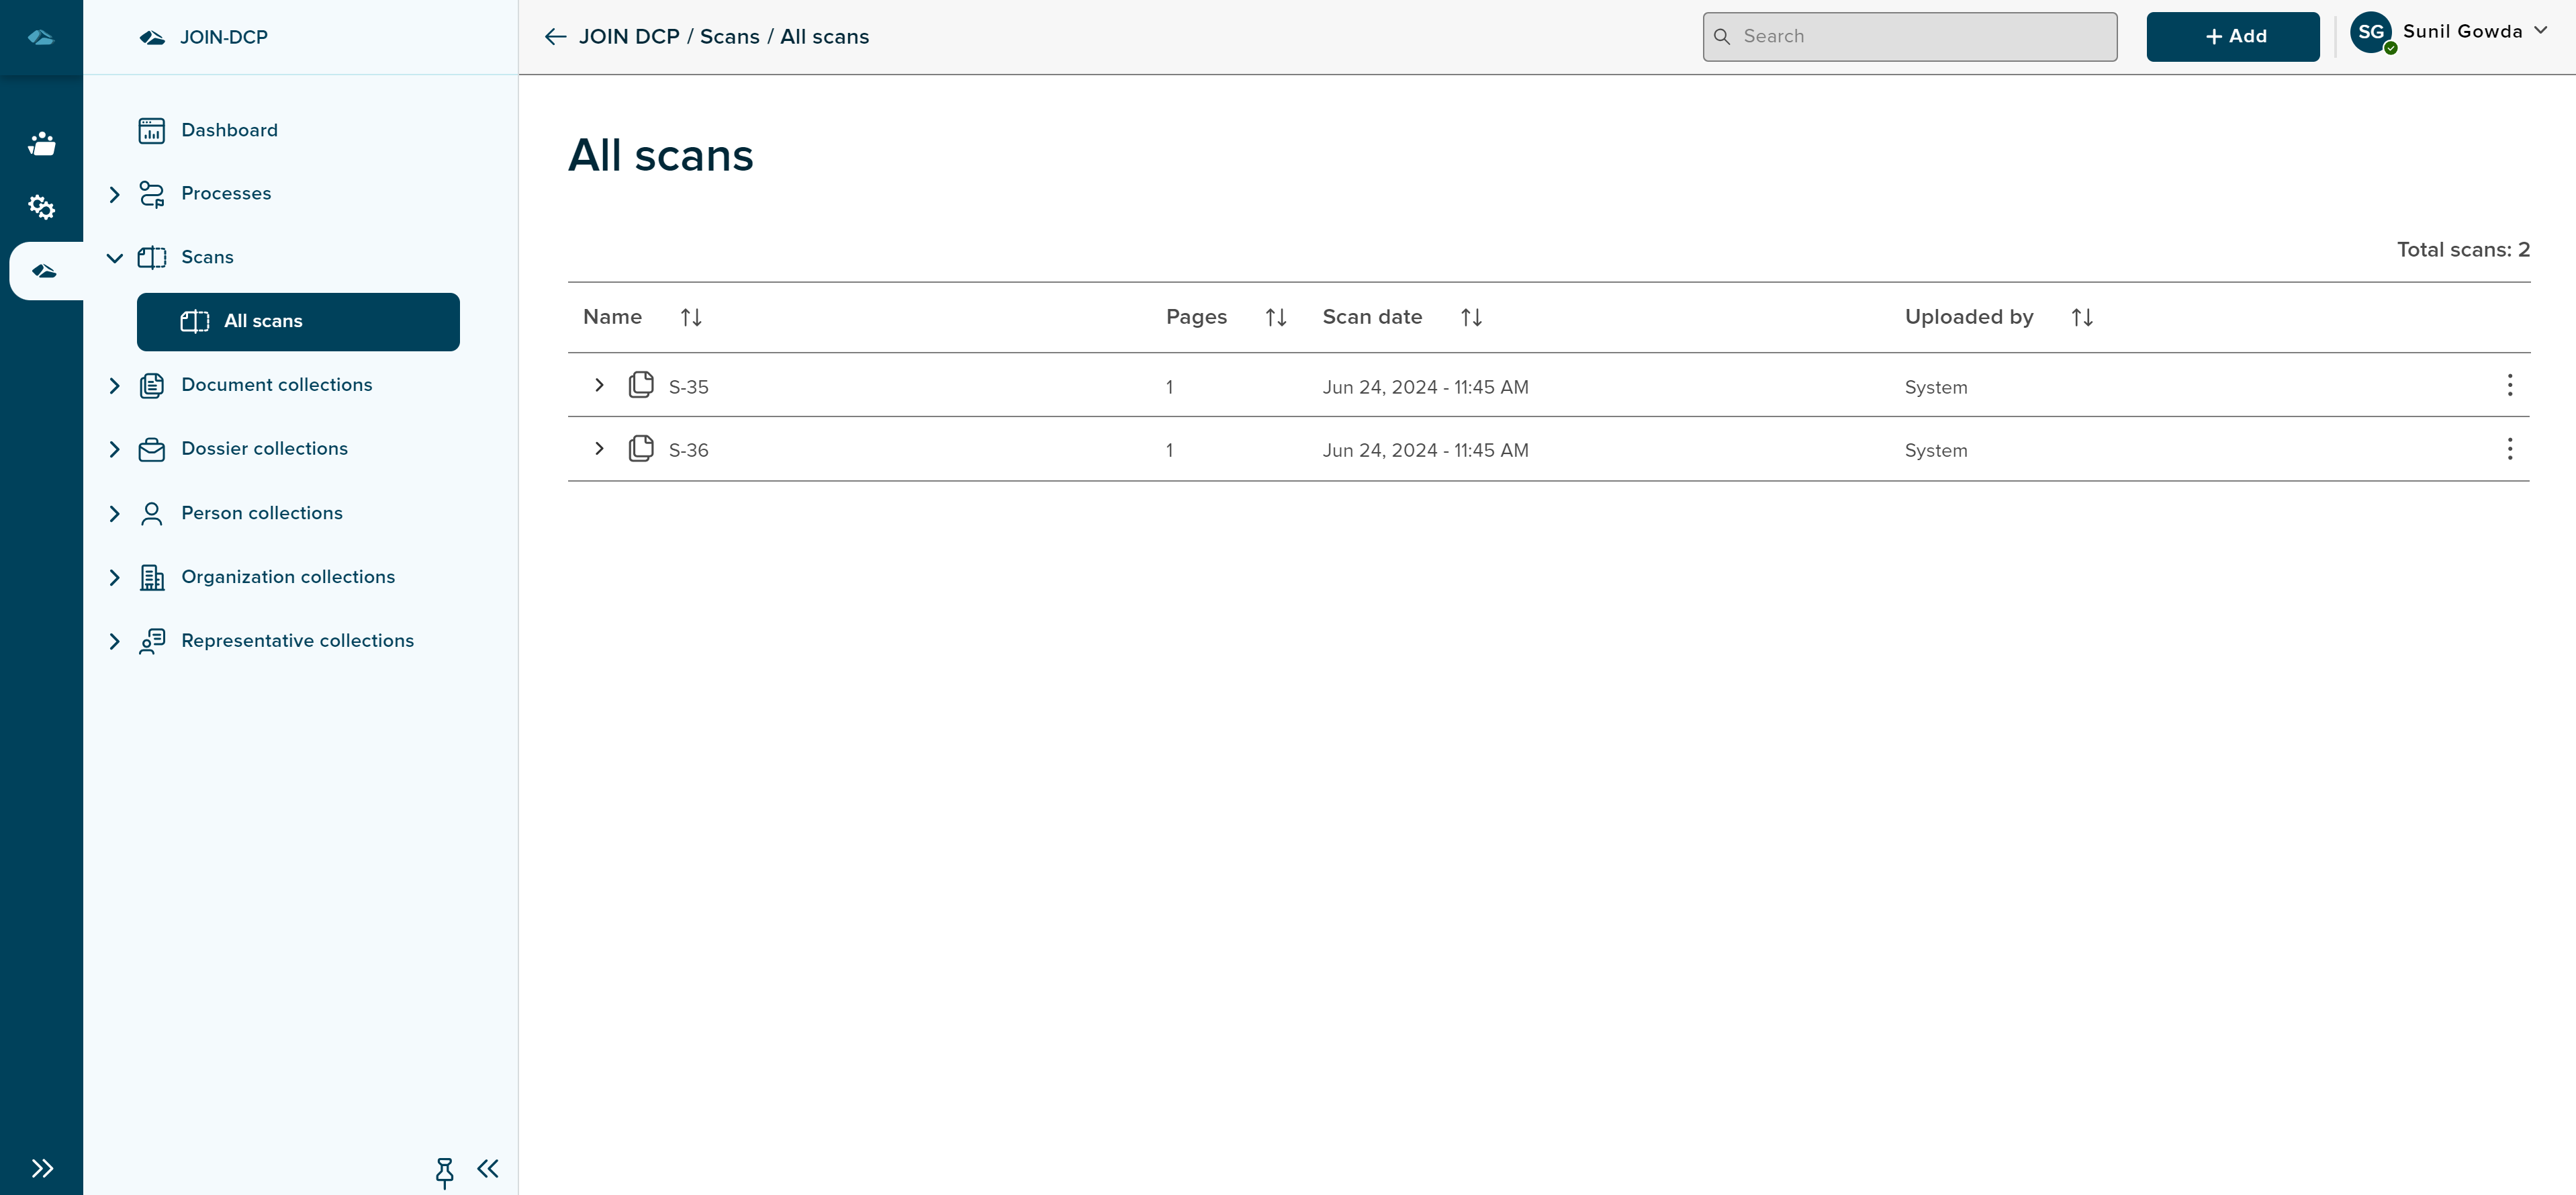
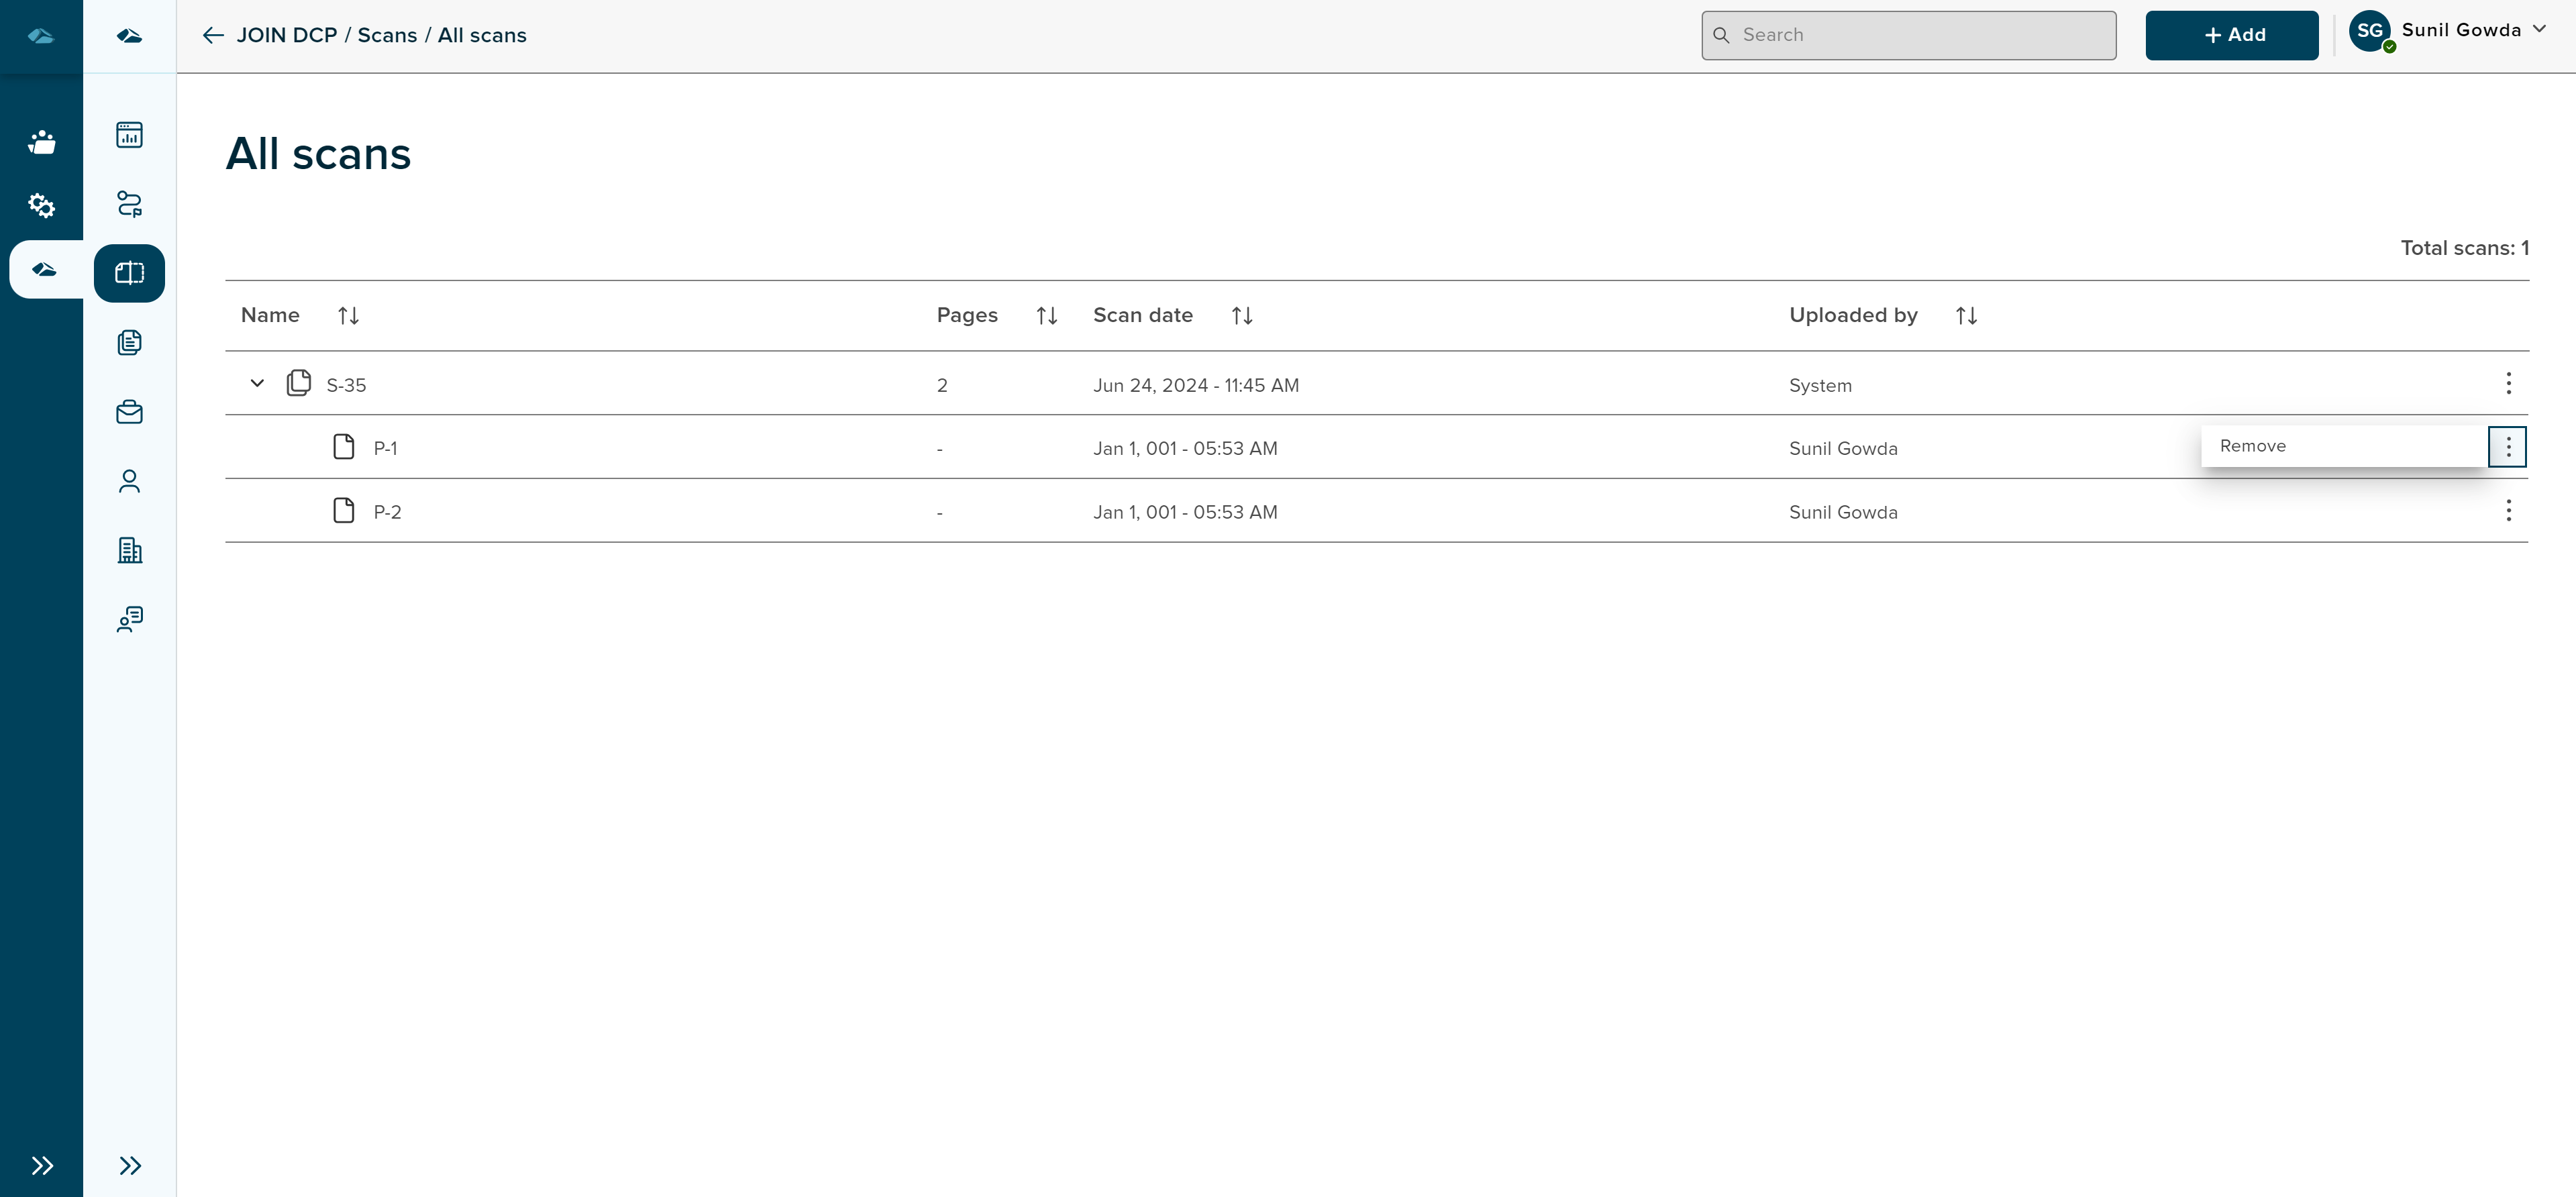
In home page, scans are shown as scan batches and scan pages are inside it, which can be seen when user click on expand icon.

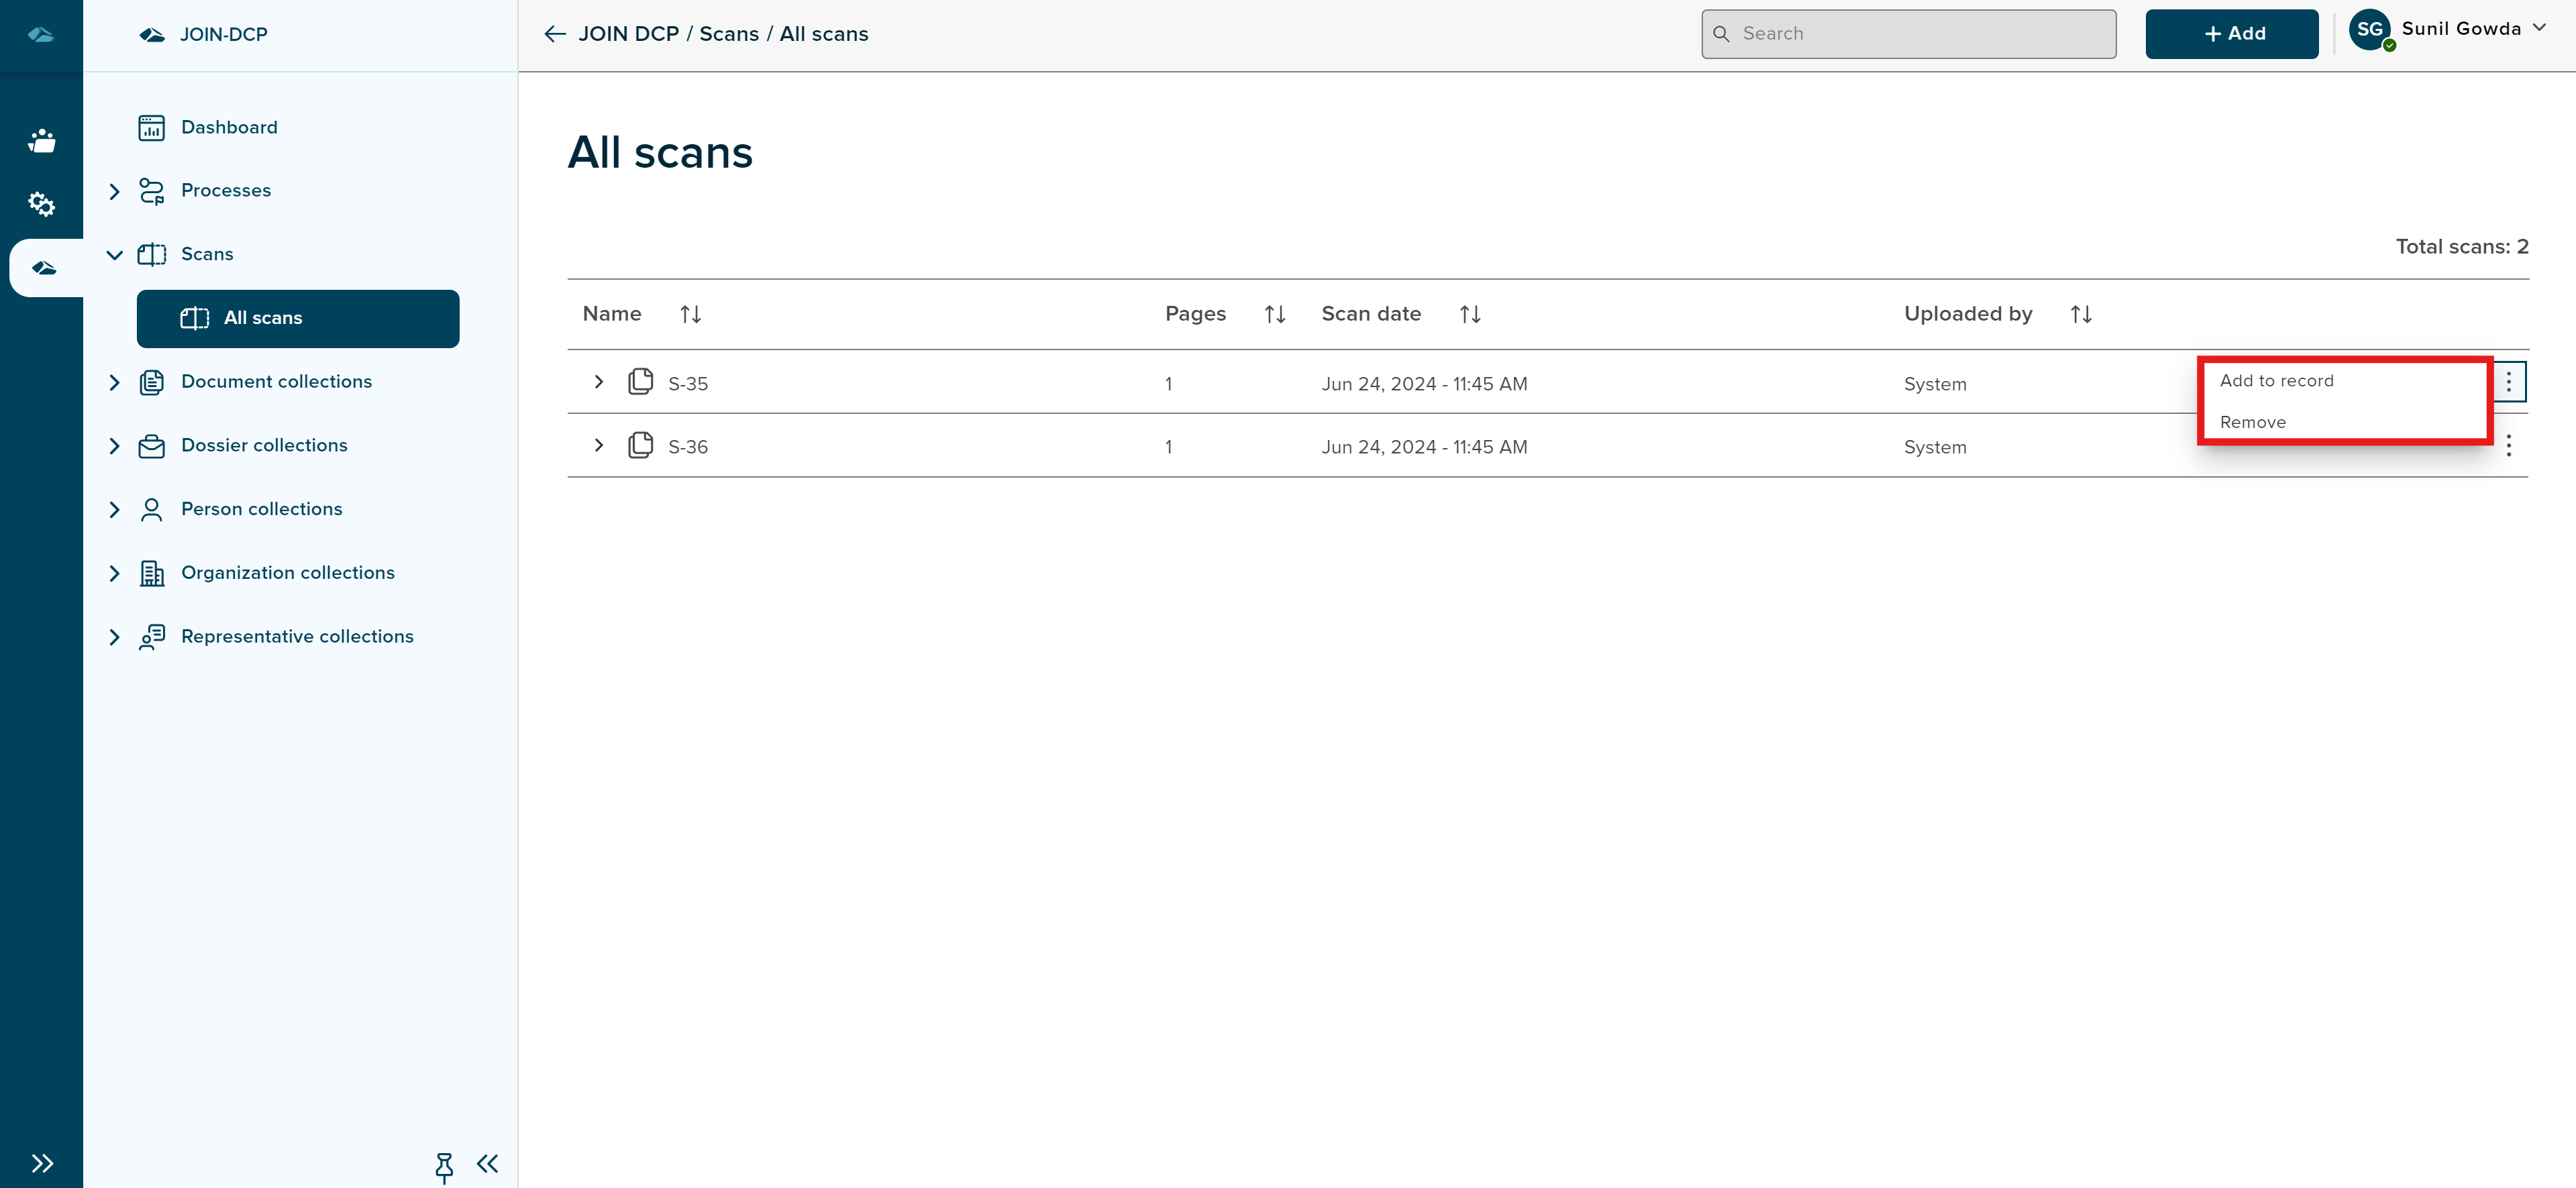
Every Scan batches will have two kebab menu options such as “Add to record” and “Remove”.
Every Scan pages will have one kebab menu option, “Remove”.
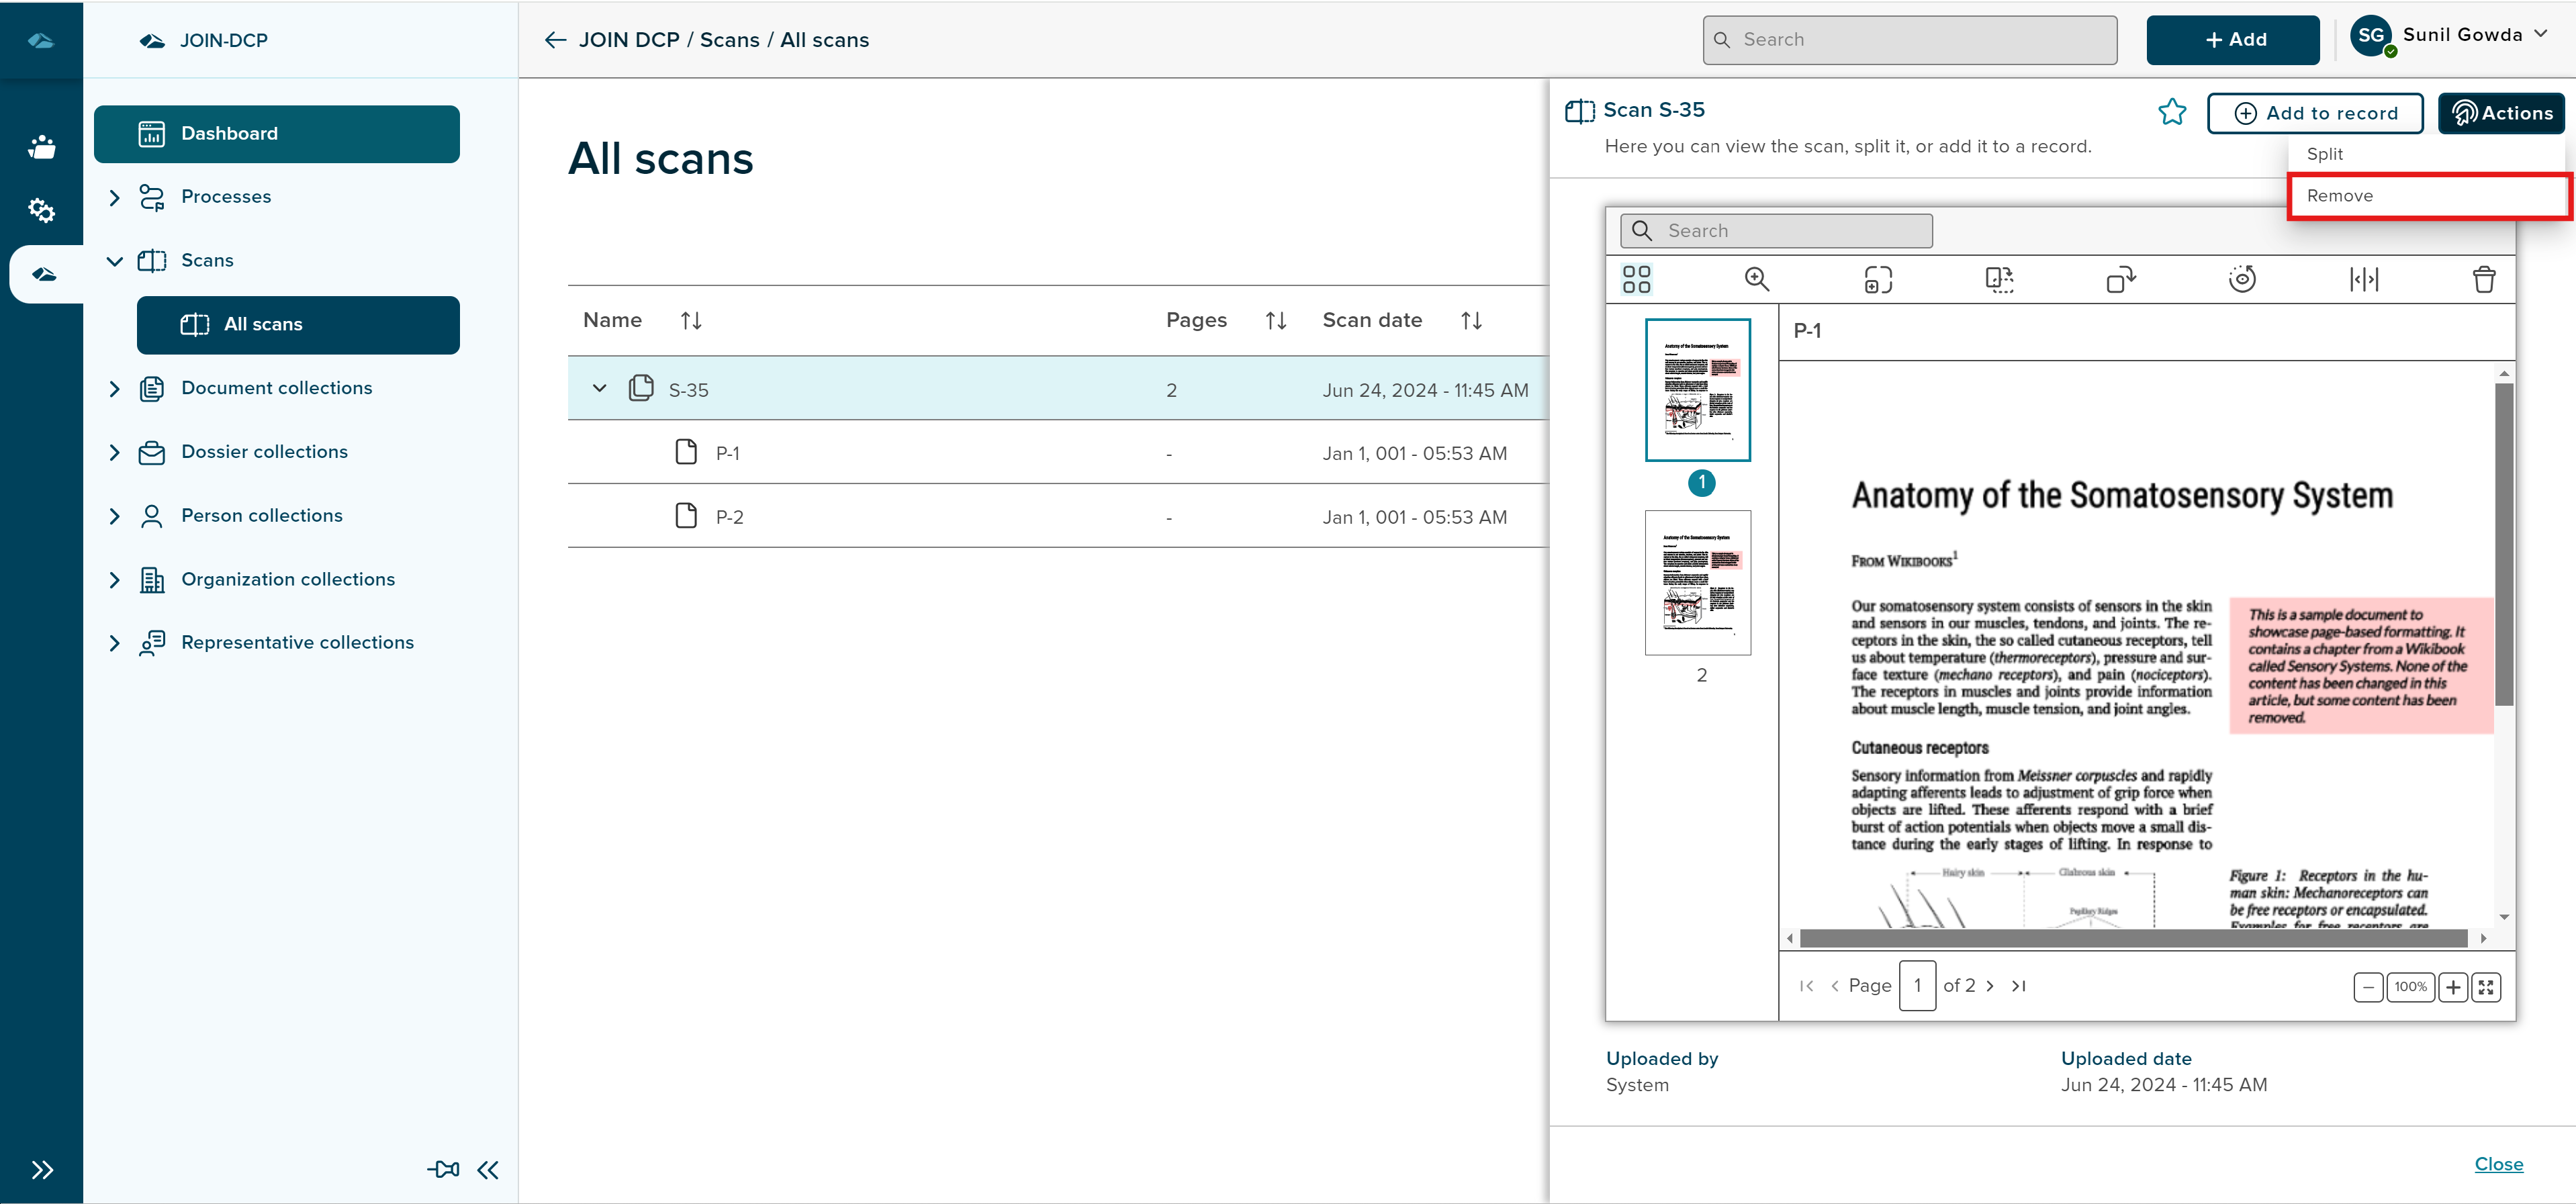
User can click on the scan batches, which will open the scans in the viewer in the side panel, to see the details of the scan batches such as Uploaded by and uploaded date. Scan viewer in the side panel can be seen in the below image.
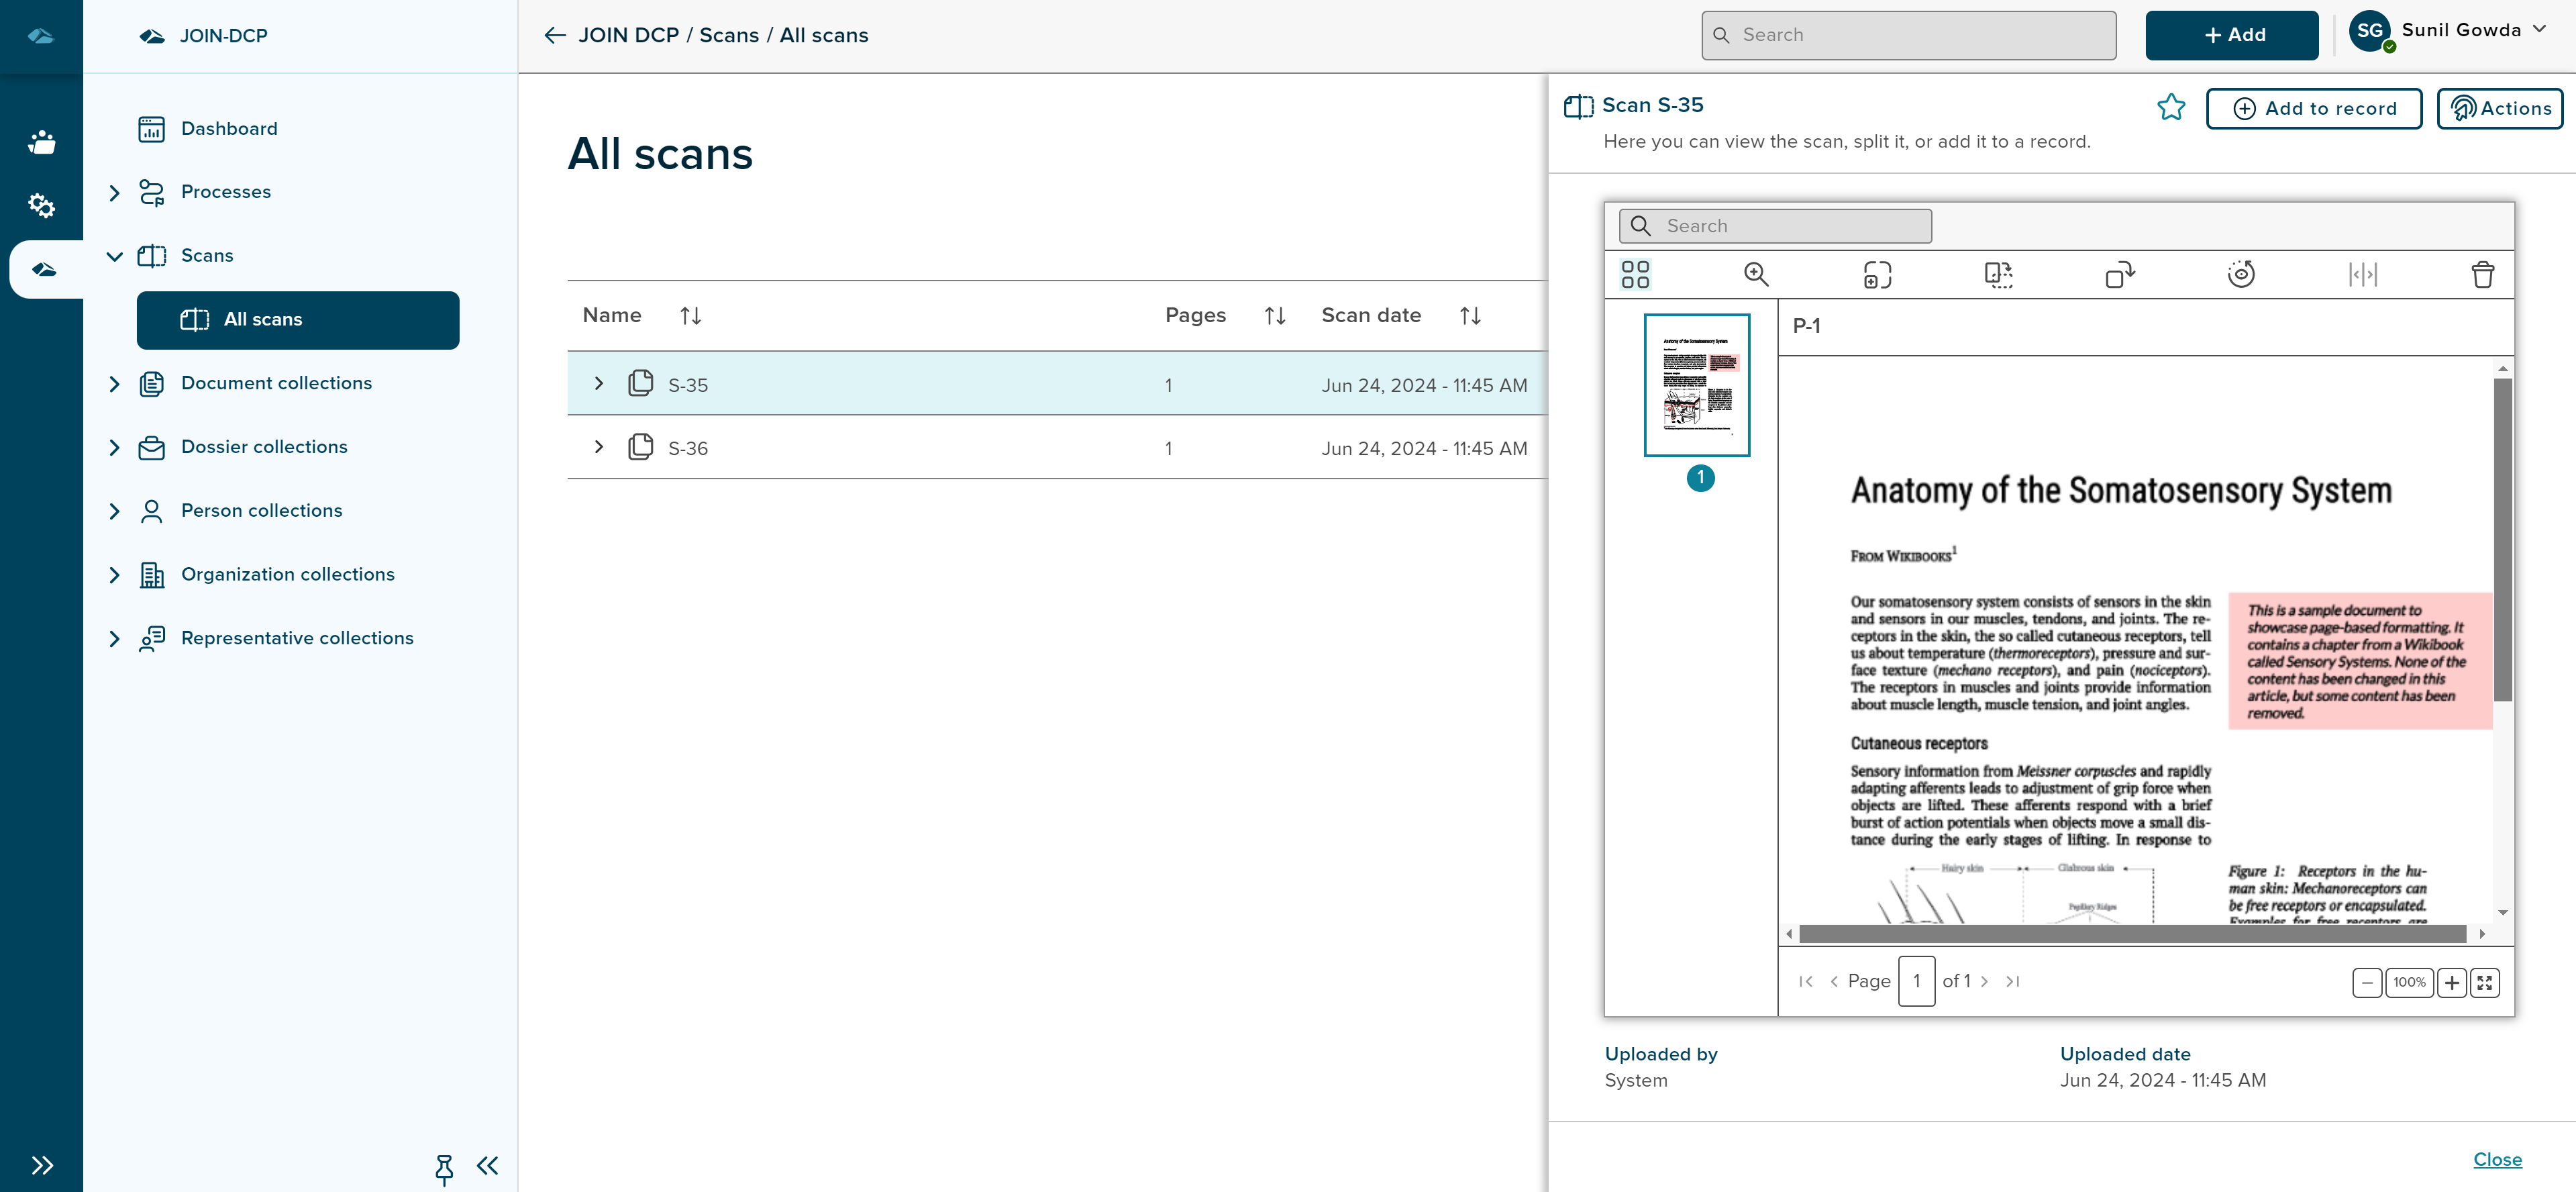
Scan Viewer has multiple buttons, each one has different functionality, below list explains each of their functionality,

1. Add to Record - This button can be used to add scan batch to record such Document, Dossier and Process. Complete steps of adding flow is explained below in this page.
2. Actions button with Remove option - This button can be used to remove pages from the scan batches. Complete steps of removing the pages from scan batch is explained below in this page.
3. Favourite - This Button can be used to make the scan batch as favourite, which can be easily accessed from the Dashboard page.
4. Thumbnails - This Button can be used to see and unsee the thumbnails of the pages of the scan batch. By default user will be seeing the thumbnails, by clicking on this button, user can hide the thumbnails on the left side of the viewer side panel.
5. Zoom in - This Button can be used to zoom in the page from default size of 100% to more. user also has option to zoom in and zoom out in the bottom of the viewer with Plus and minus icon. User also has to button to fit to screen icon, which can bring the zoom size of the page to default percentage.
6. Rotate page - This Button can be used to rotate page to 90 degree on each click of the button.
7. Rotate whole scan - This Button can be used to rotate all pages in the scan batch in a single click, on click of button, pages will rotate to 90 degree.
**8. Straighten Page - ** This Button can be used to rotate and straighten the page if the scanned page is distorted.
9. Split - This Button can be used to split the pages from scan batches, complete steps are explained below in this page.
10. Delete - This Button can be used to delete pages in the scans.
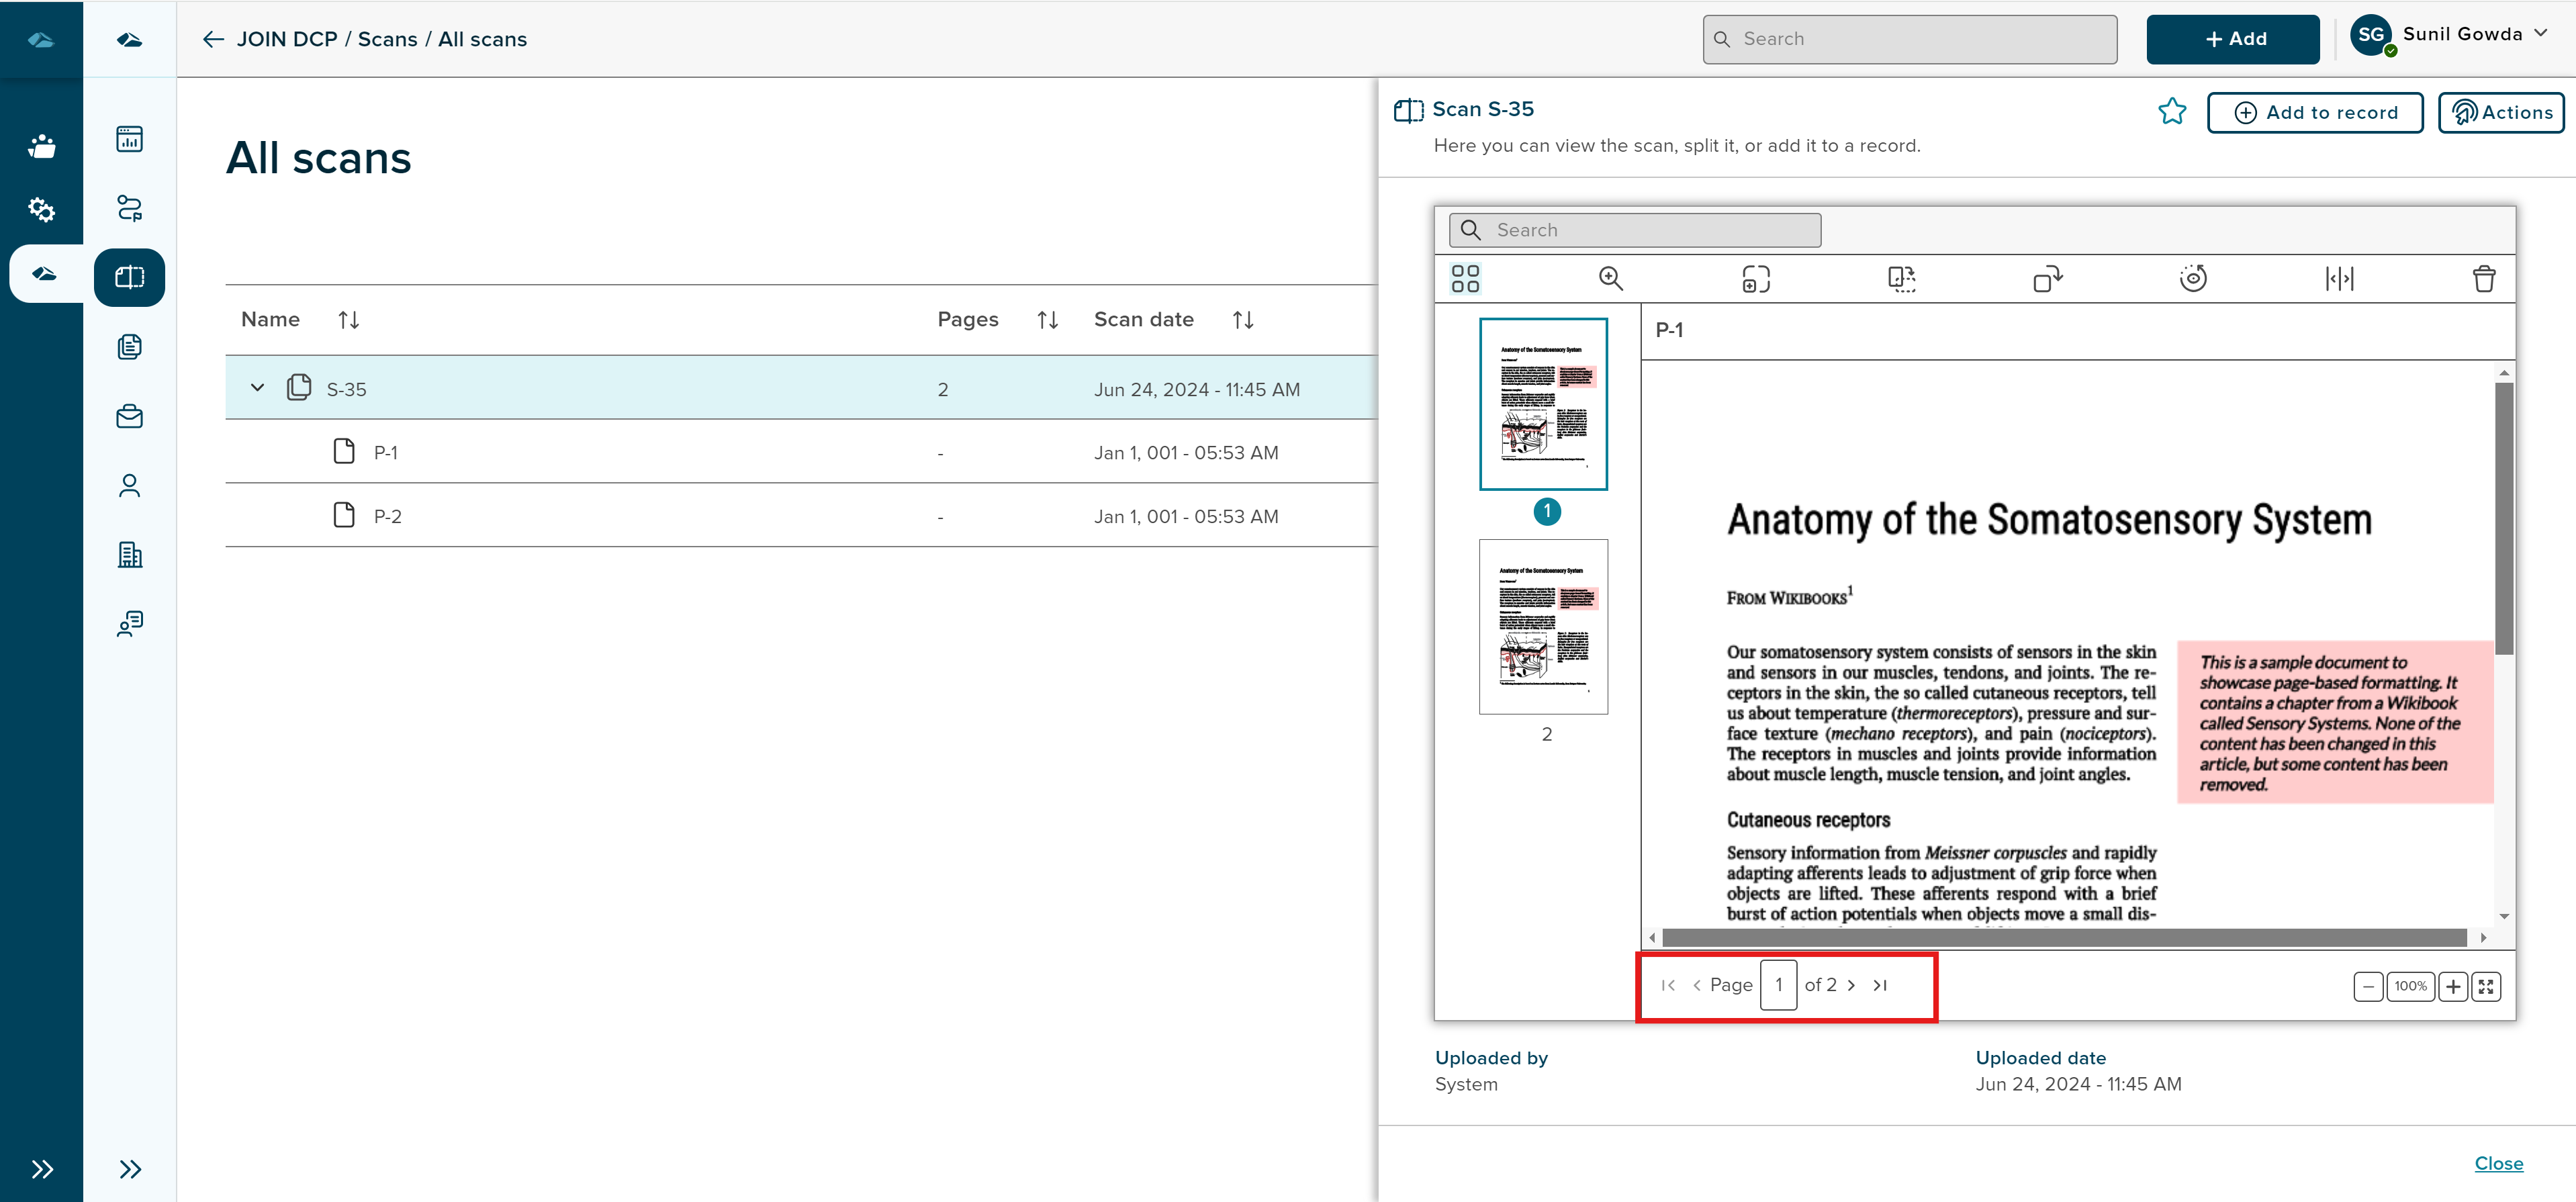
Scan viewer also shows pagination at the button, which helps user to navigate between pages in the scan batch.
¶ Merge Scan batches
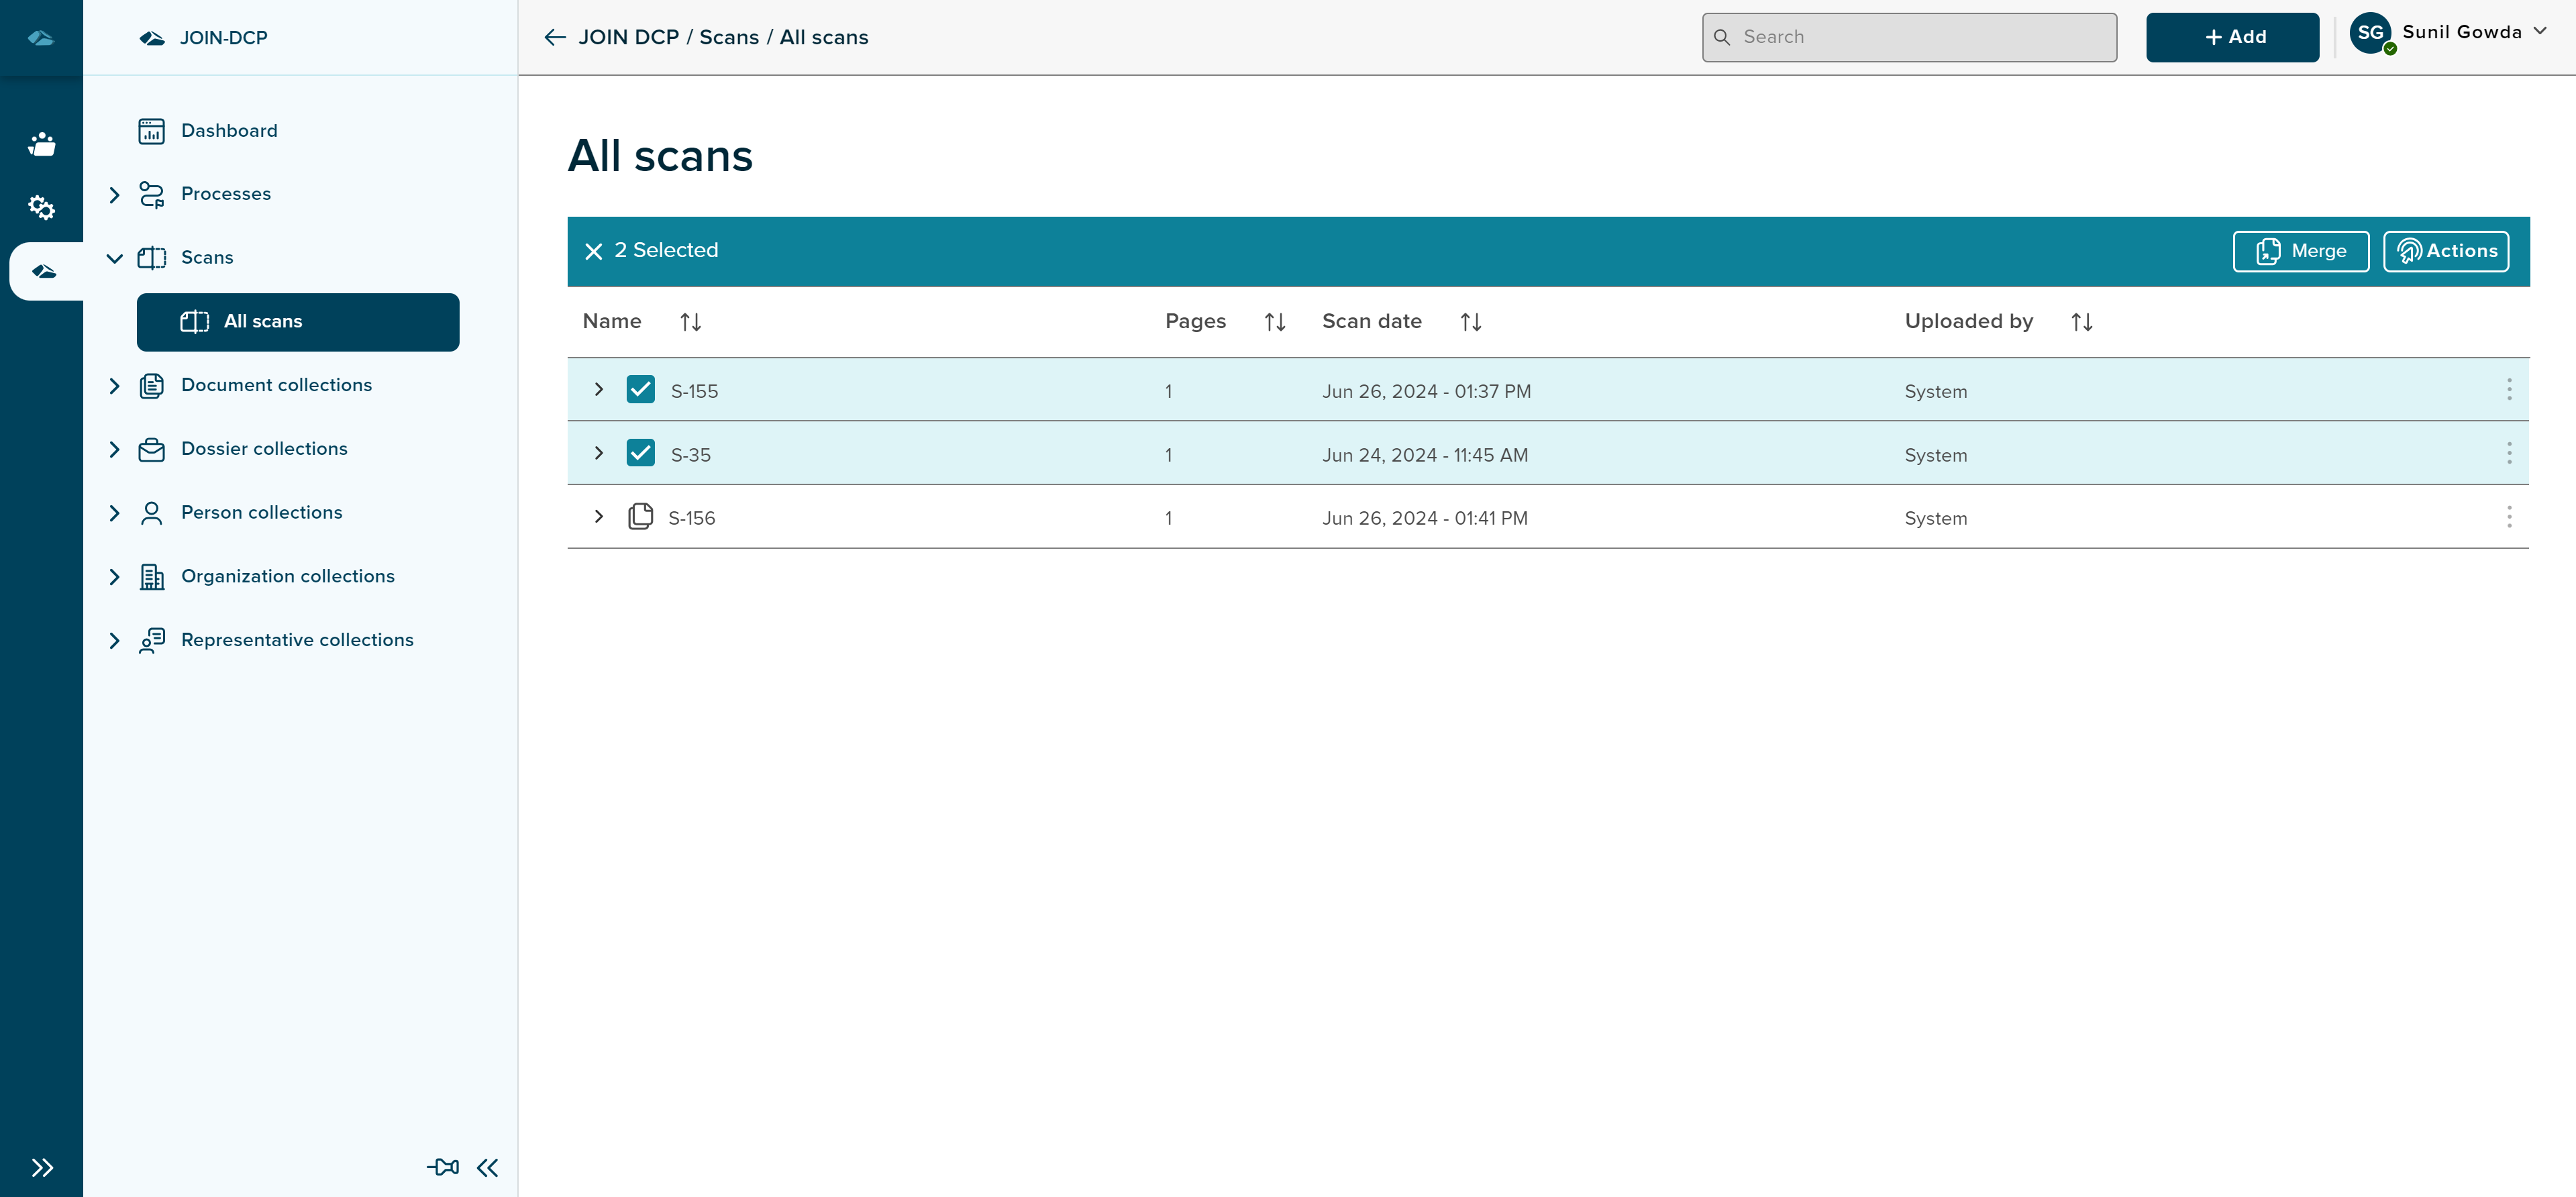
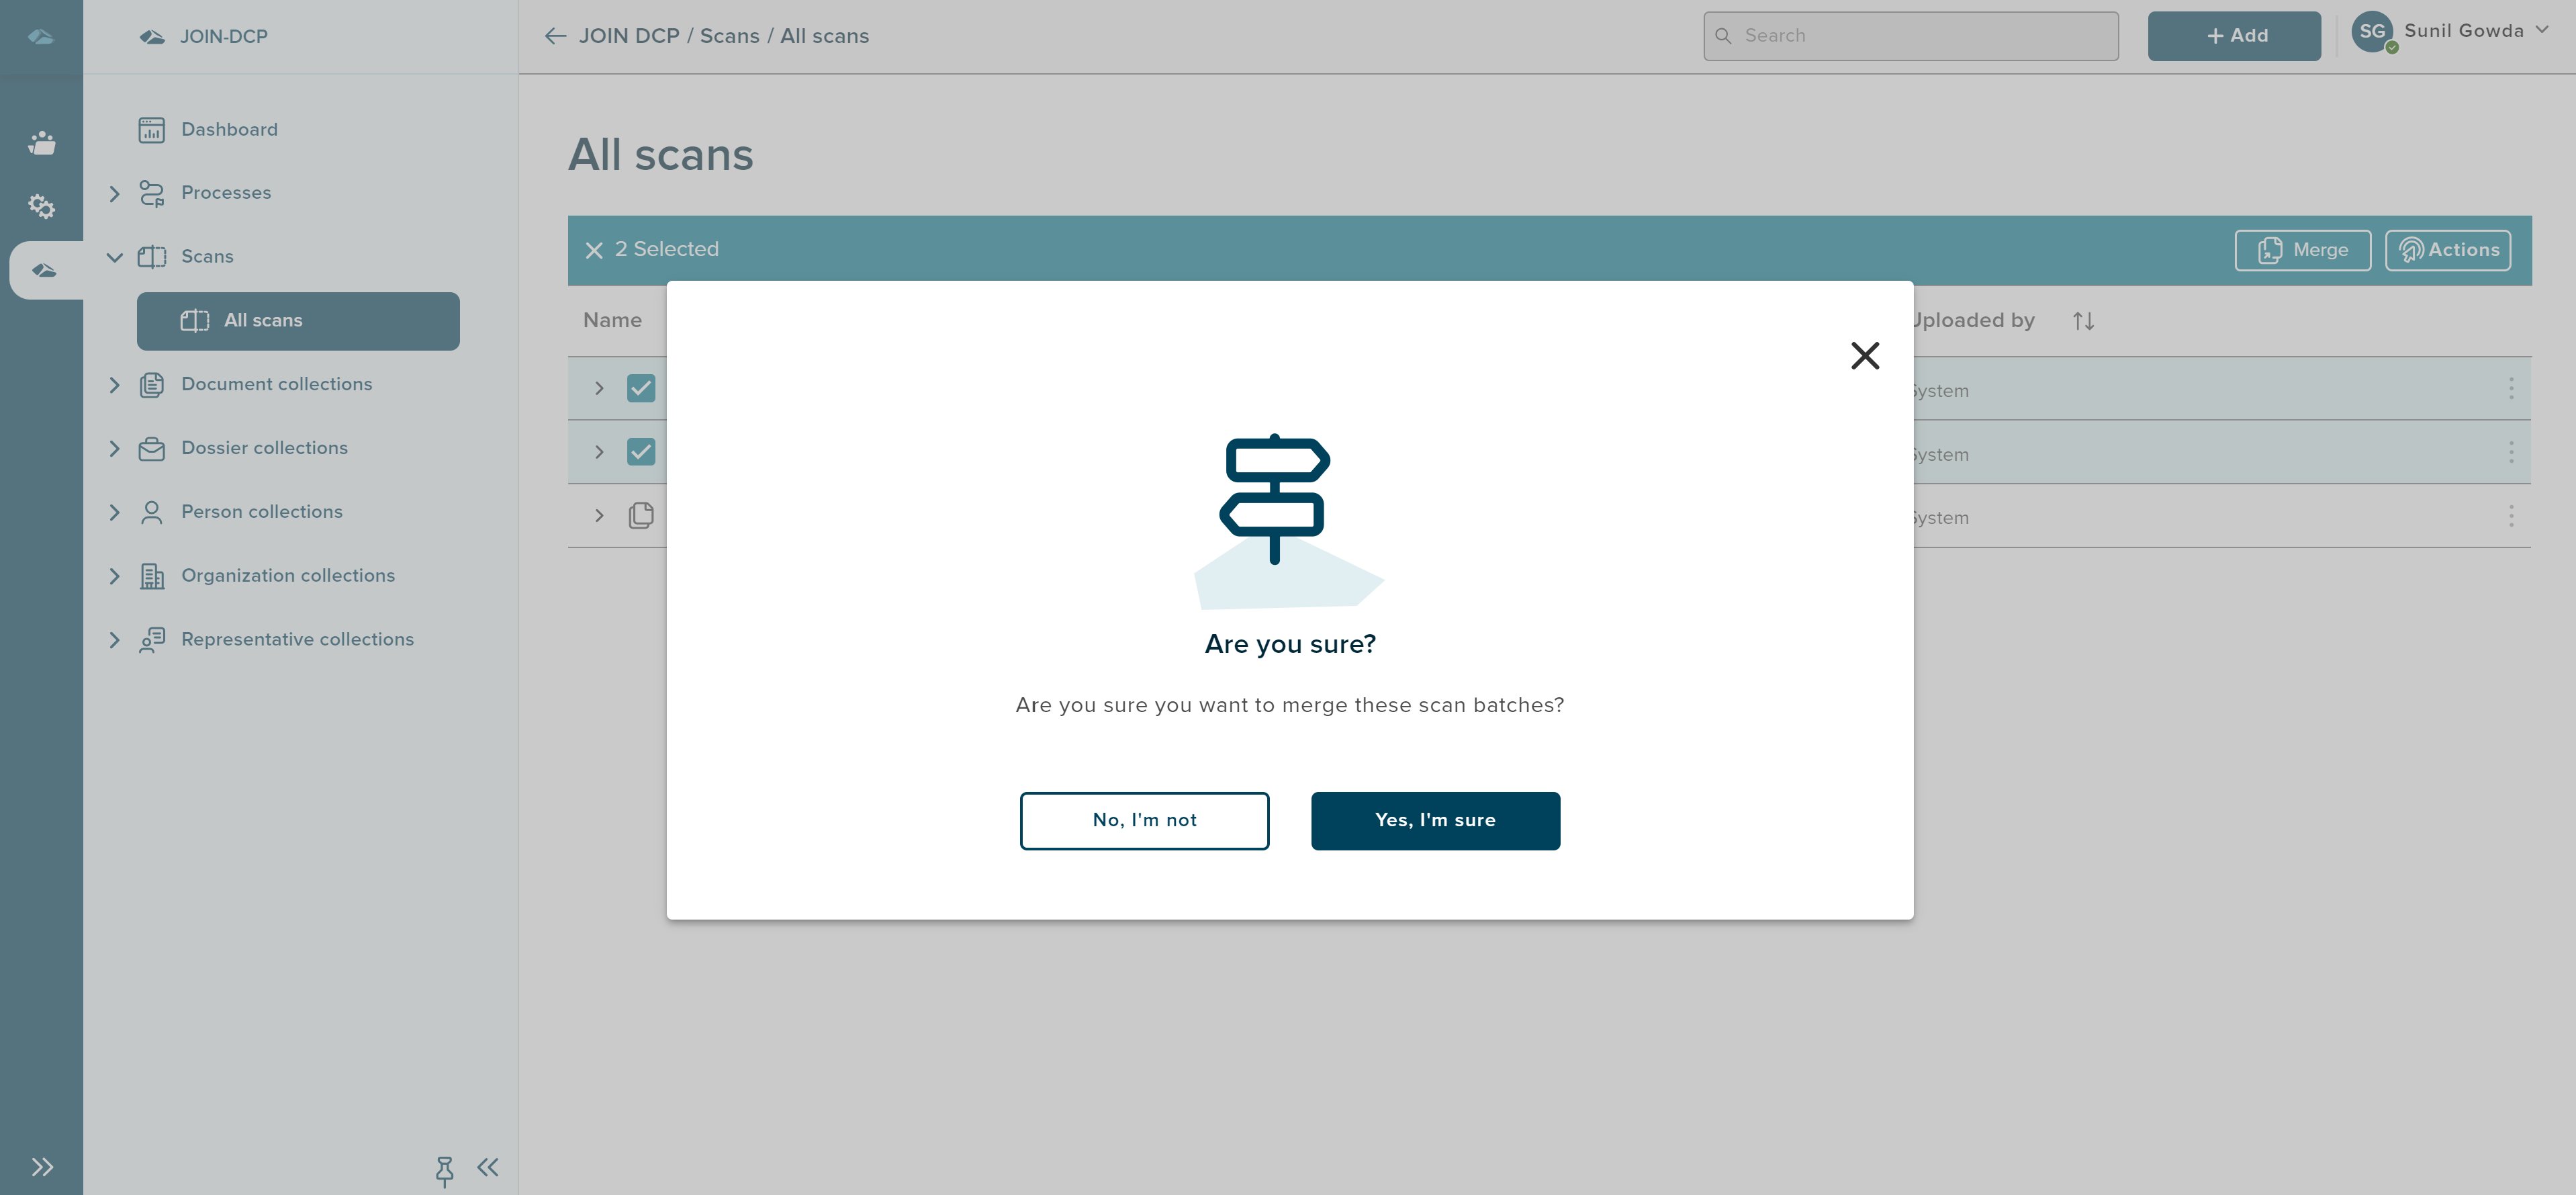
User can merge the scan batches by selecting two or more scans through thier checkboxes and then clicking on “Merge” button in the top bar. Once the button is clicked, user will be prompted with Pop-up message, whether to merge the selected scan batchs or to exit the flow. Below image shows the pop-up message of the merge function.
¶ Split Scan page from scan batches
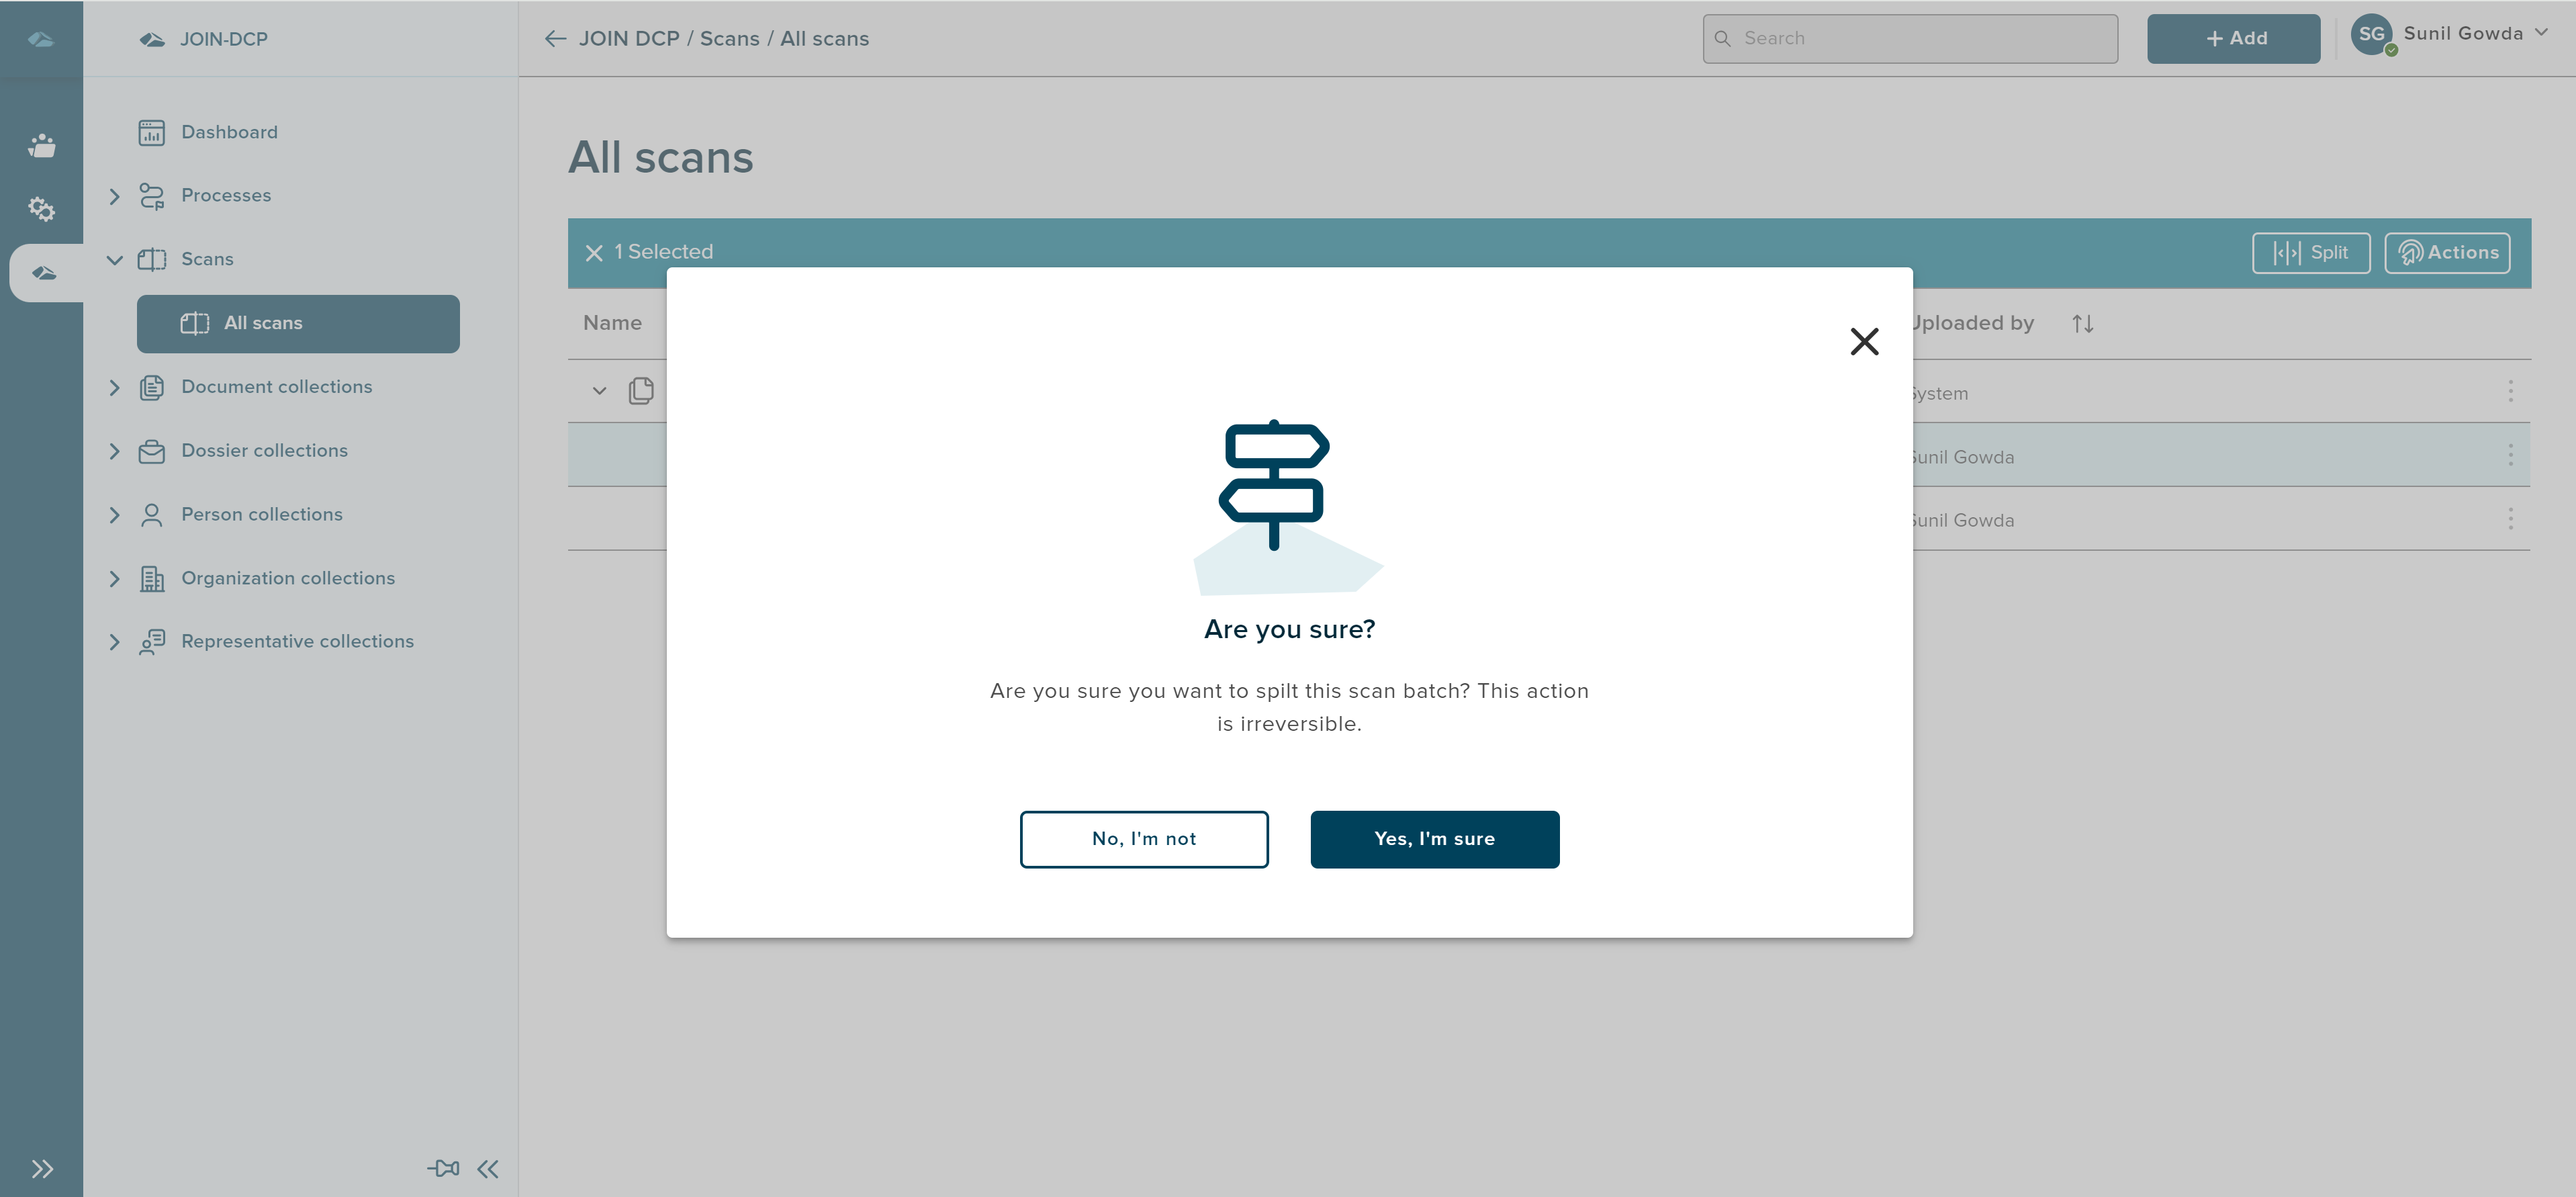
User can Split the scan pages from the scan batch by selecting multiple pages in the scan batch and then click on “Split” button in the top bar. Once the button is clicked, user will be prompted with Pop-up message, whether to split the page or to exit the flow. Below image shows the pop-up message of the Split function.
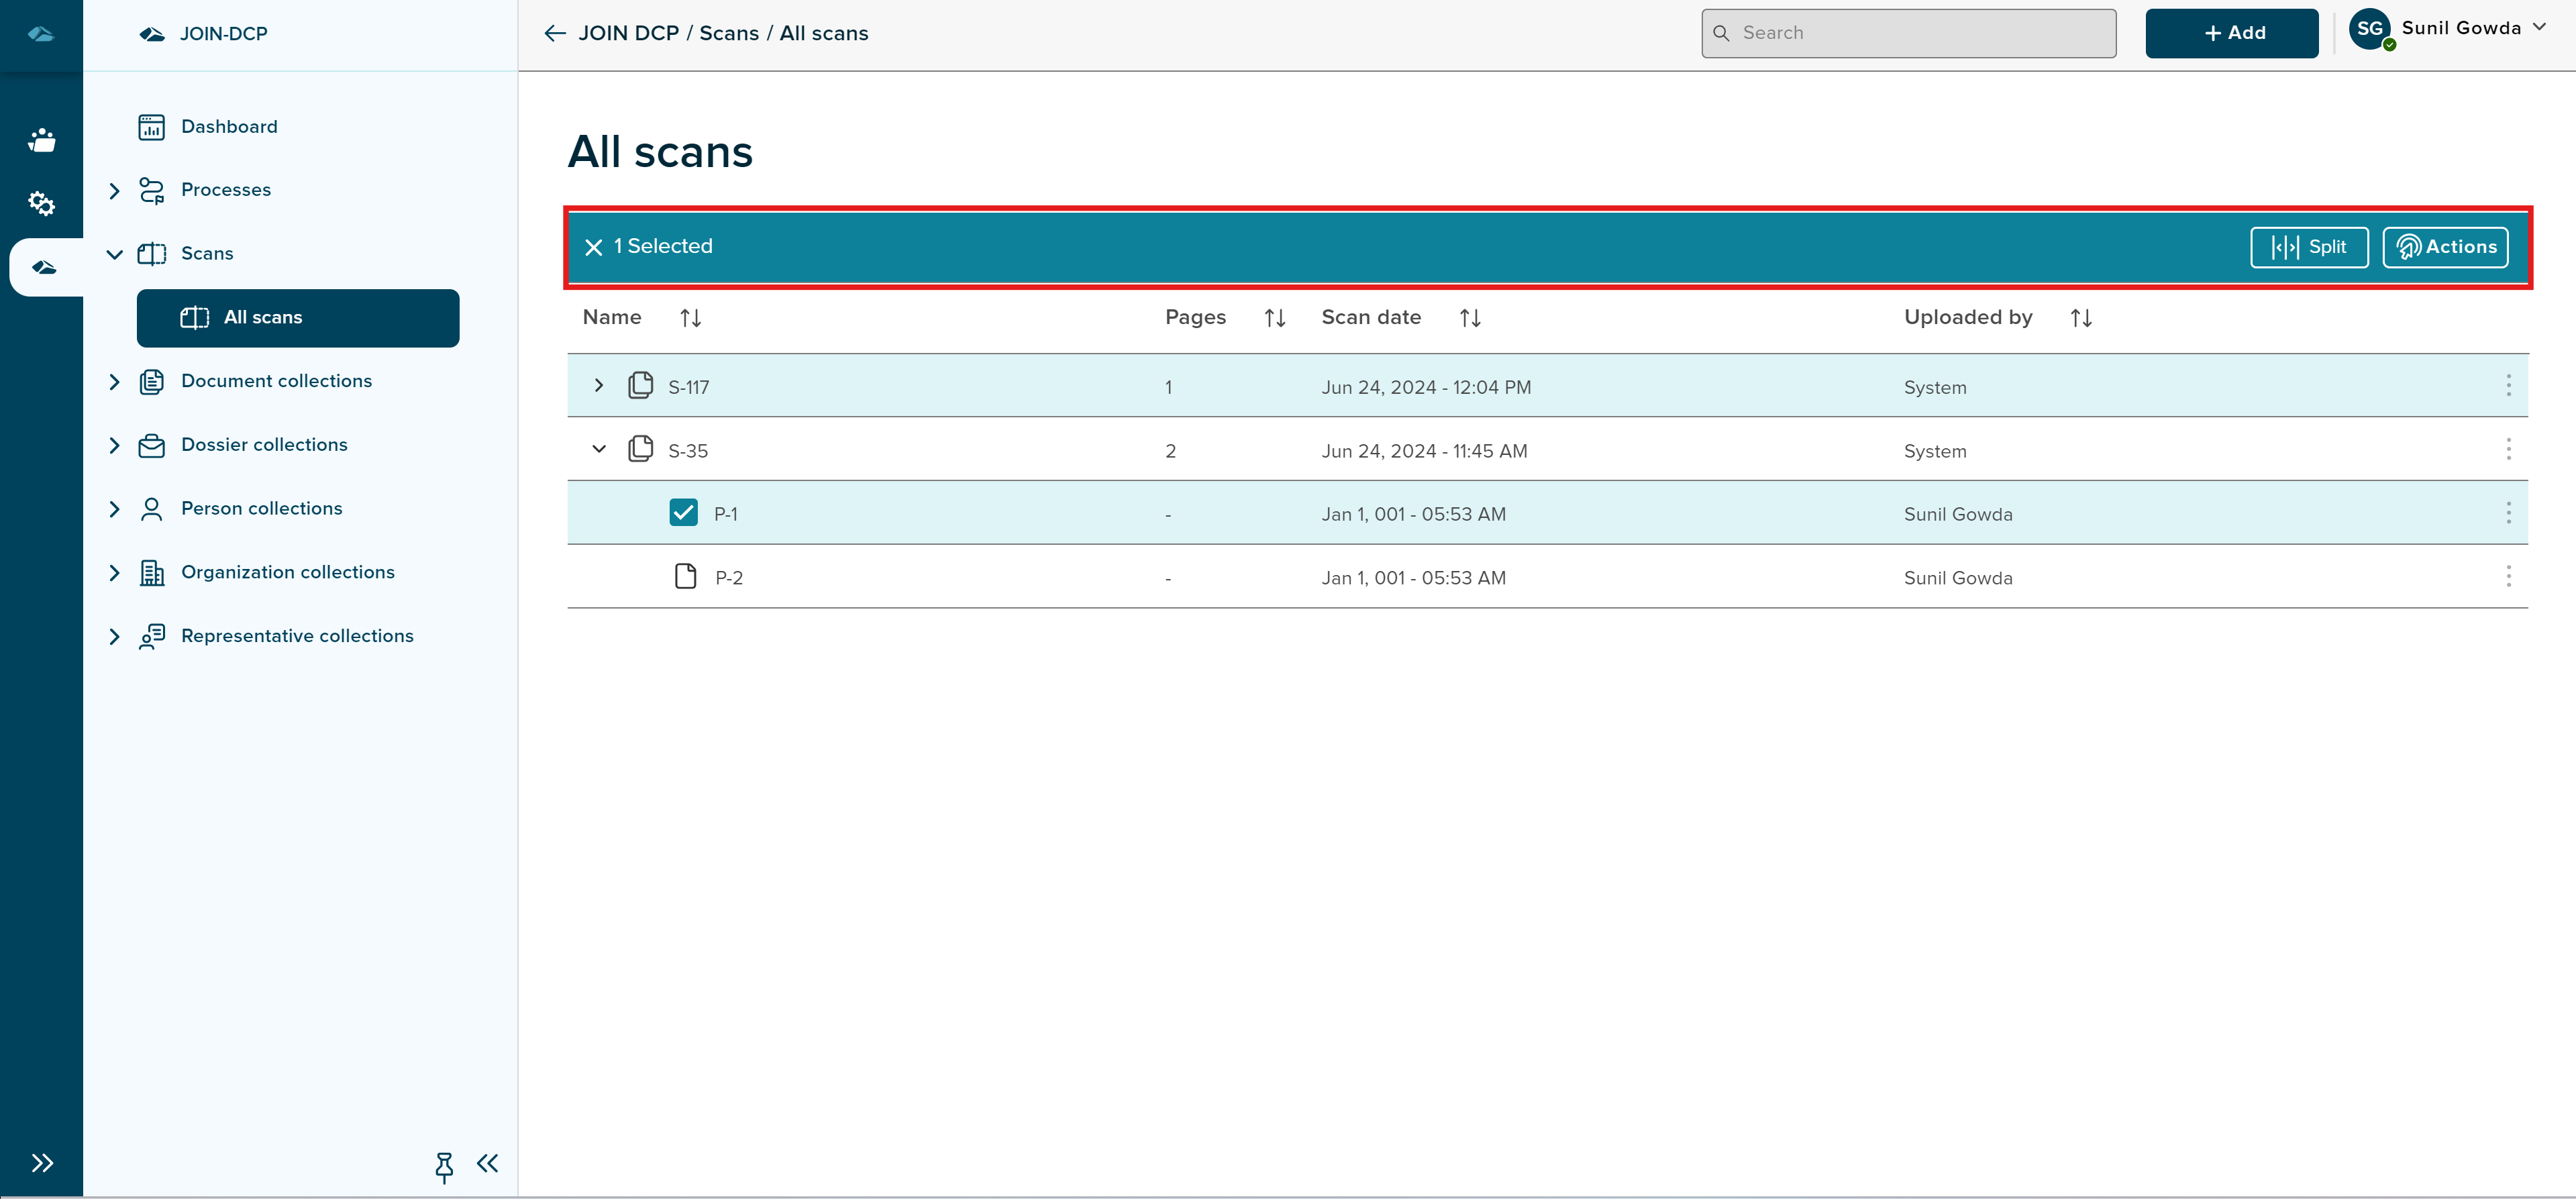
If there are 2 pages in a scan batch, the user will not be able to select all 2 pages to perform the split function, only 1 page can be selected and other page checkbox will be disbaled automatically, as it is mandatory for scan batches to atleast 1 page in it.
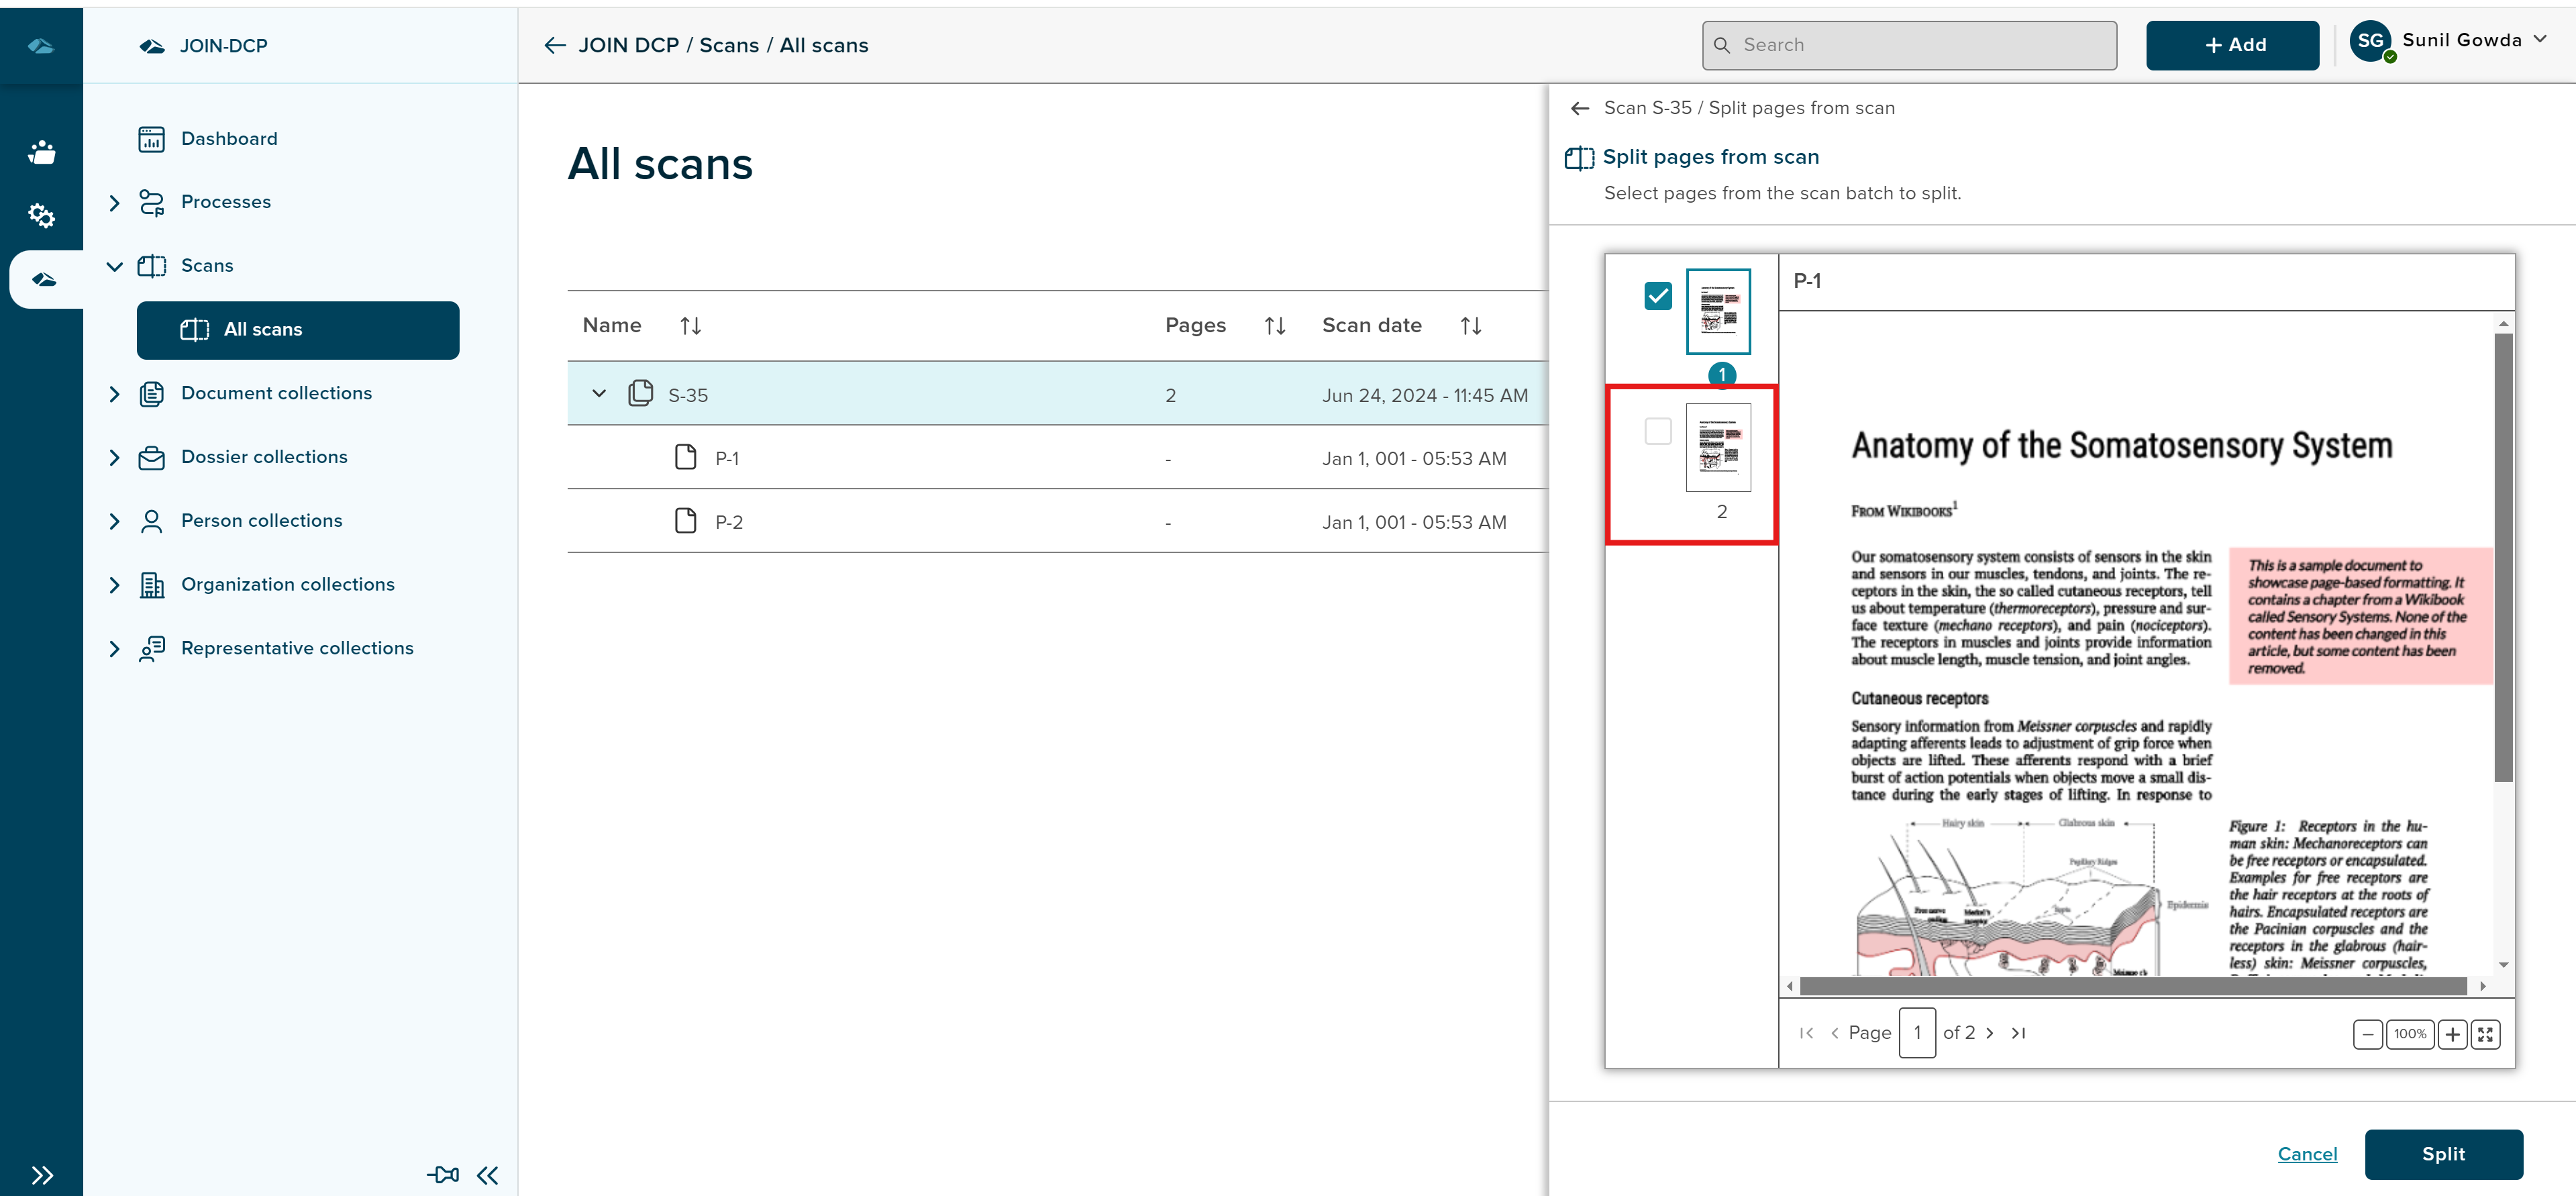
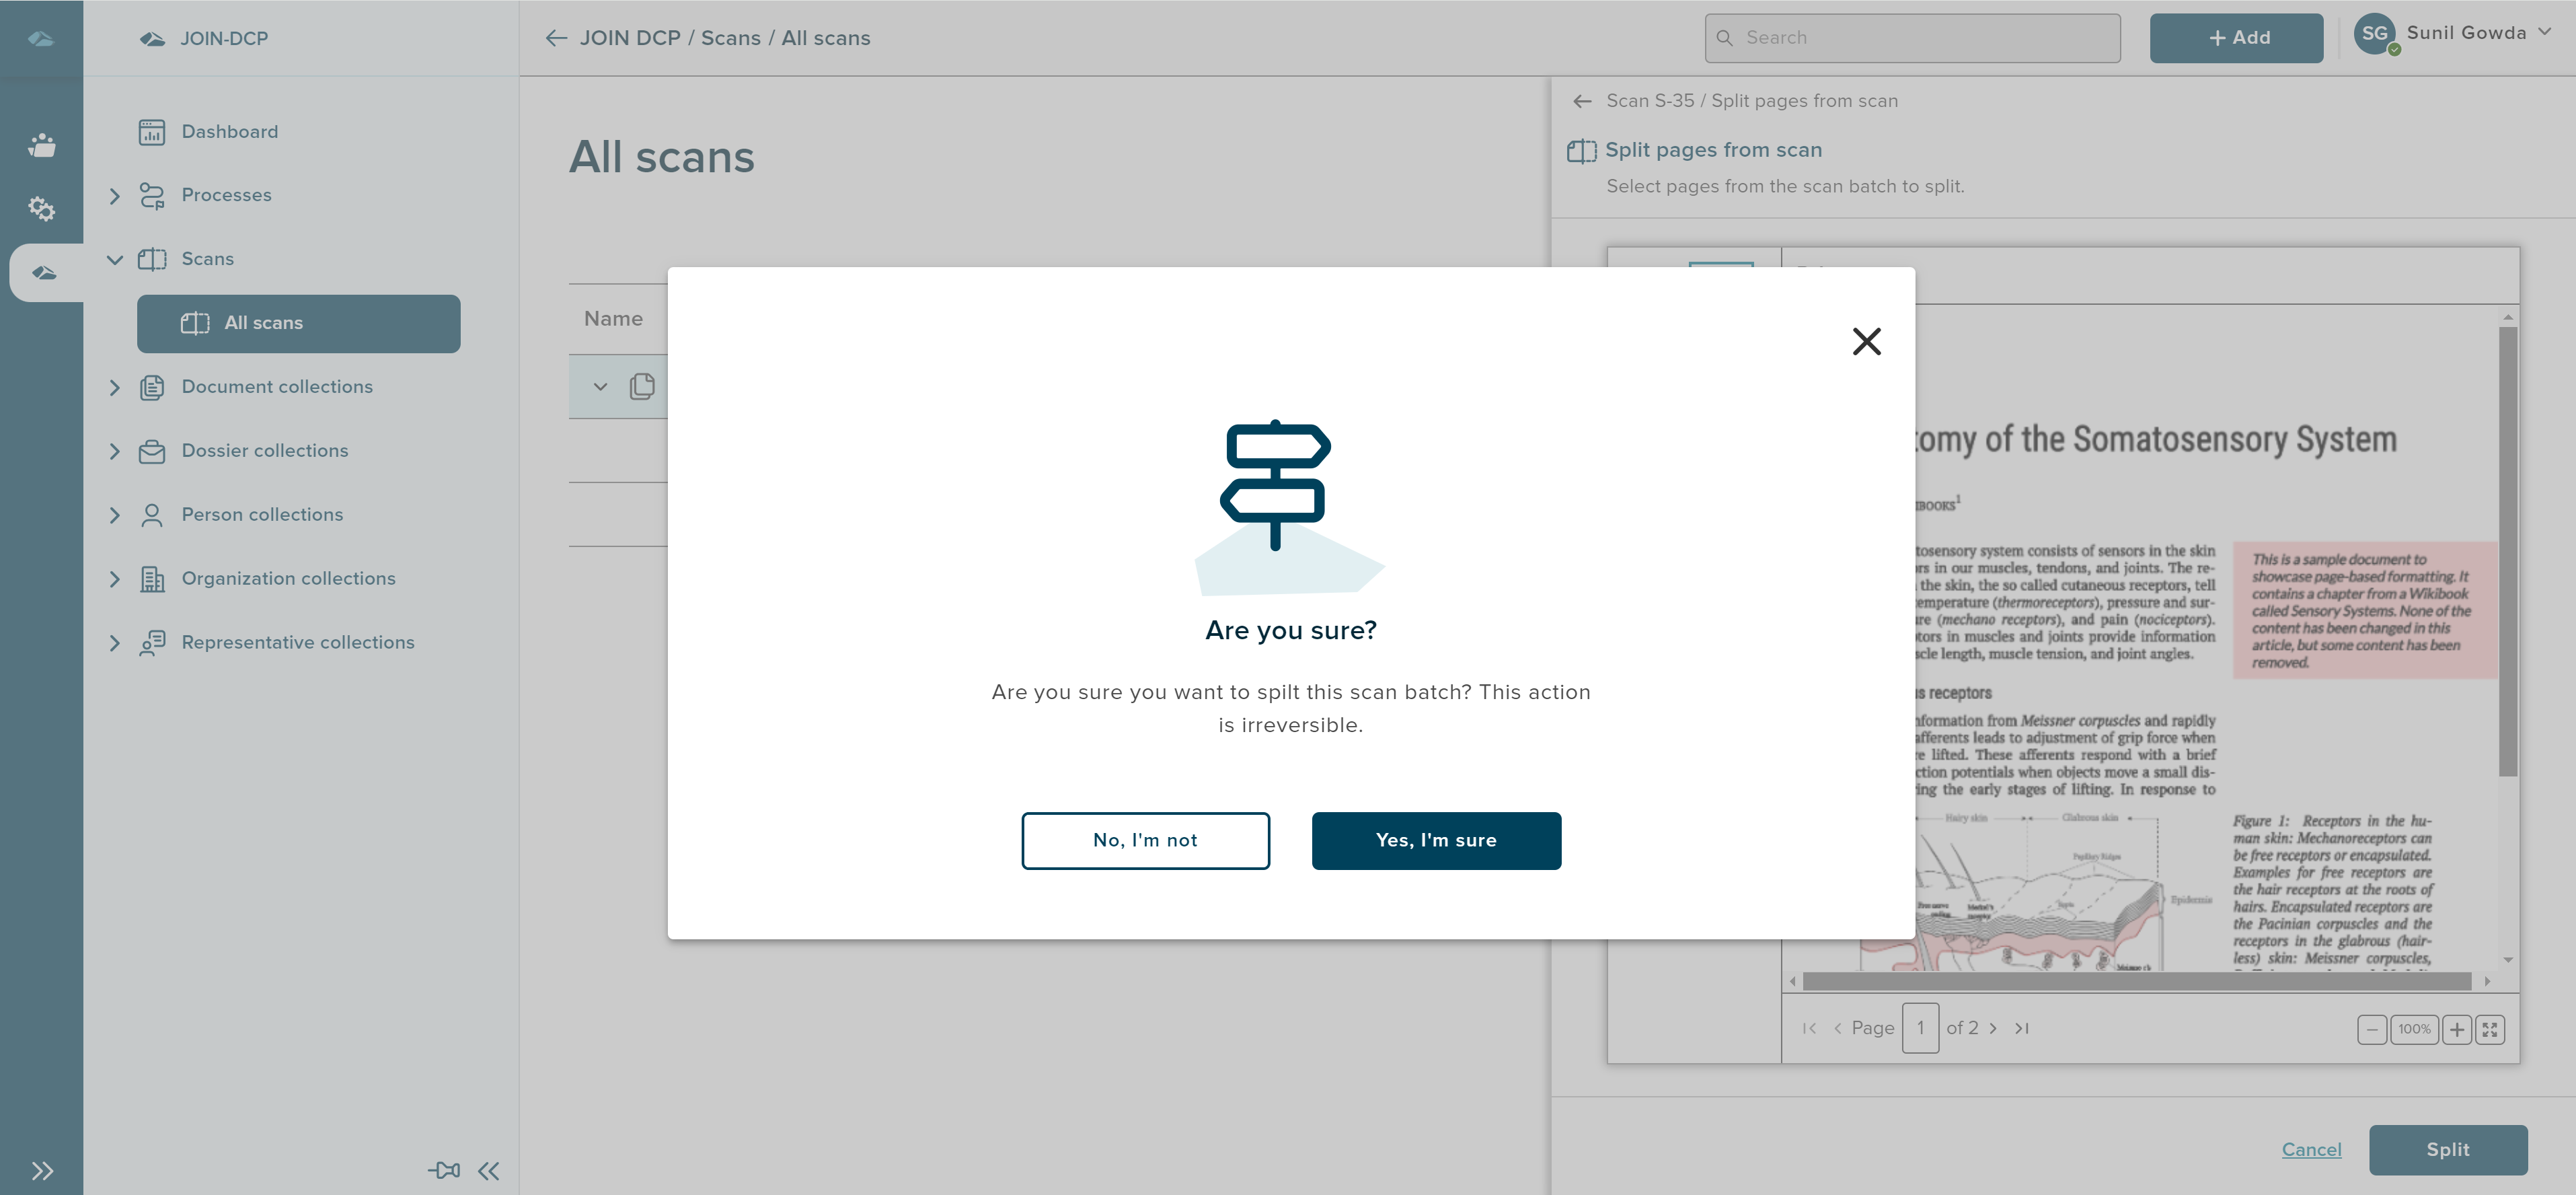
User can perfom the same actions from the scan viewer. user can click on the split button available and make the selection of the pages and then confirm in pop-up message.
¶ Remove the scan batch from scan viewer side panel
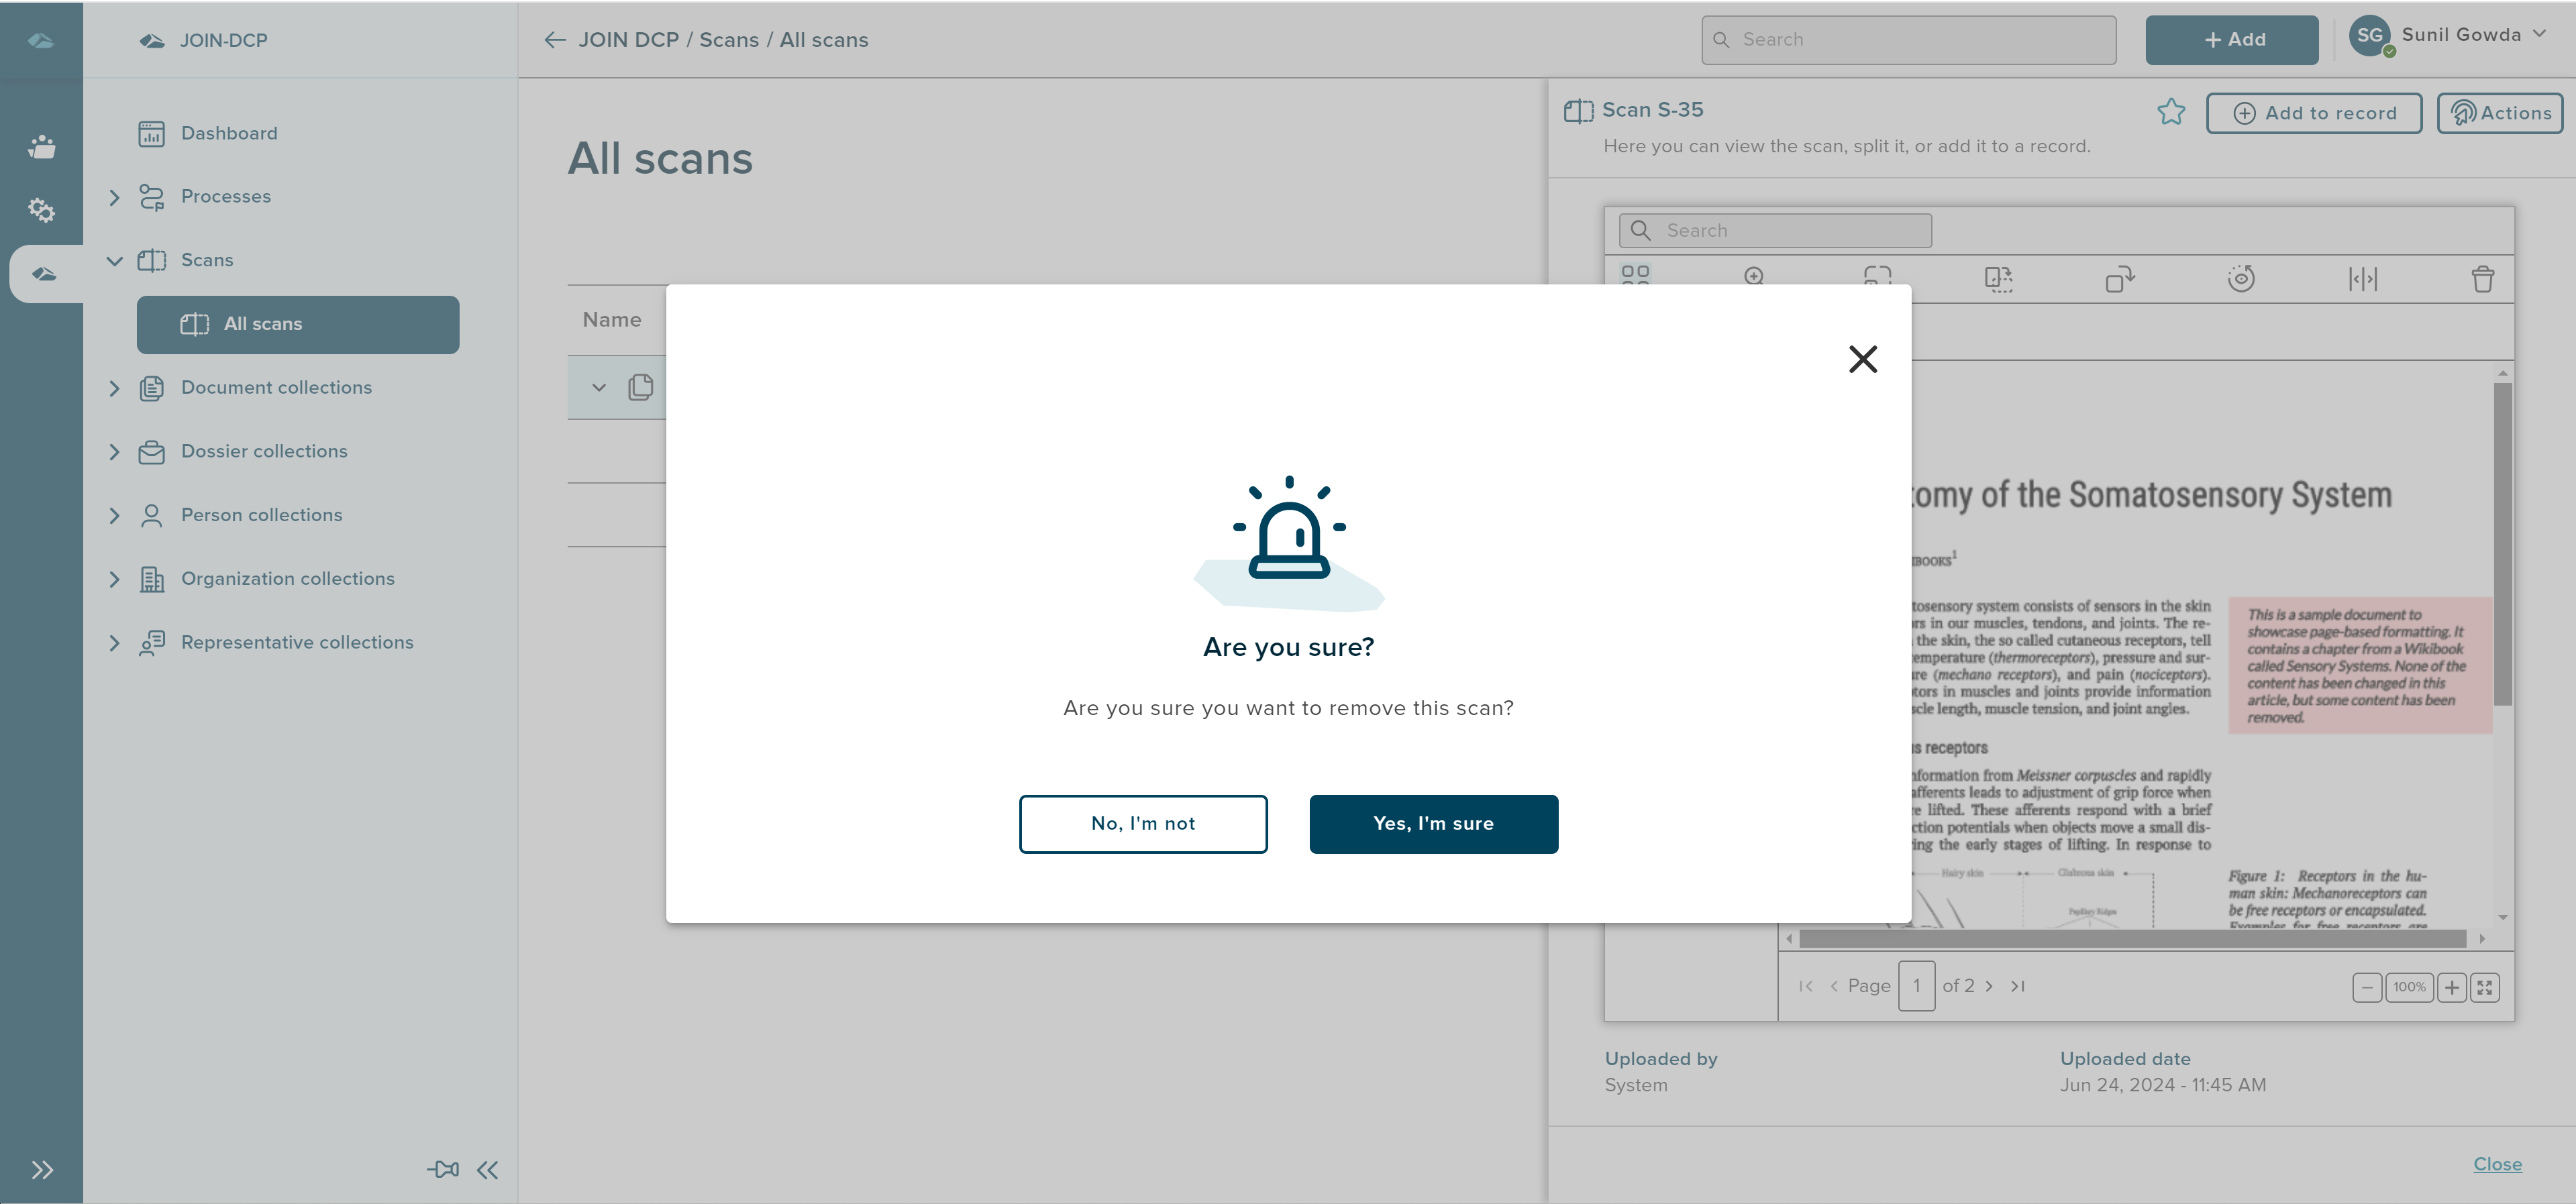
User clicks on the scan batch and can see the scan viewer in side panel. User can click on the Actions button on the top right corner and then click on the Remove option. User will be given the pop-up message to user. user can click on Yes, I’m Sure button to proceed and remove the scan or user can click on No, I’m not button to cancel the flow.
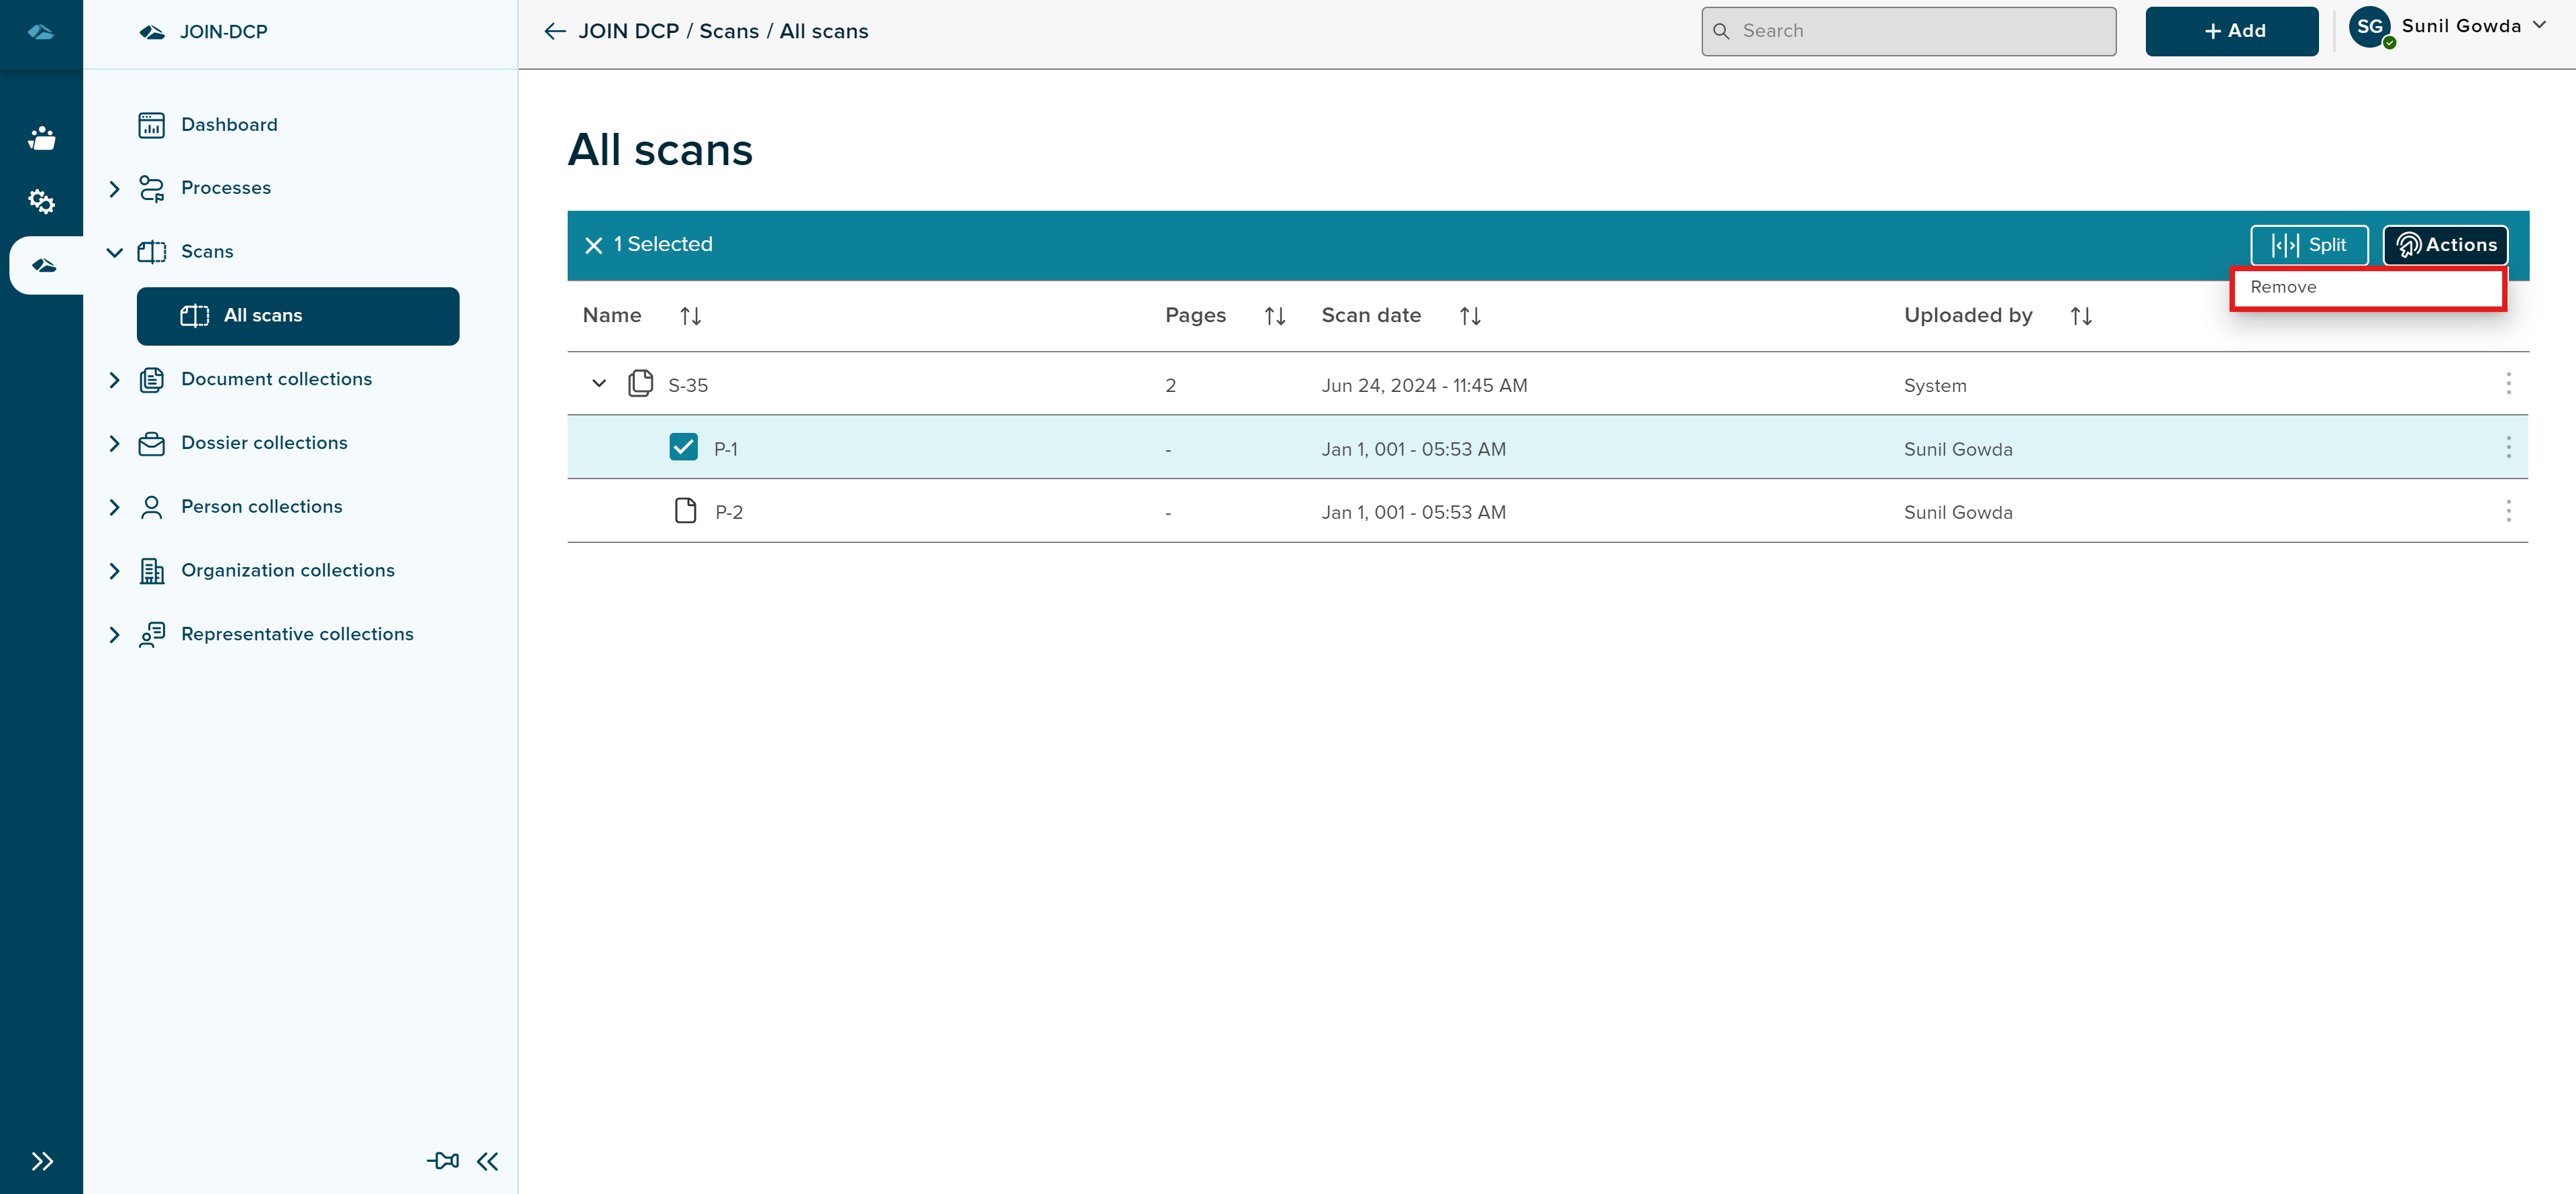
User can see “Actions” option in the top bar, which can be clicked and see “Remove” option. This button can be used to remove the selected scan pages.
¶ Add Scan to Record Flow
There are 3 ways to add scan to a record such as
- From the kebab menu option Add to Record
- From the Add to Record button in scan viewer side panel
- From the Add to Record button in top bar row, when the scan batch is selected
Once the Add to Record button is clicked, User can see the split screen with left side opening the scan viewer and right side opening the Add scan to record panel.
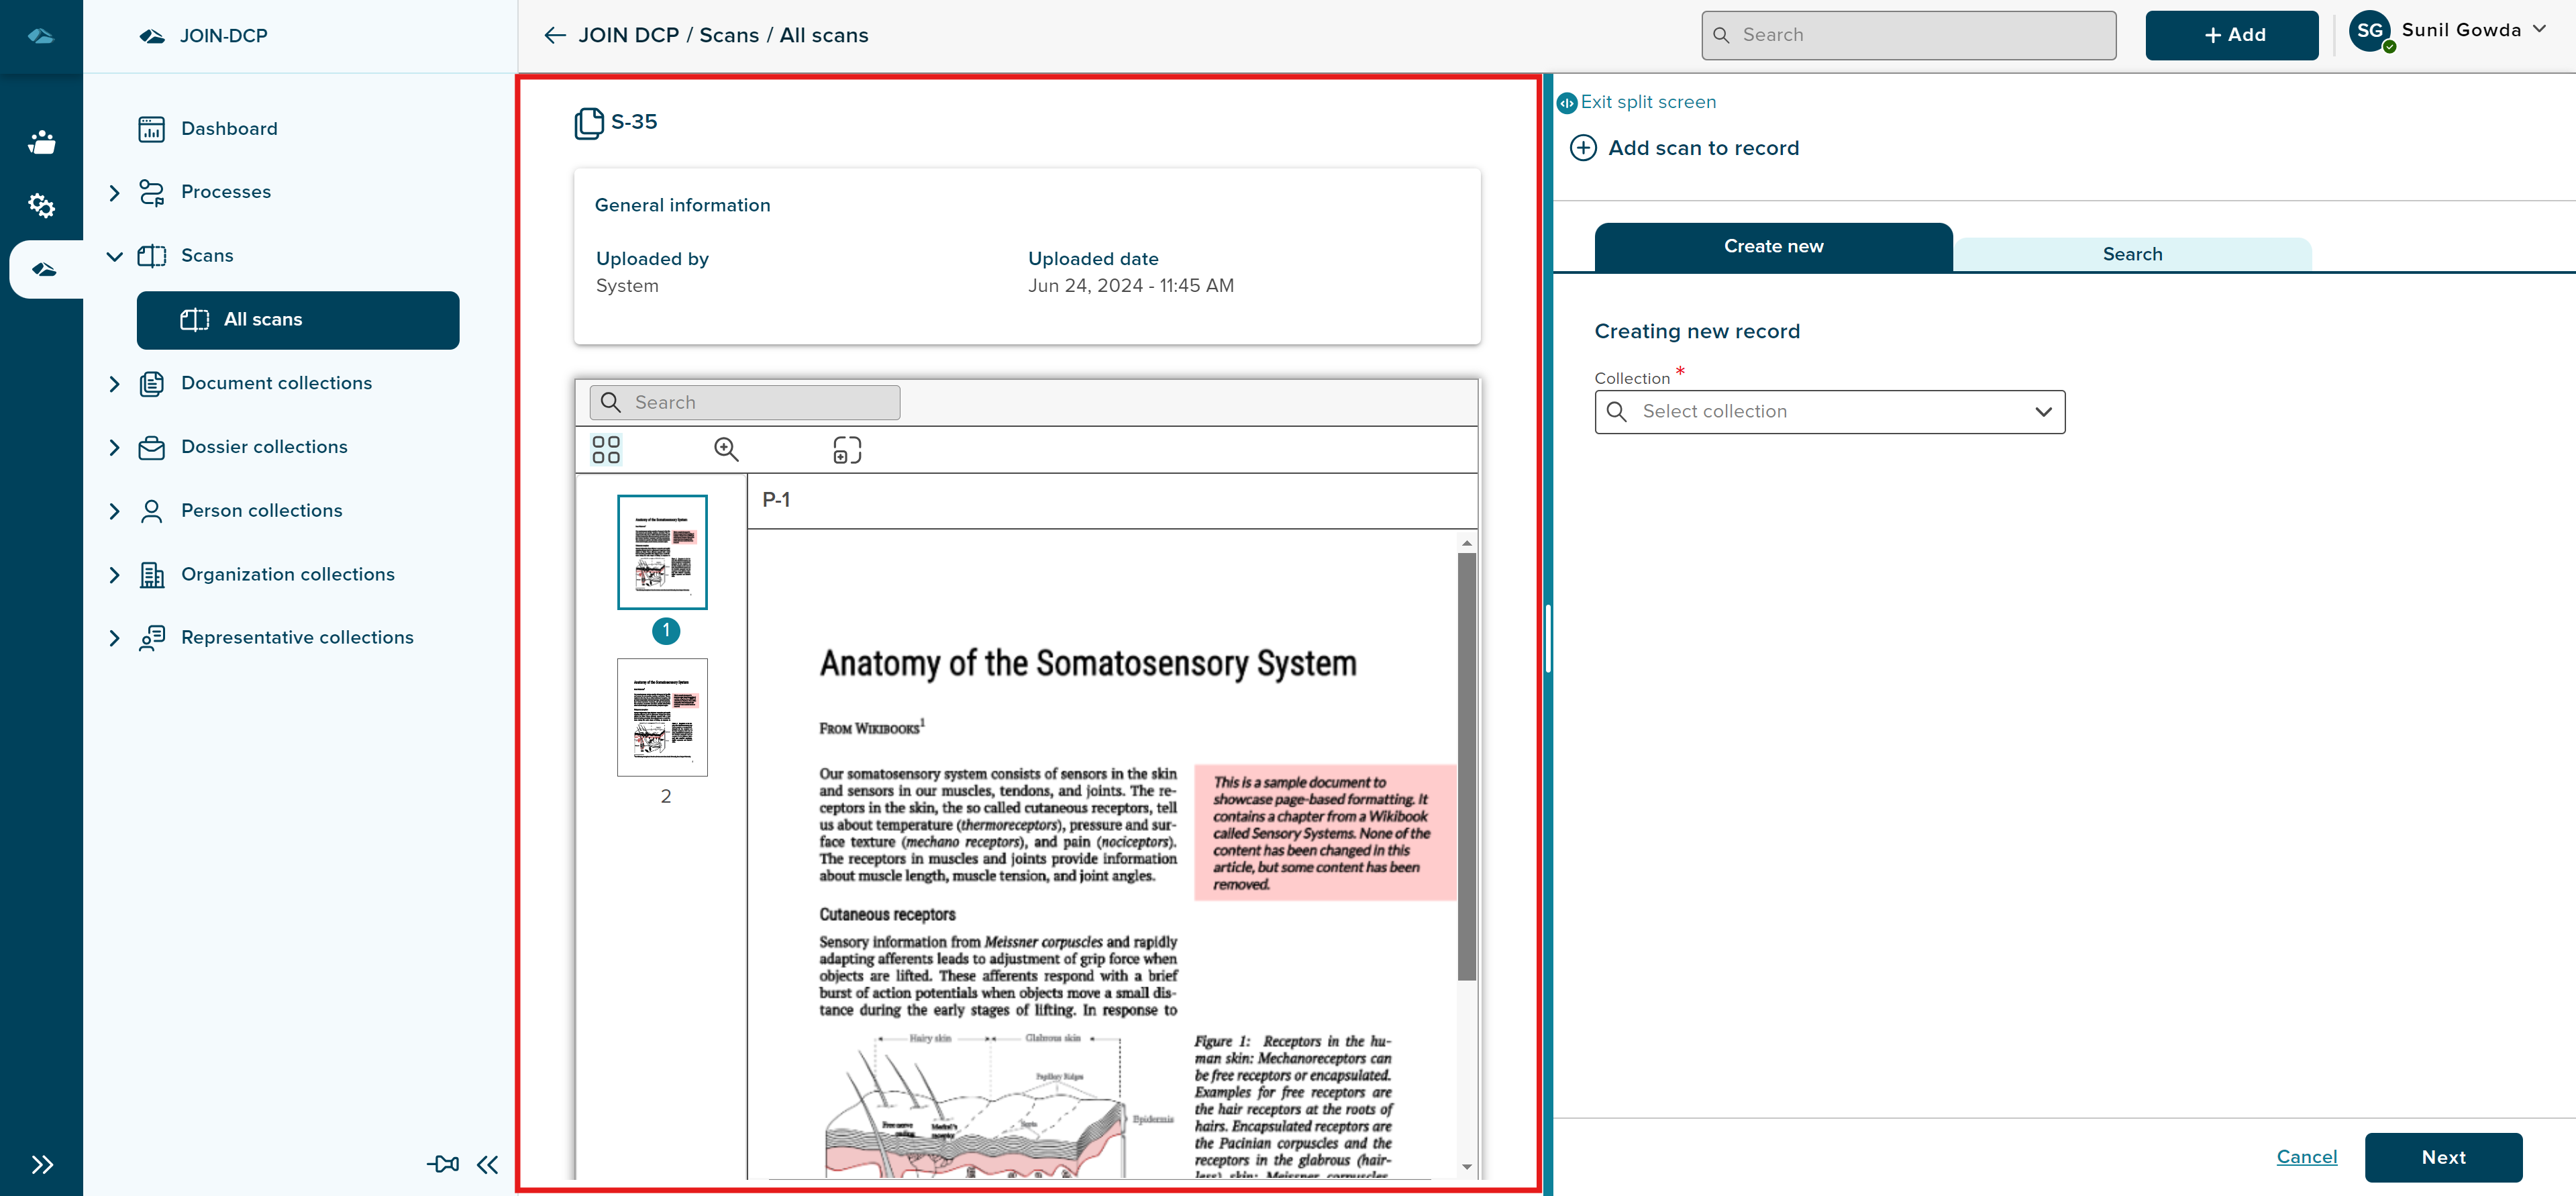
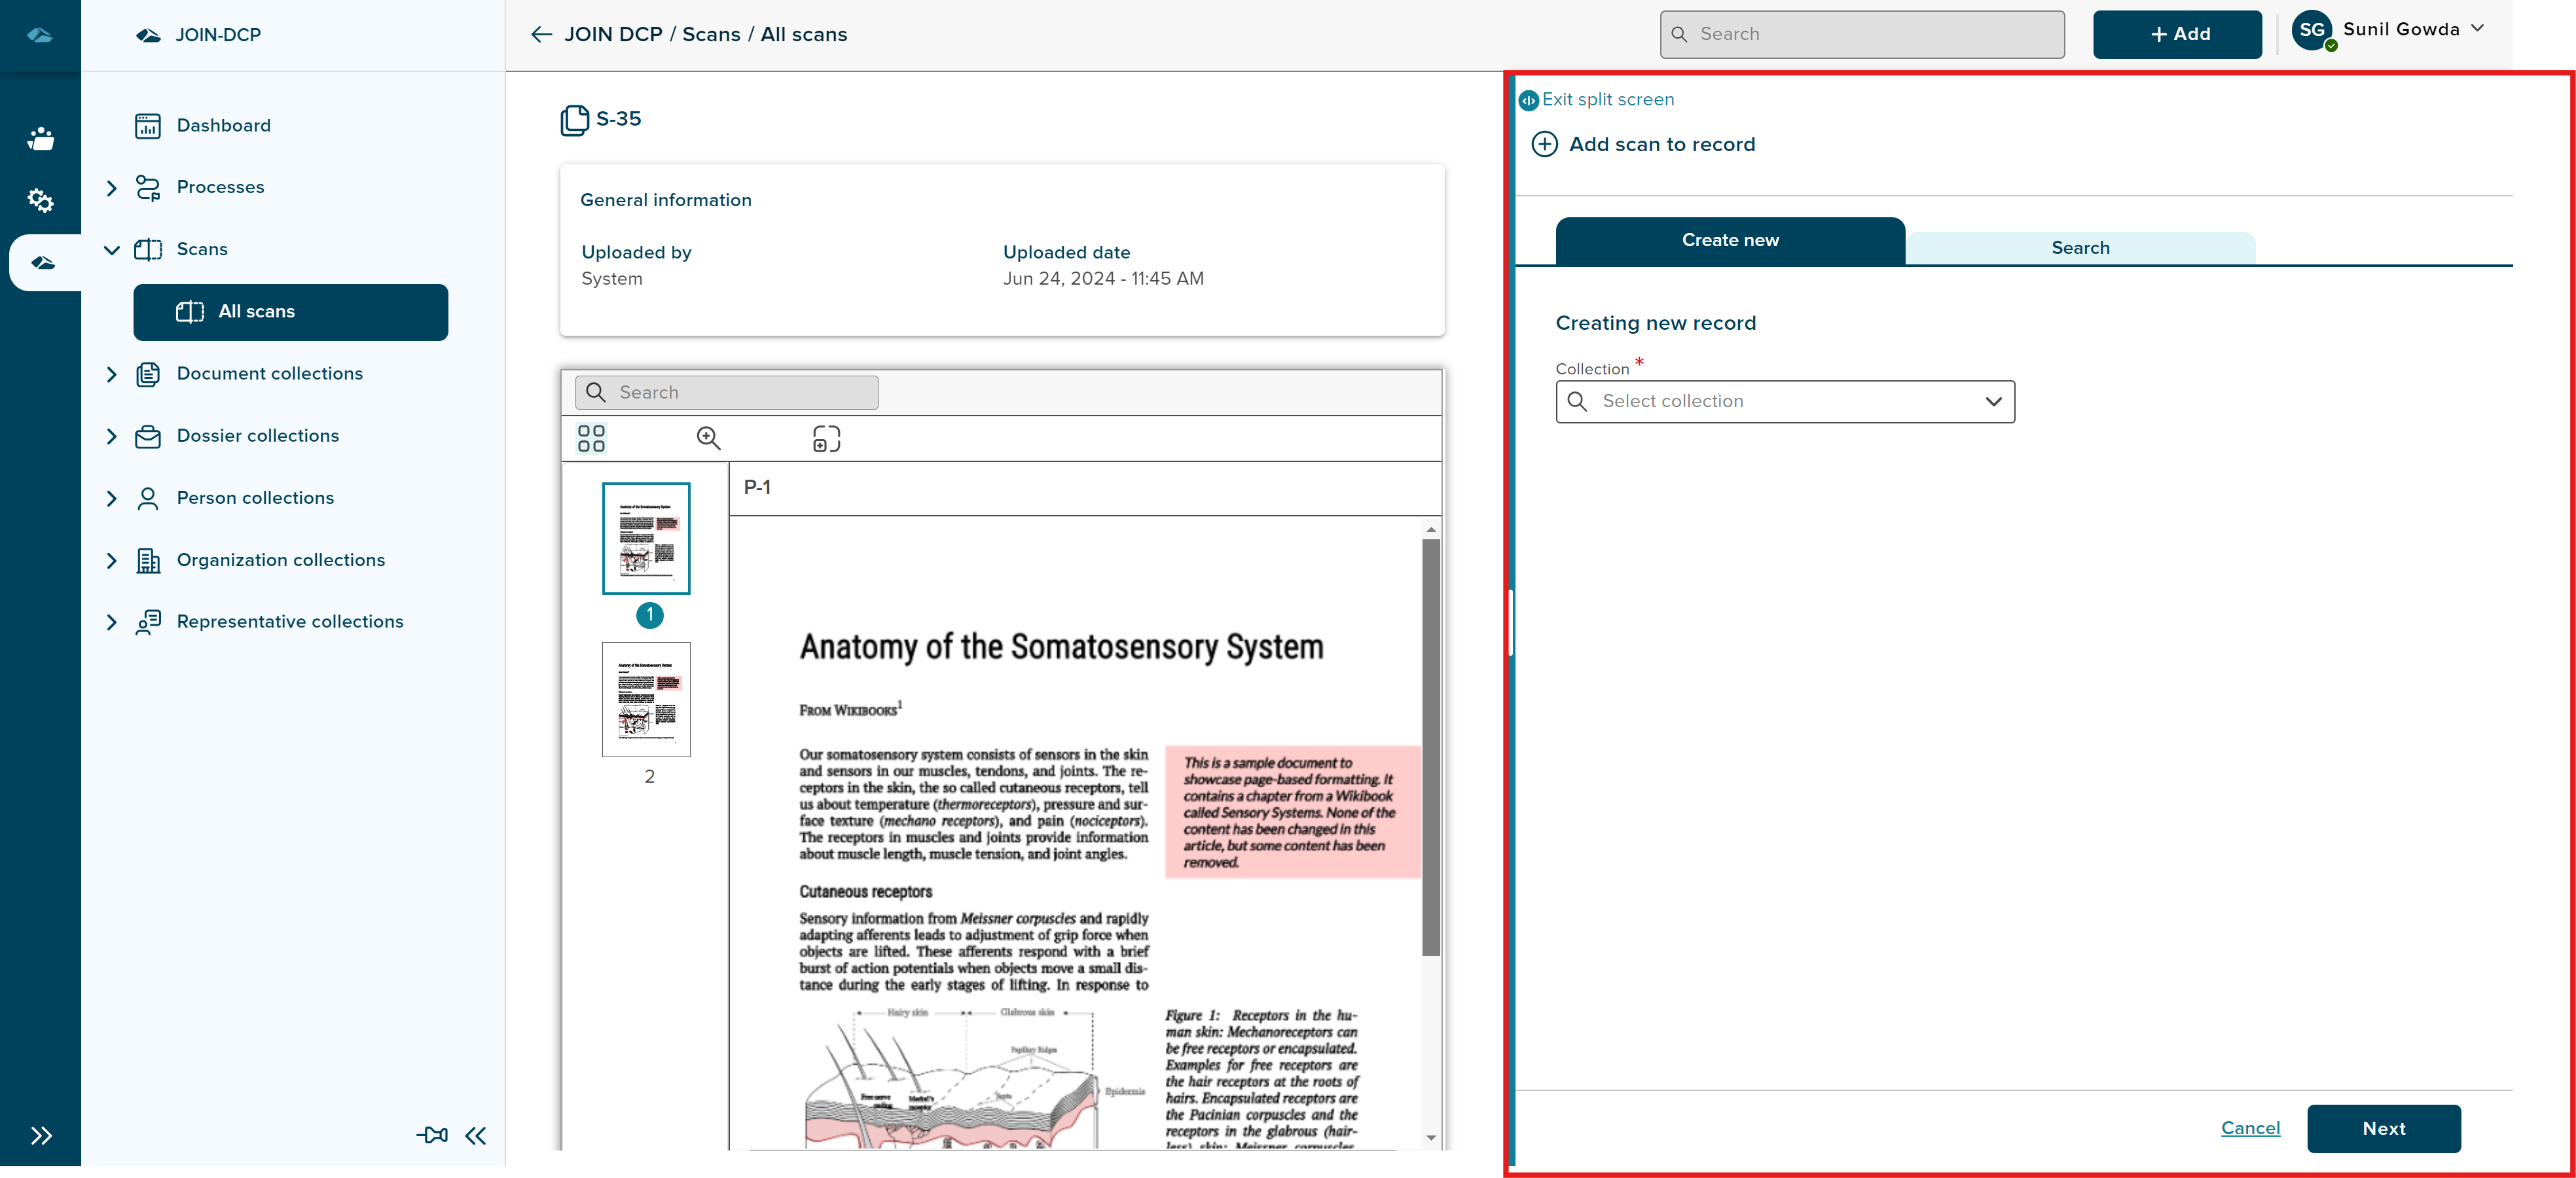
In the Right side panel, user has 2 option, either to create new record or selecting the exisiting record from search tab.
Creating new record - User can click on Collection dropdown and select any option such as Document, Dossier, Process. Adding scan to document steps are explained below.
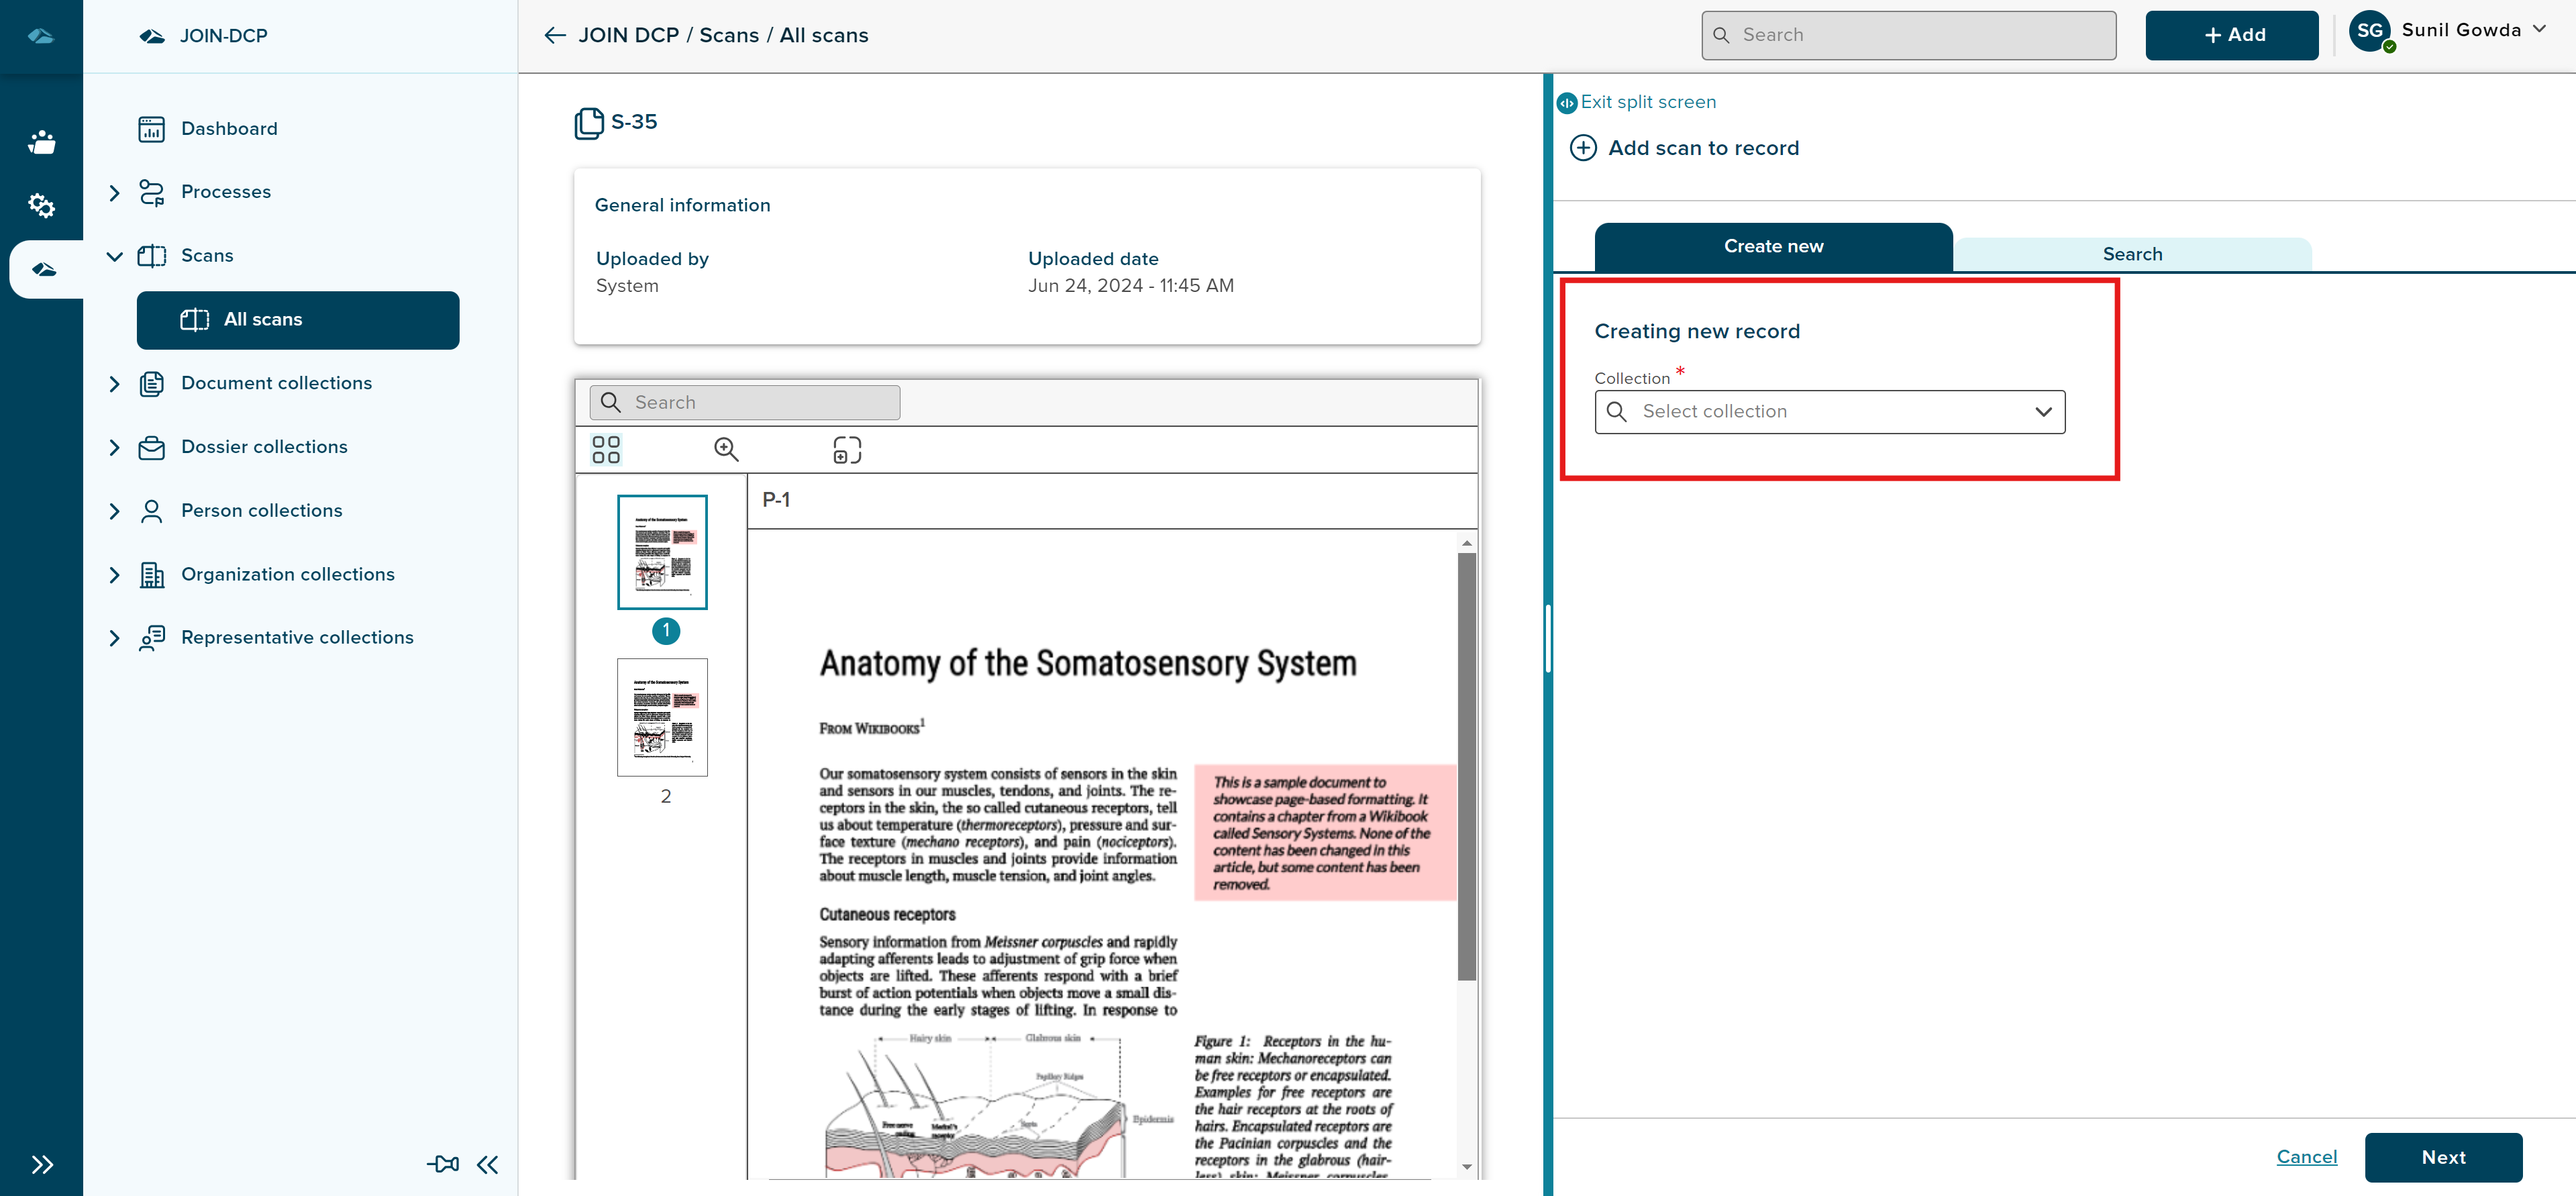

- User can select the Document collection option from the dropdown and then select the specific document collection for which user wants to create new document and add the scan.
- User can click on Next button in the bottom to proceed to next steps, or user can click on Cancel button to stop further steps.
- User can see the New Document collection form to fill in the details, and user can also see the added scan in the linked files.
- Once the details are filled, user can click on Create button in the bottom to proceed further or user can click on previous button to move back to previous step. If user clicks on Previous button, then user is given a warning message on losing the content. Here user can click on Yes, I’m Sure button to proceed or user can click on No, I’m not button to cancel the flow.
- User can cancel the add scan flow by clicking on the Cancel button in the bottom. If user clicks on Cancel button, then user is given a warning message on losing the content. Here user can click on Yes, I’m Sure button to proceed or user can click on No, I’m not button to cancel the flow.
- Once user clicks on Create button, document is created and it is shown in the side panel, with toast message on the top, which will disappears after few secs.
- User can see the details of newly created document in the side panel or can click on close button to close the side panel.
- When user navigates back to the list view of the All scans, scan batch which was linked to doducment in the previous steps will be disappeared.
Search - User can select the exisiting record from the search tab. User can click on Collection dropdown and select any option such as Document, Dossier, Process. Adding scan to document steps are explained below.
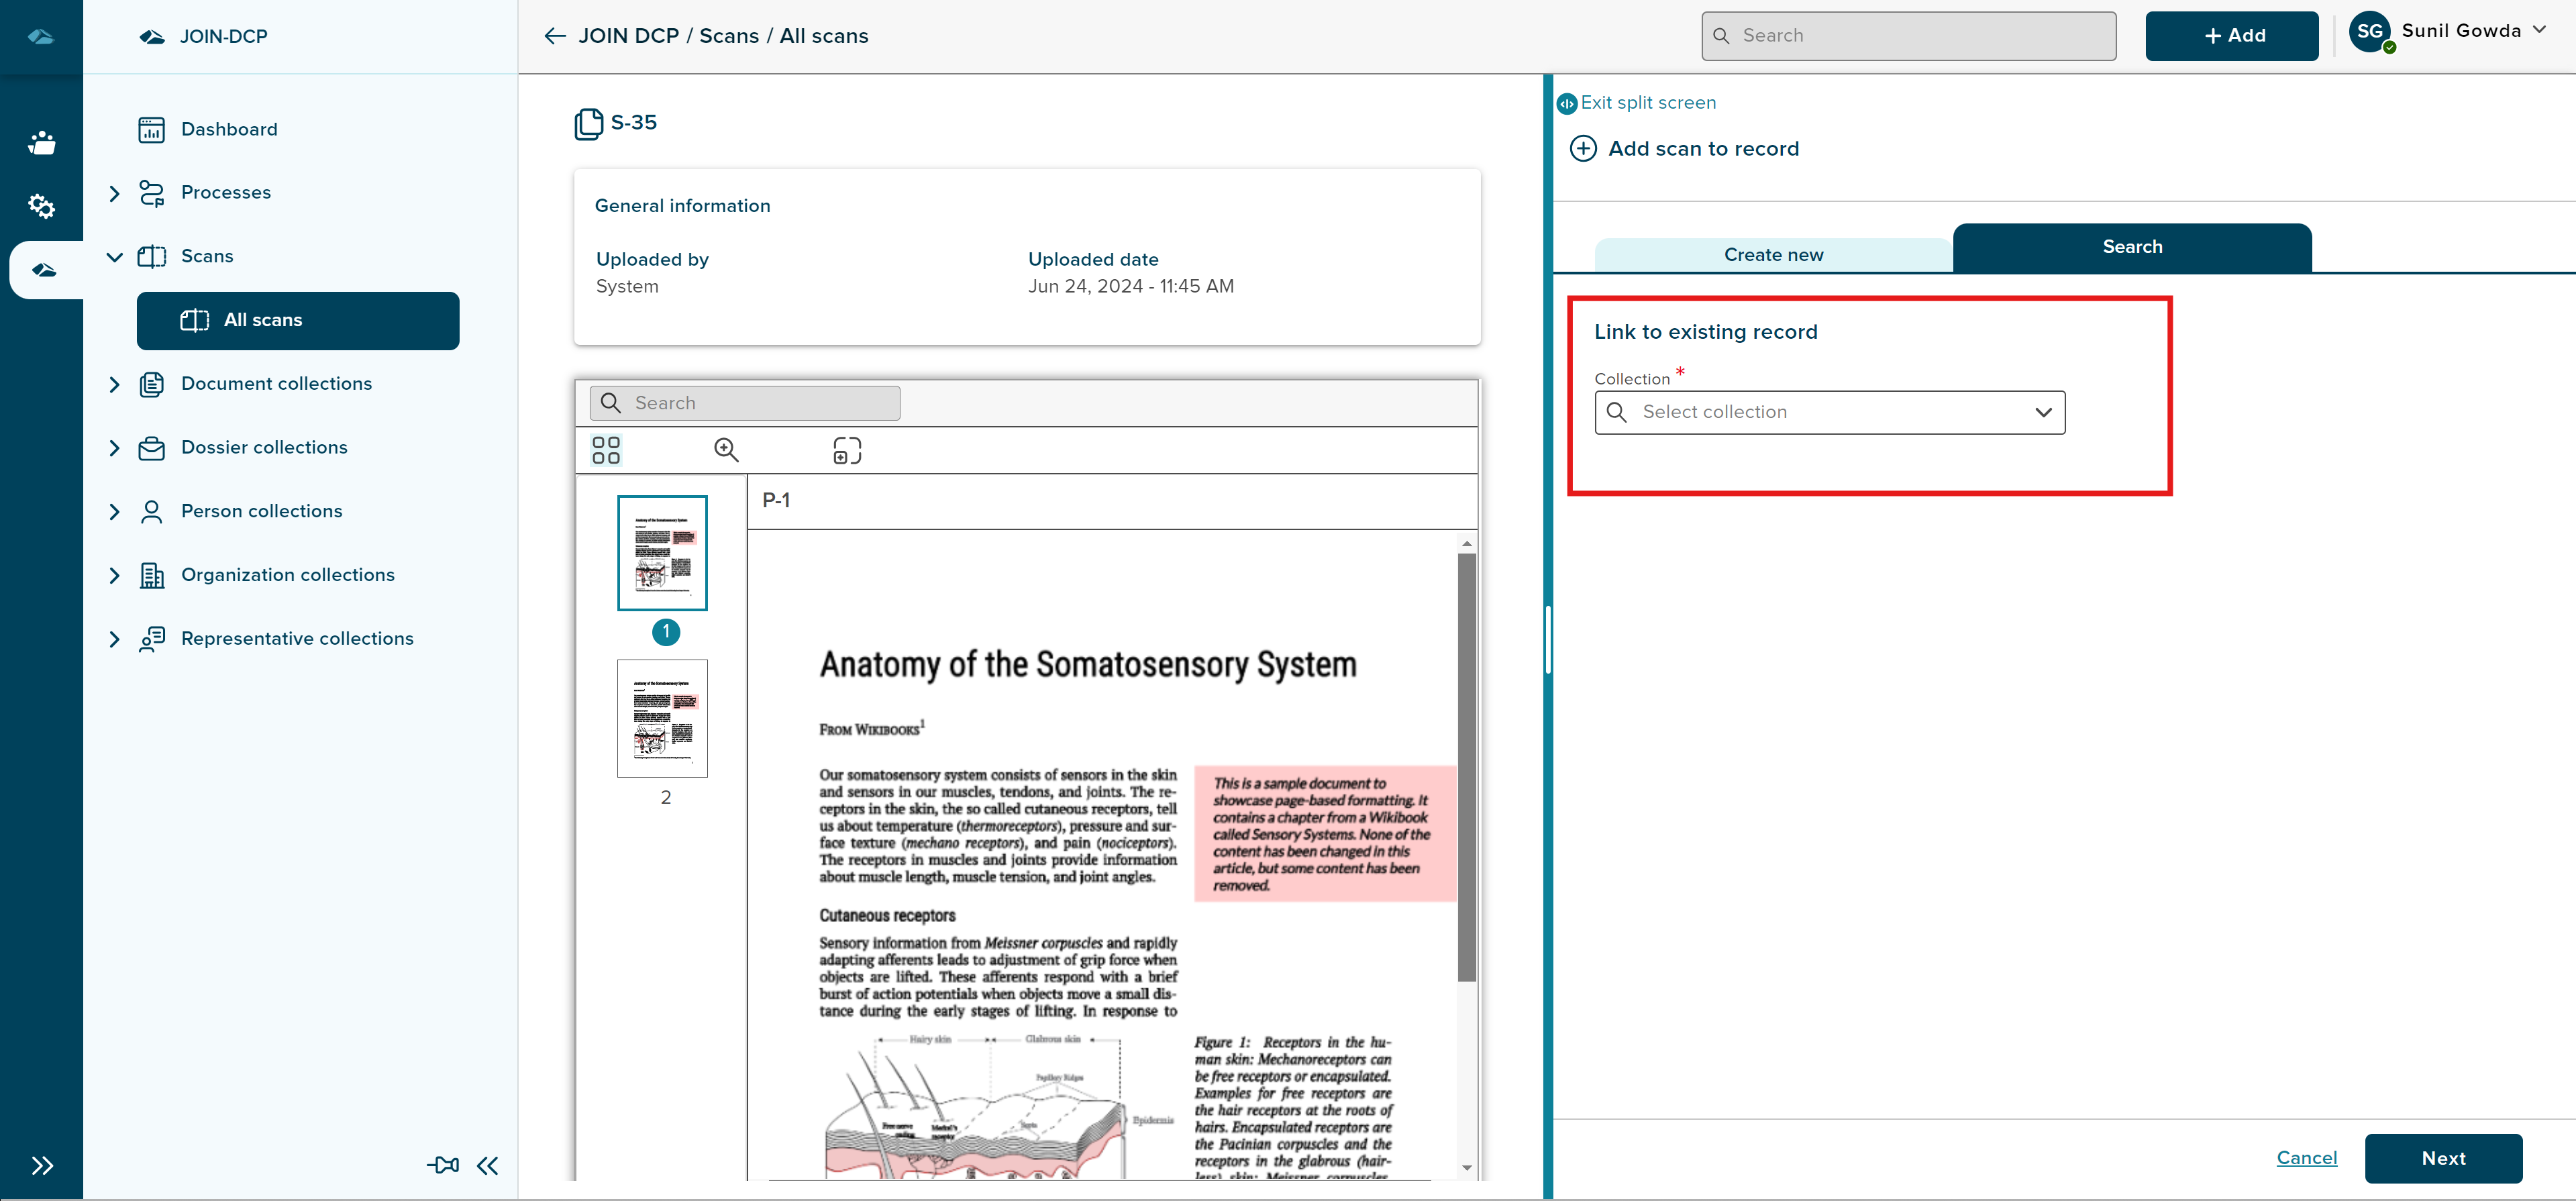
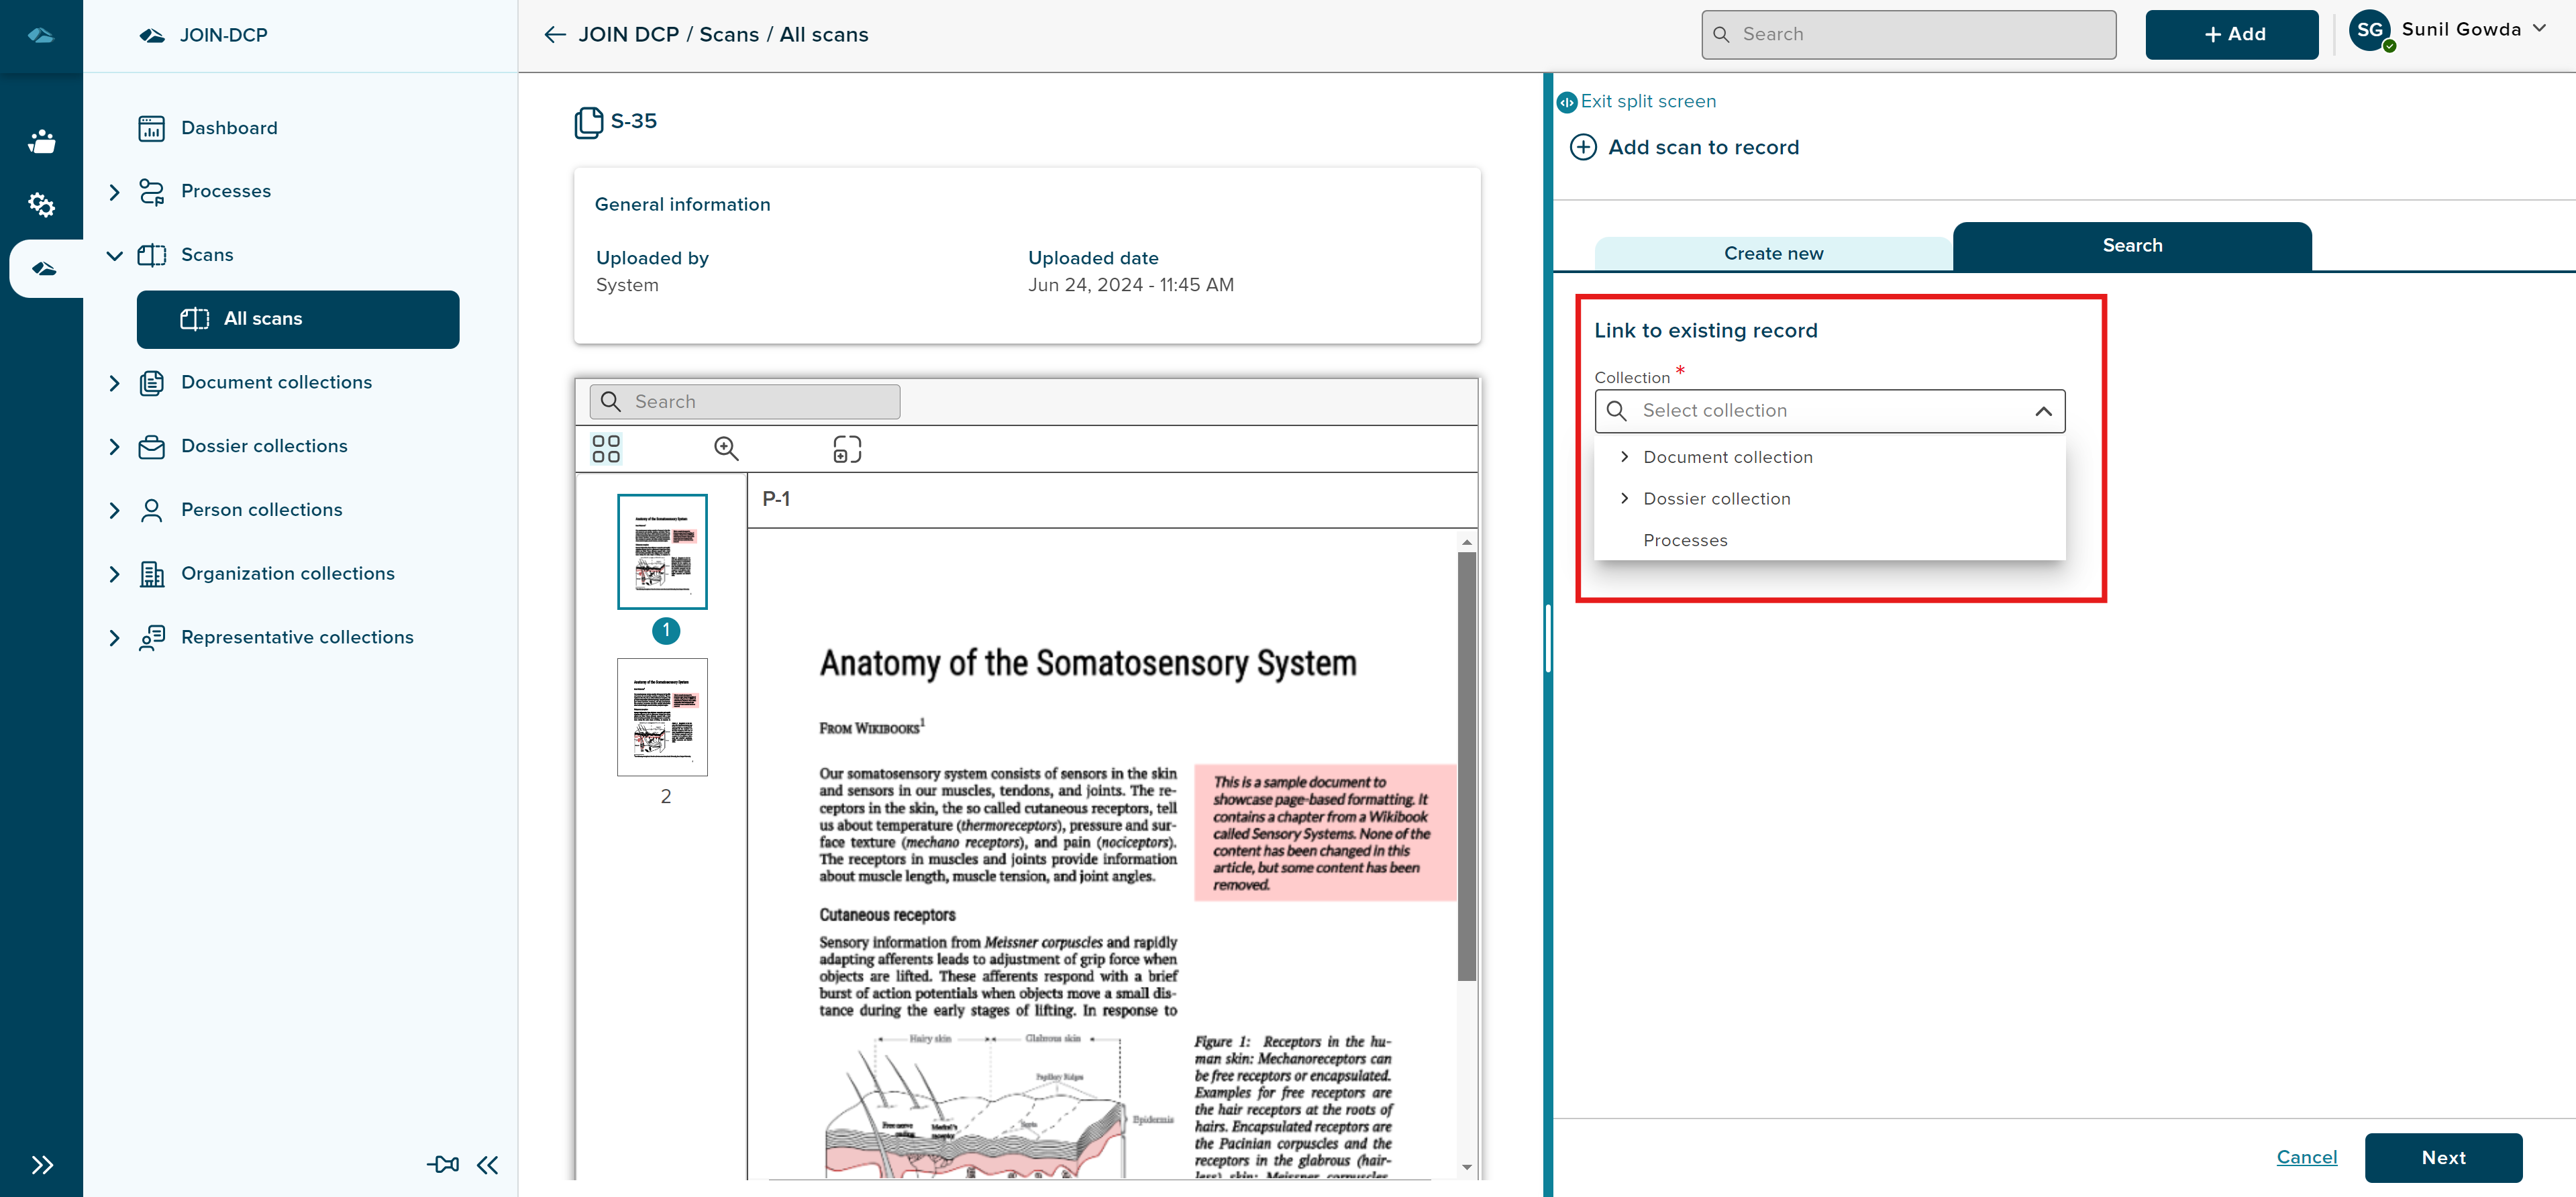
- User can select the Document collection option from the dropdown and then select the specific document collection for which user wants to select the existing record and add the scan.
- User can click on Next button in the bottom to proceed to next steps, or user can click on Cancel button to stop further steps.
- User can see the list of records from the selected document collection, and user can click on the record, which will highlight the record.
- User can click on Link button in the bottom to proceed further or user can click on previous button to move back to previous step.
- User can cancel the add scan flow by clicking on the Cancel button in the bottom.
- Once user clicks on Link button, Scan is linked to document and it is shown in the side panel, with toast message on the top, which will disappears after few secs.
- User can see the details of newly created document in the side panel or can click on close button to close the side panel.
- When user navigates back to the list view of the All scans, scan batch which was linked to doducment in the previous steps will be disappeared.