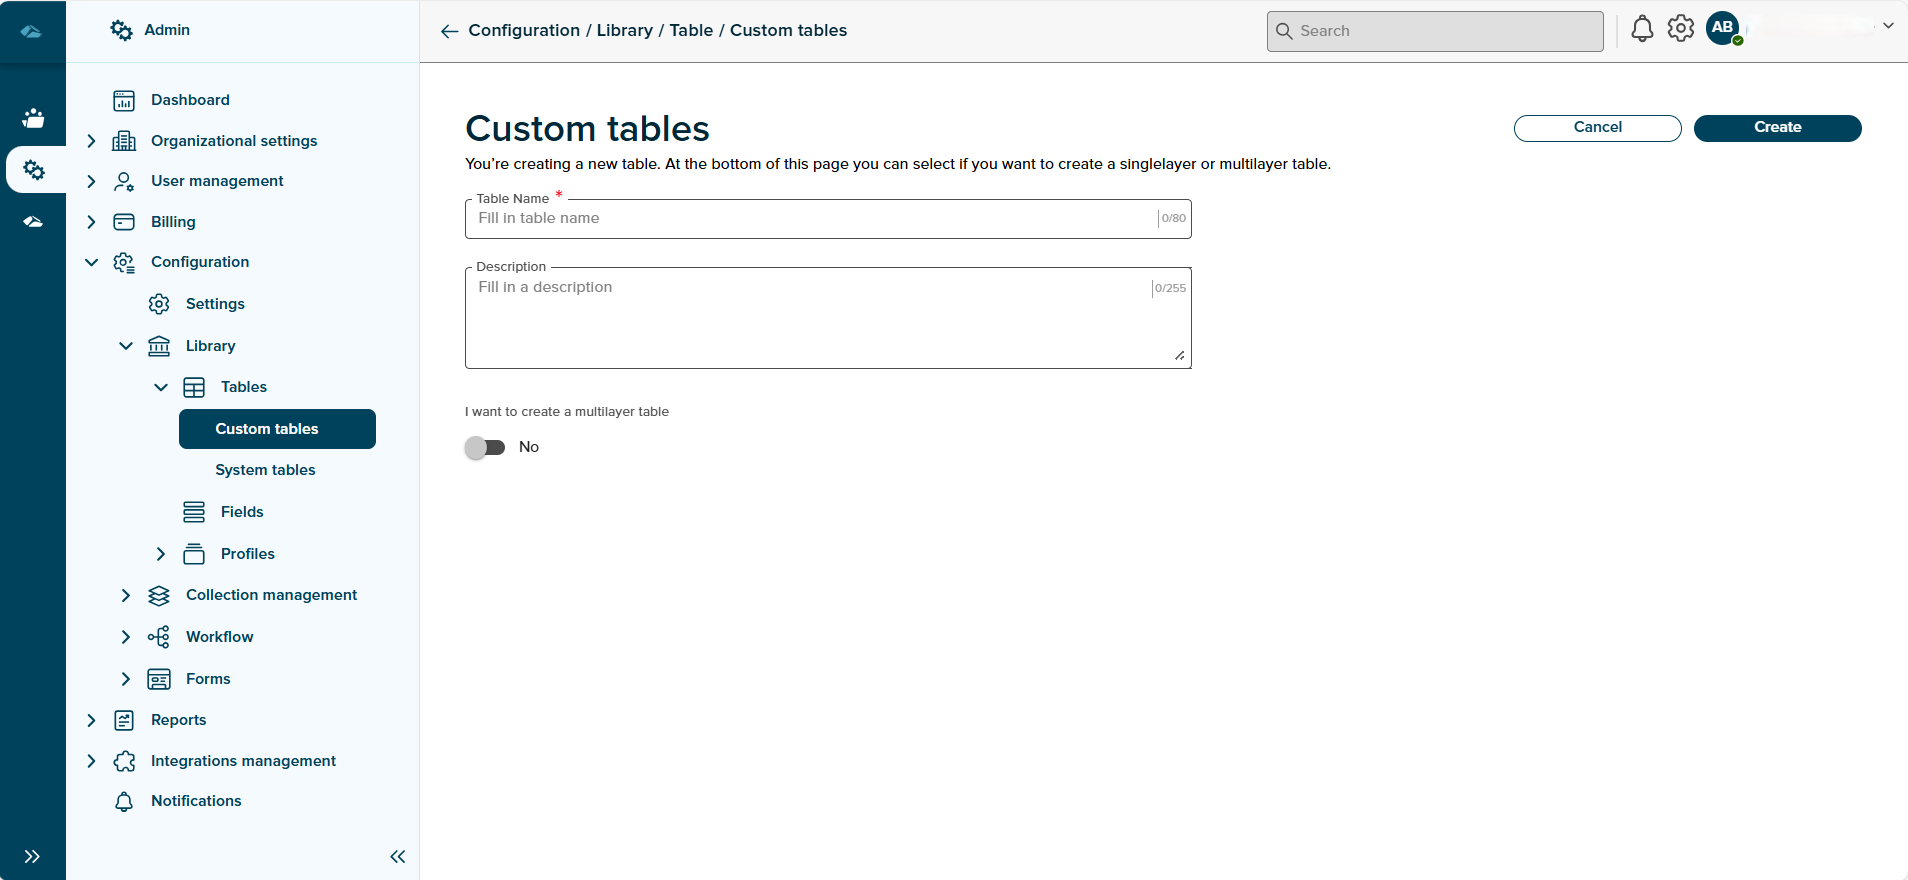
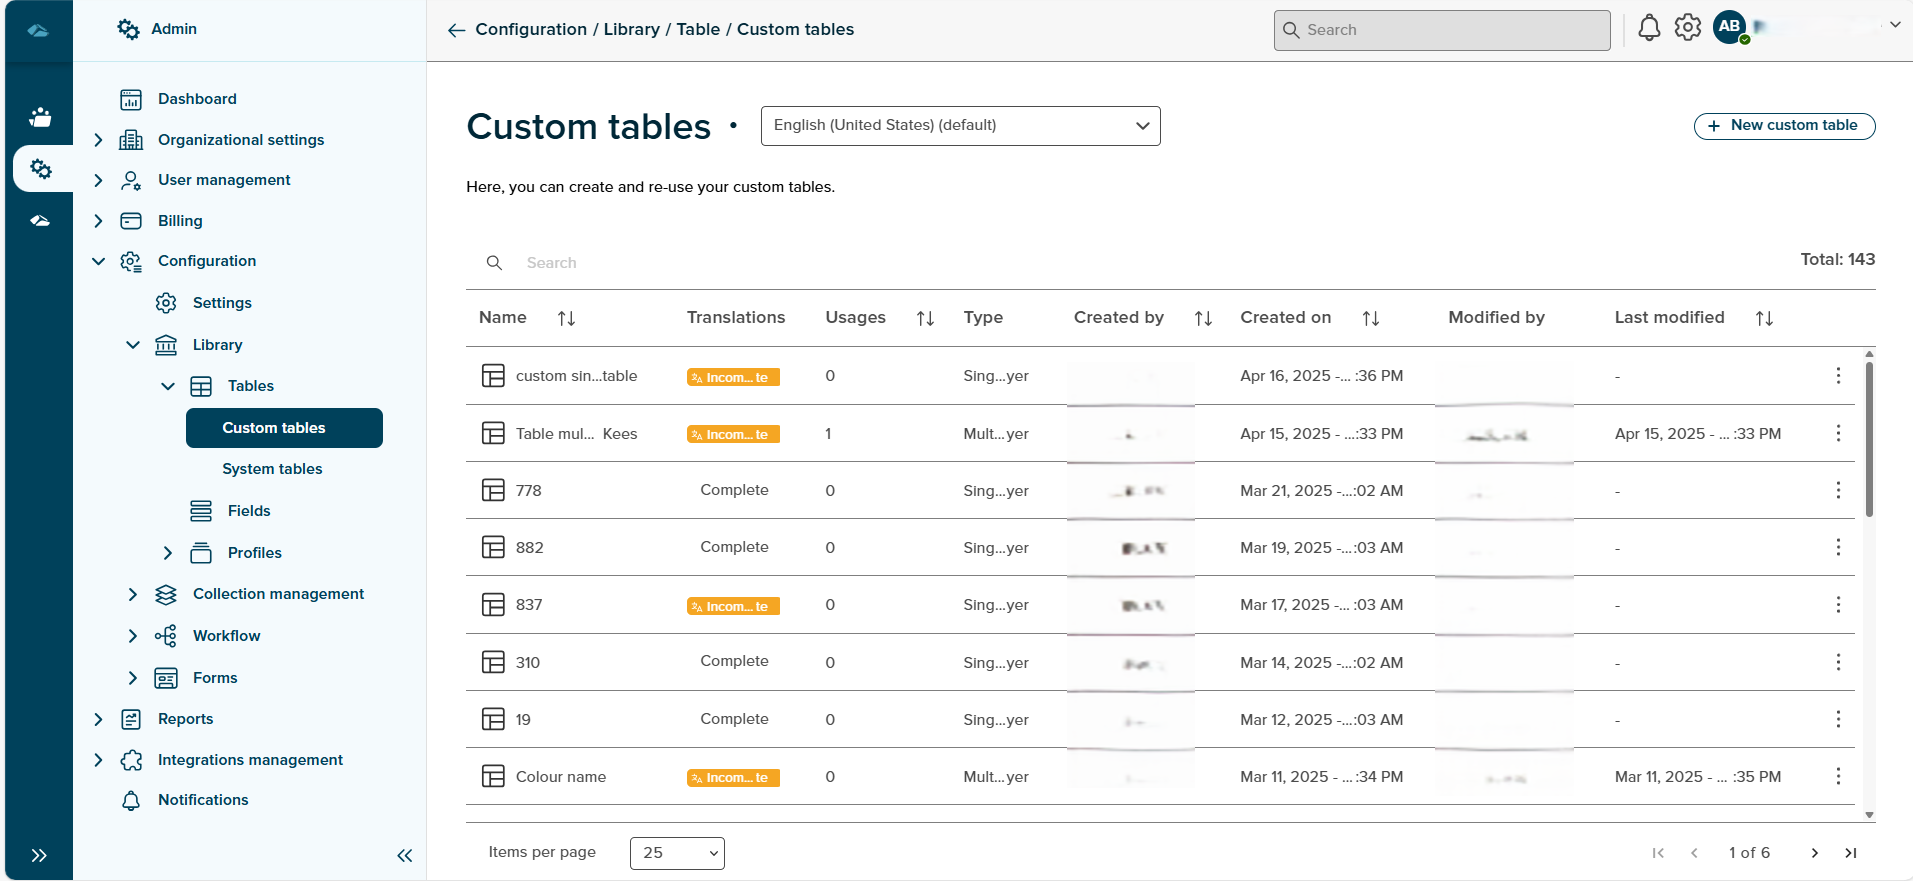
¶ Create Custom Table
On click of New Custom Table in the custom table overview Page, user will be landed in the creation page.
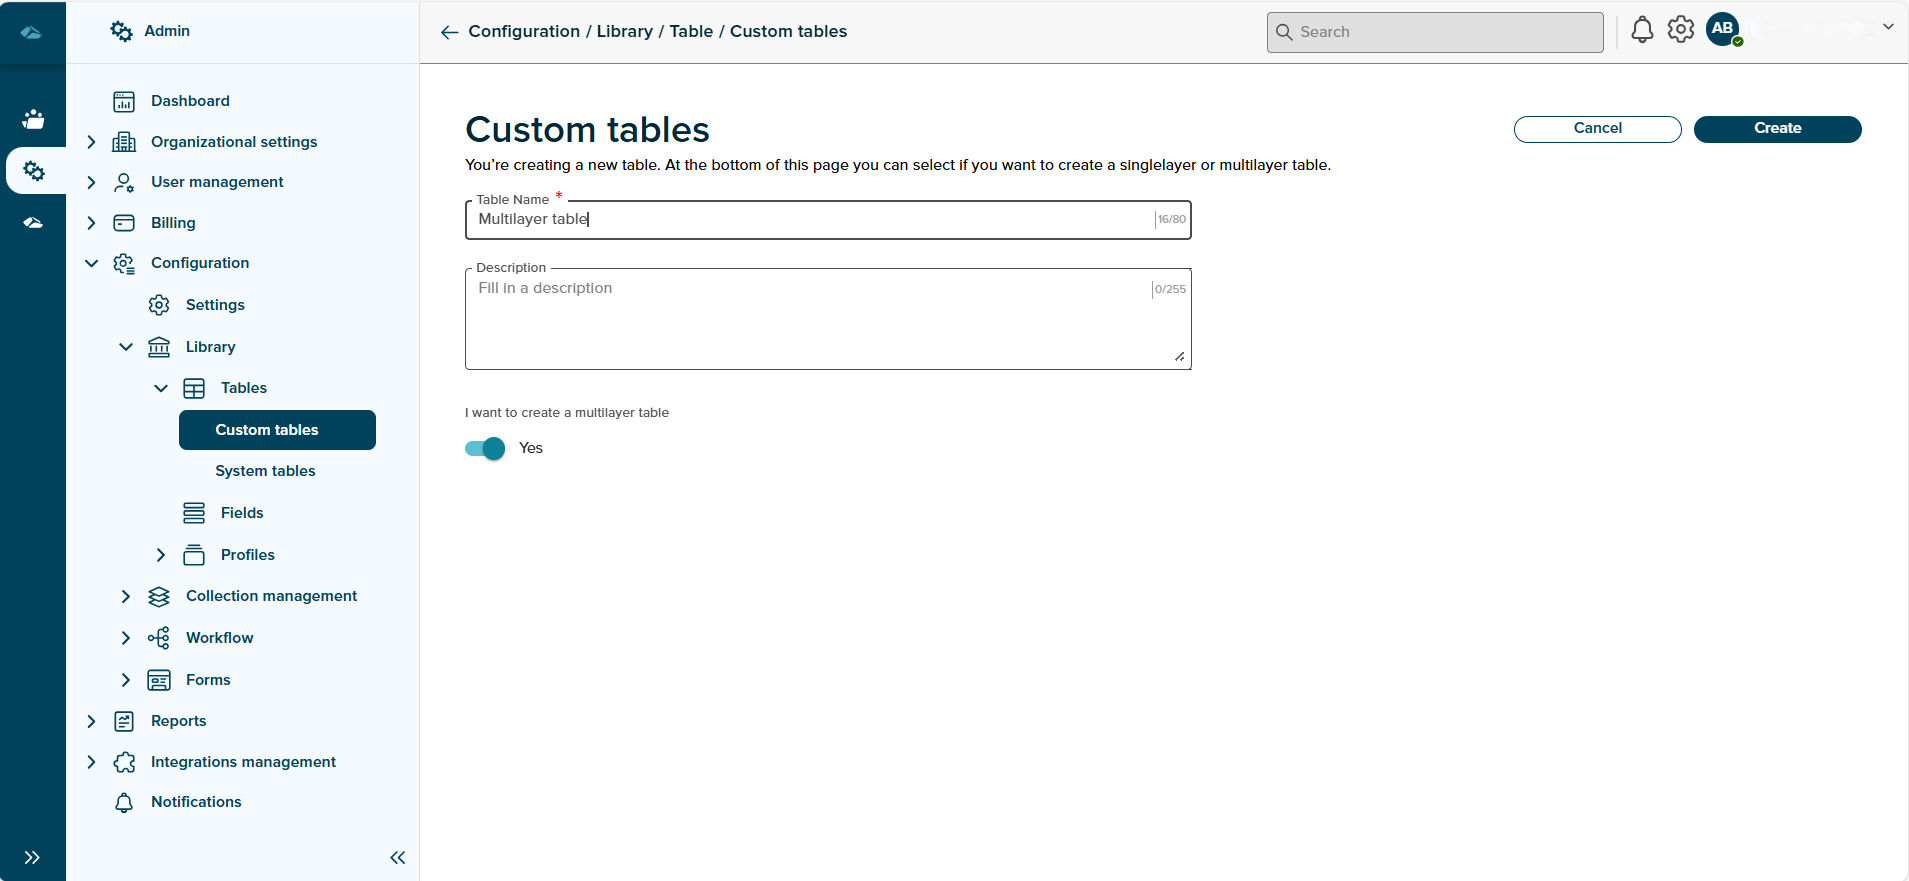
On this Page, we have two input fields, Table Name and Description field and selection field to decide whether user wants to create Single Layer Table or Multi Layer table.
Table Create Page will be displayed as below image.
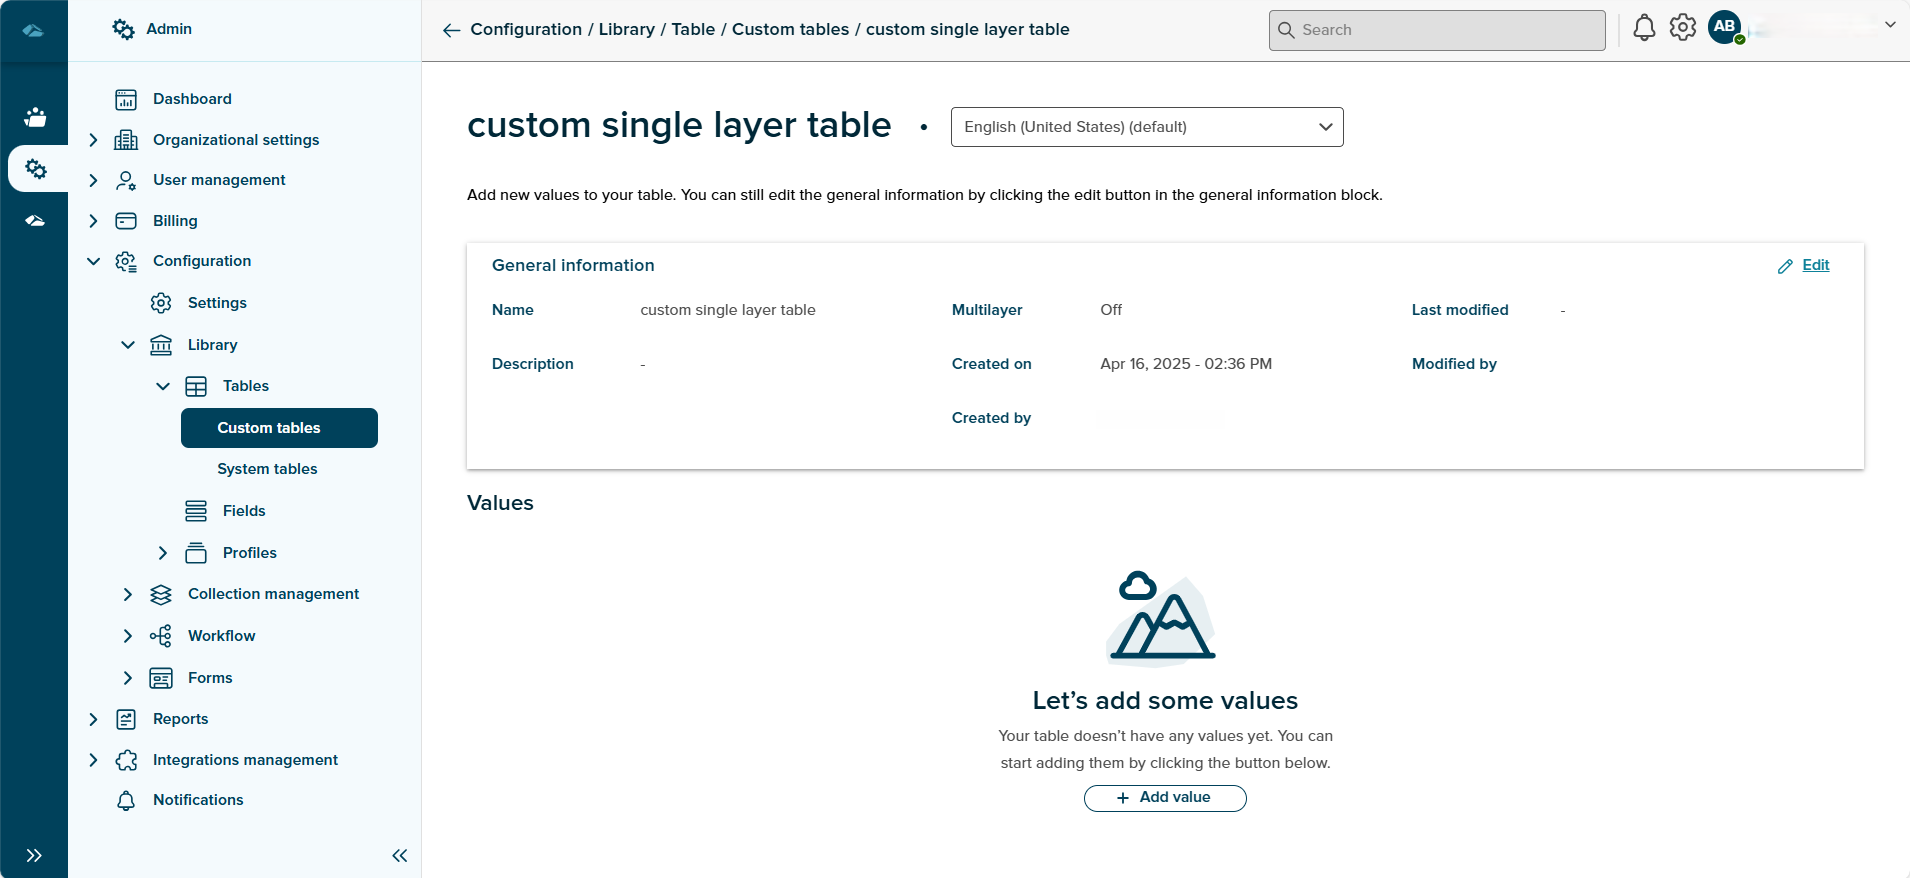
¶ Single Layer Custom table Creation
User needs to enter value for Table Name and Description Field.The Table name field supports upto 80 characters, there are no restrictions of any of the special characters and it is a required field and needs to be filled in order to proceed to the next step. The Description field is optional. User can move the toggle to “Yes” to make the table multilayer, if not user can leave the toggle to default, which is “No” value.
After clicking on Create button, user will be landed in detail page of custom table created, it will be displayed as below image.
¶ Adding Values to single layer
User can click on the Add value button and add the values to the table. On Clicking,a side panel will be opened in the right side of the screen, as in the below image.
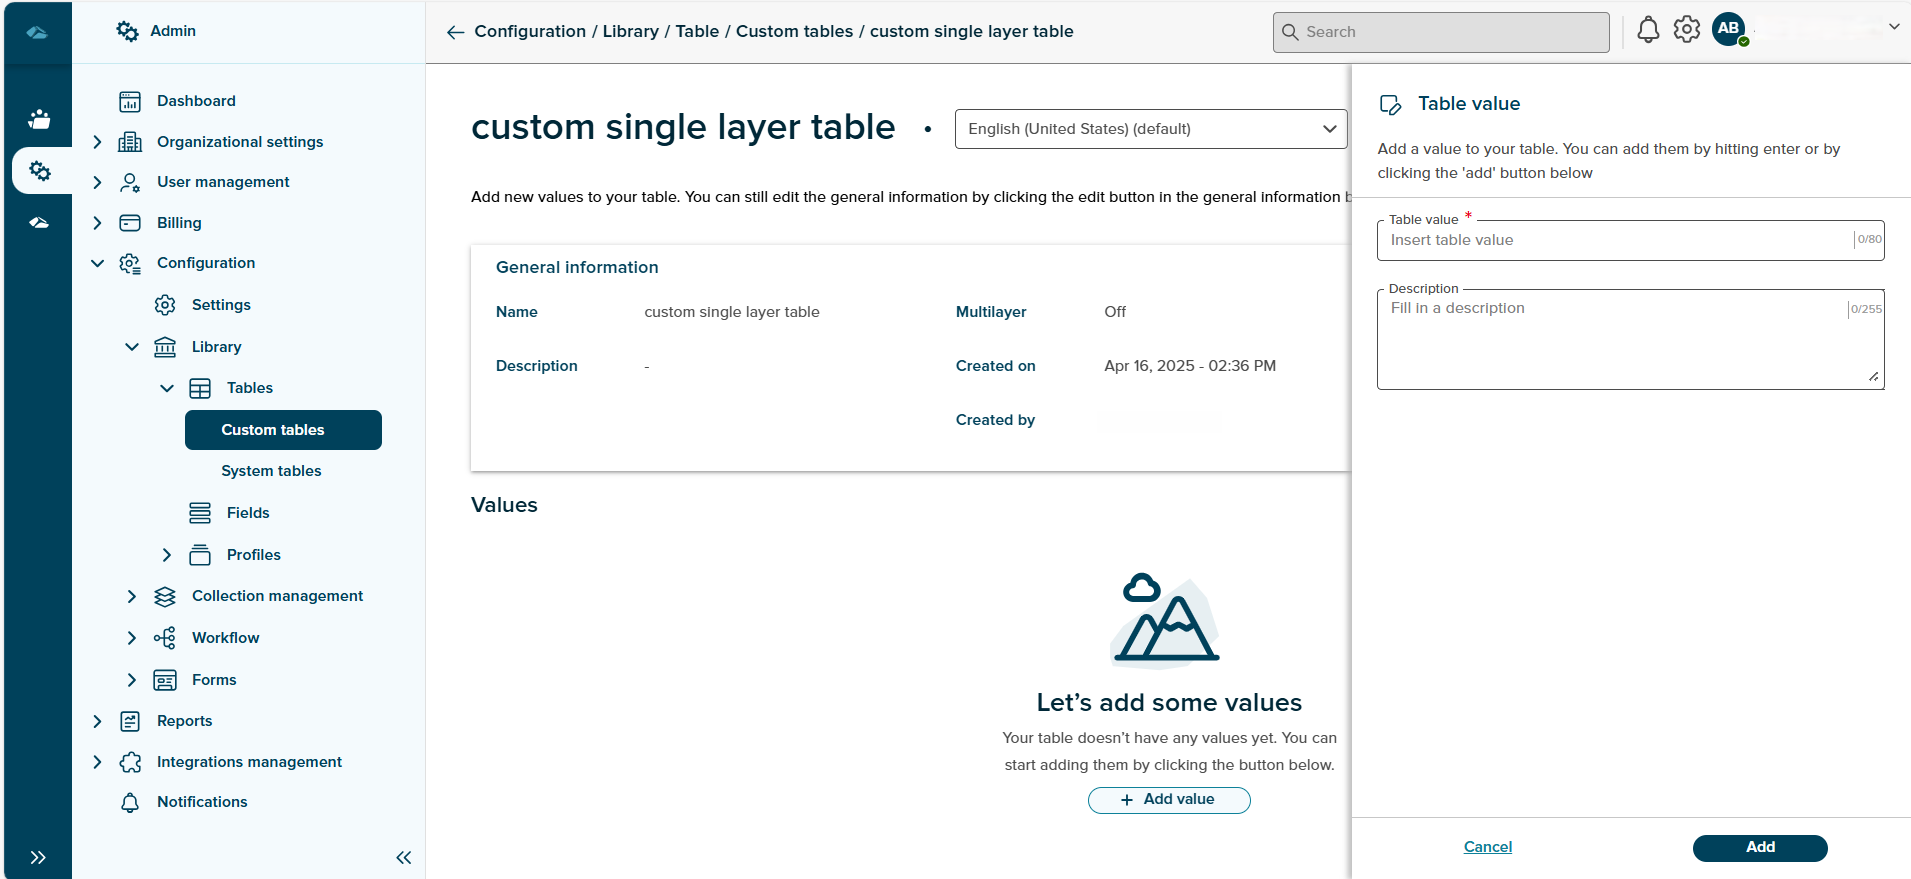
In this side panel, user has the option to fill Table value, which is an mandatory field and Description field, which is an optional field. There are two buttons in the side panel, Add
and Cancel buttons.
Add Button will adds the value to the table, Cancel will cancel the process of adding value to the table by closing the side panel.
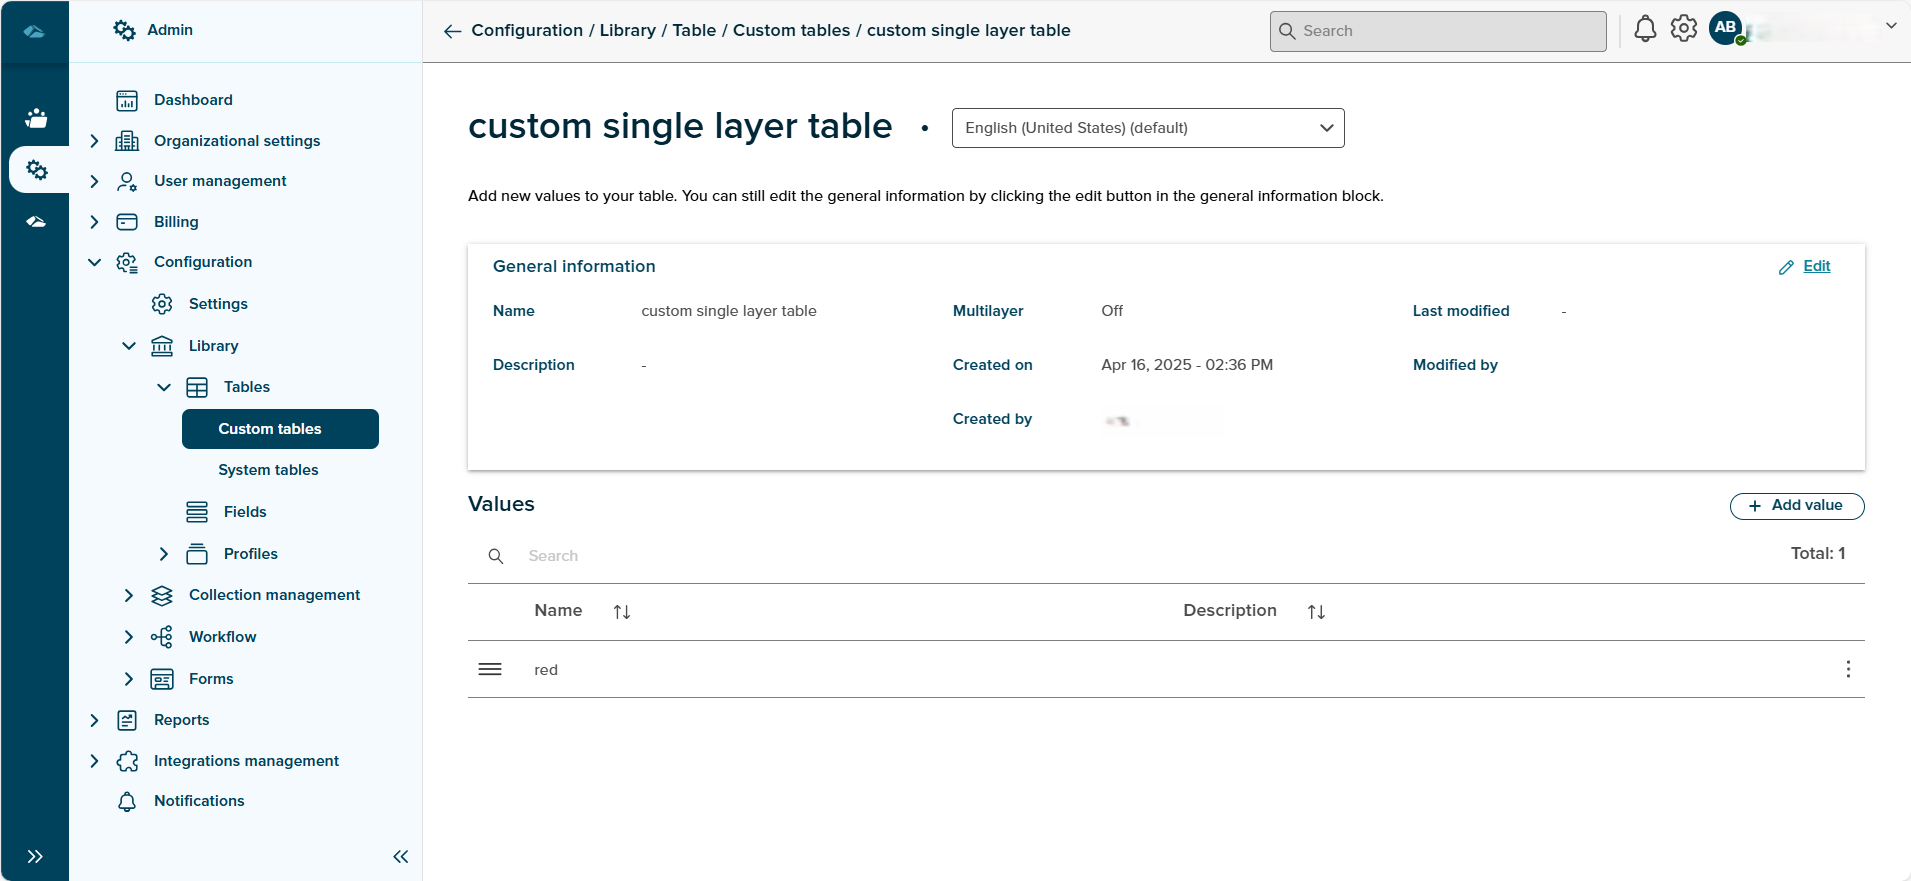
After Adding the value to the table, page will displayed as below image.
User will be able to see the table created in the overview page, as below image.
¶ Multi Layer Custom table Creation
User needs to enter value for Table Name and Description Field.The Table name field supports upto 80 characters, there are no restrictions of any of the special characters and it is a required field and needs to be filled in order to proceed to the next step. The Description field is optional. User can move the toggle to “Yes” to make the table multilayer.
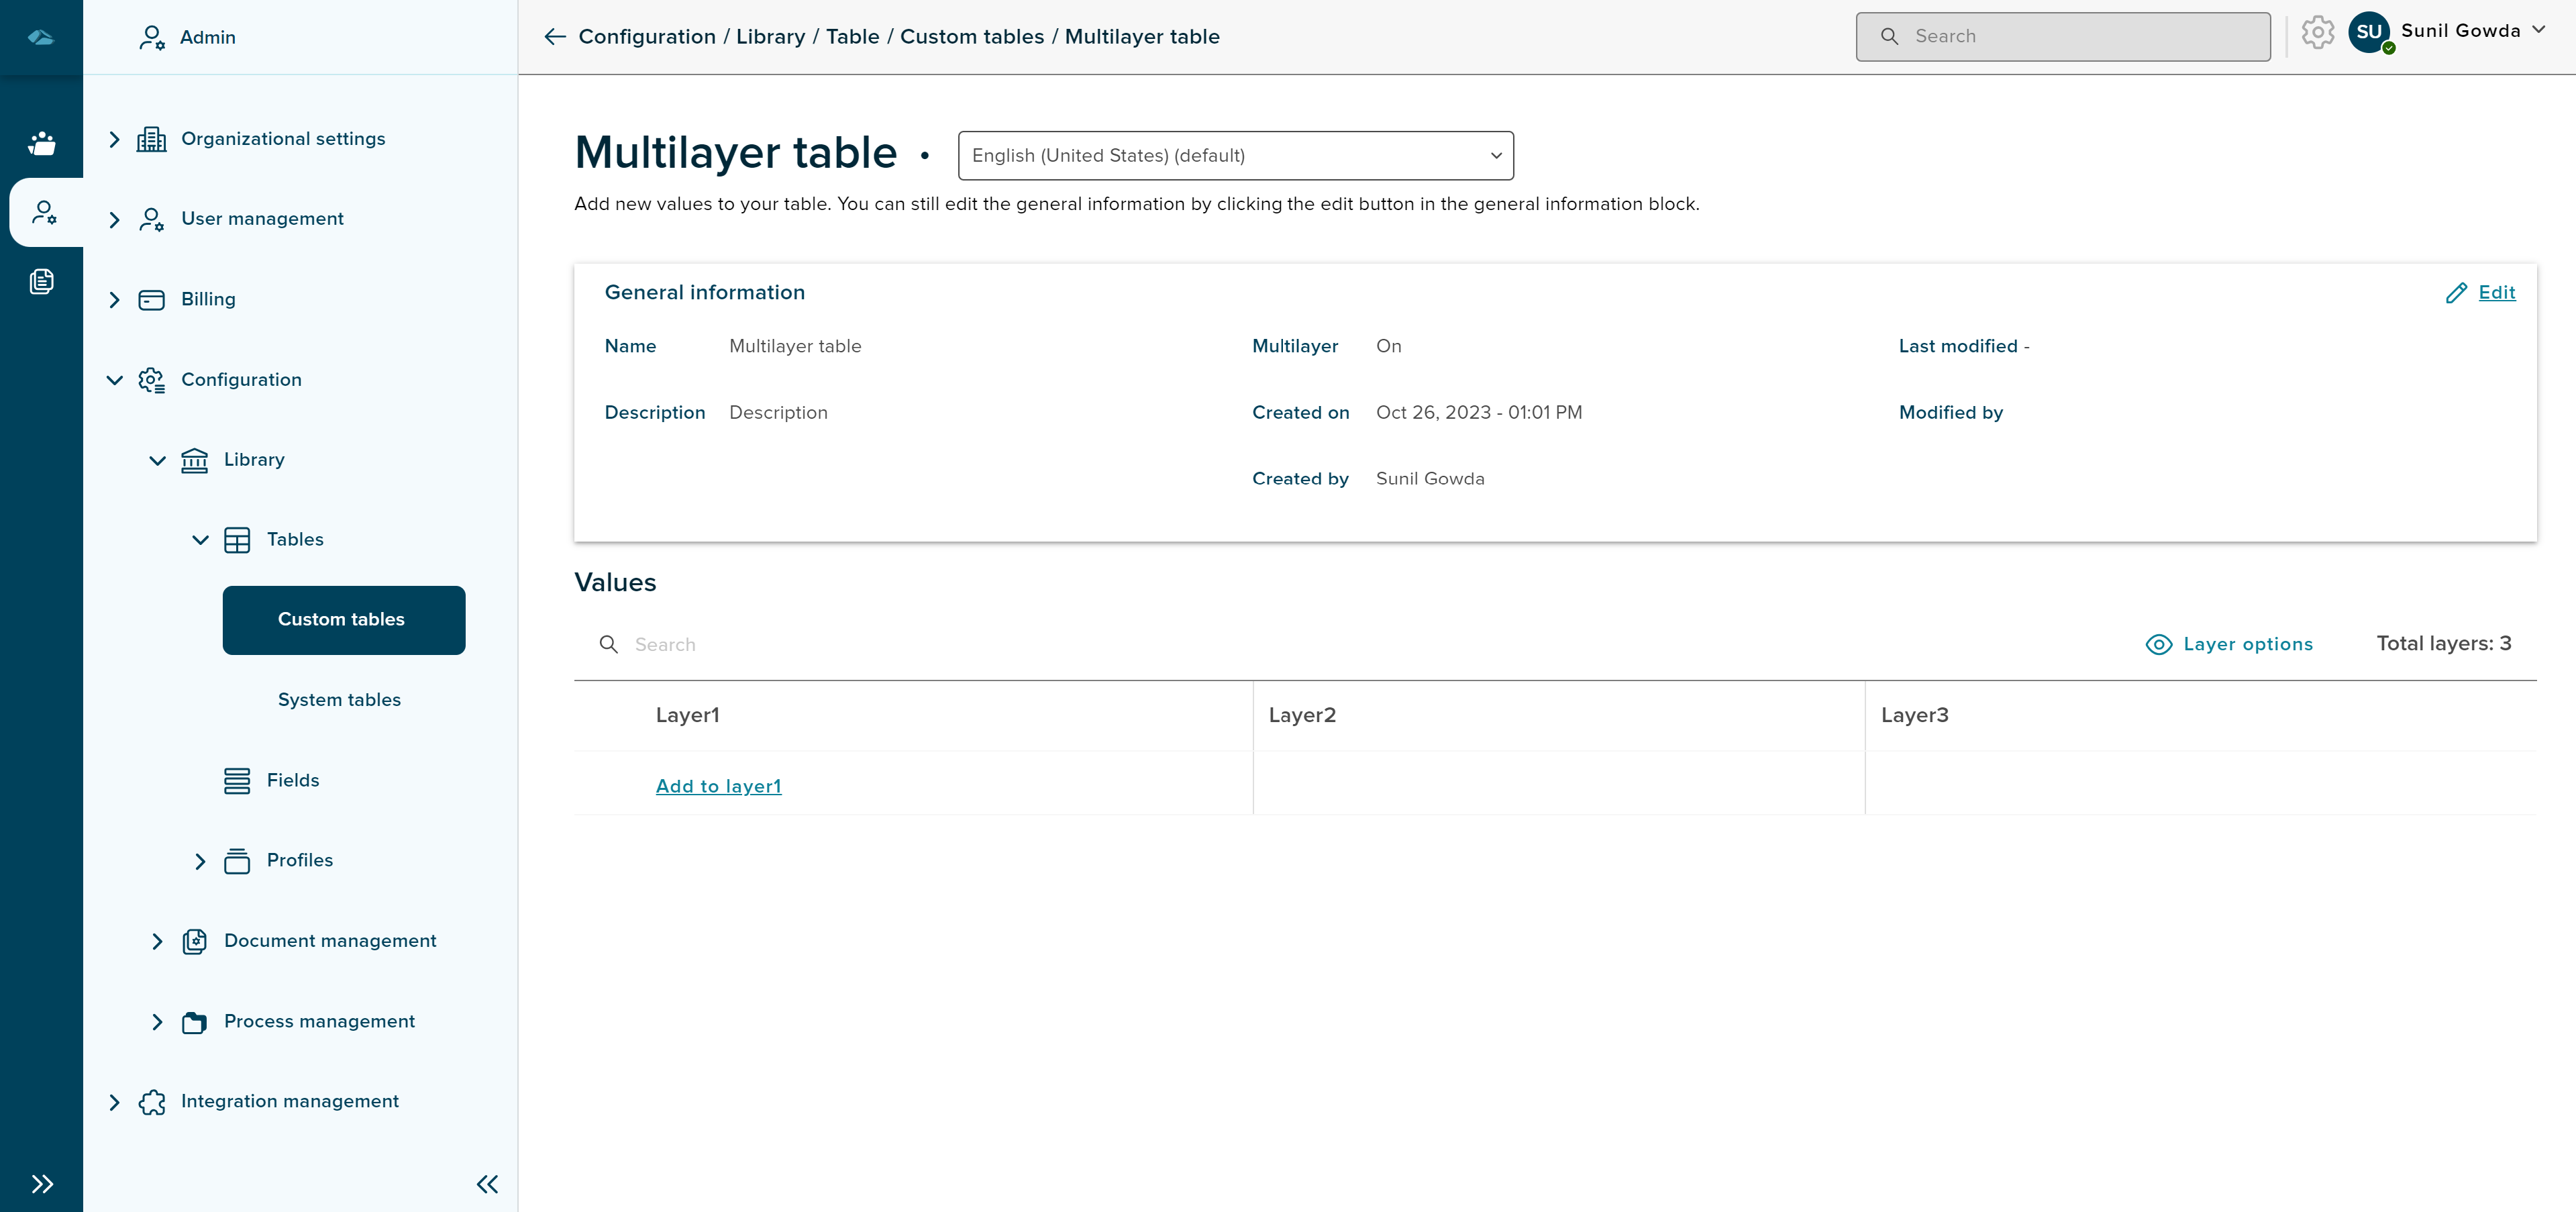
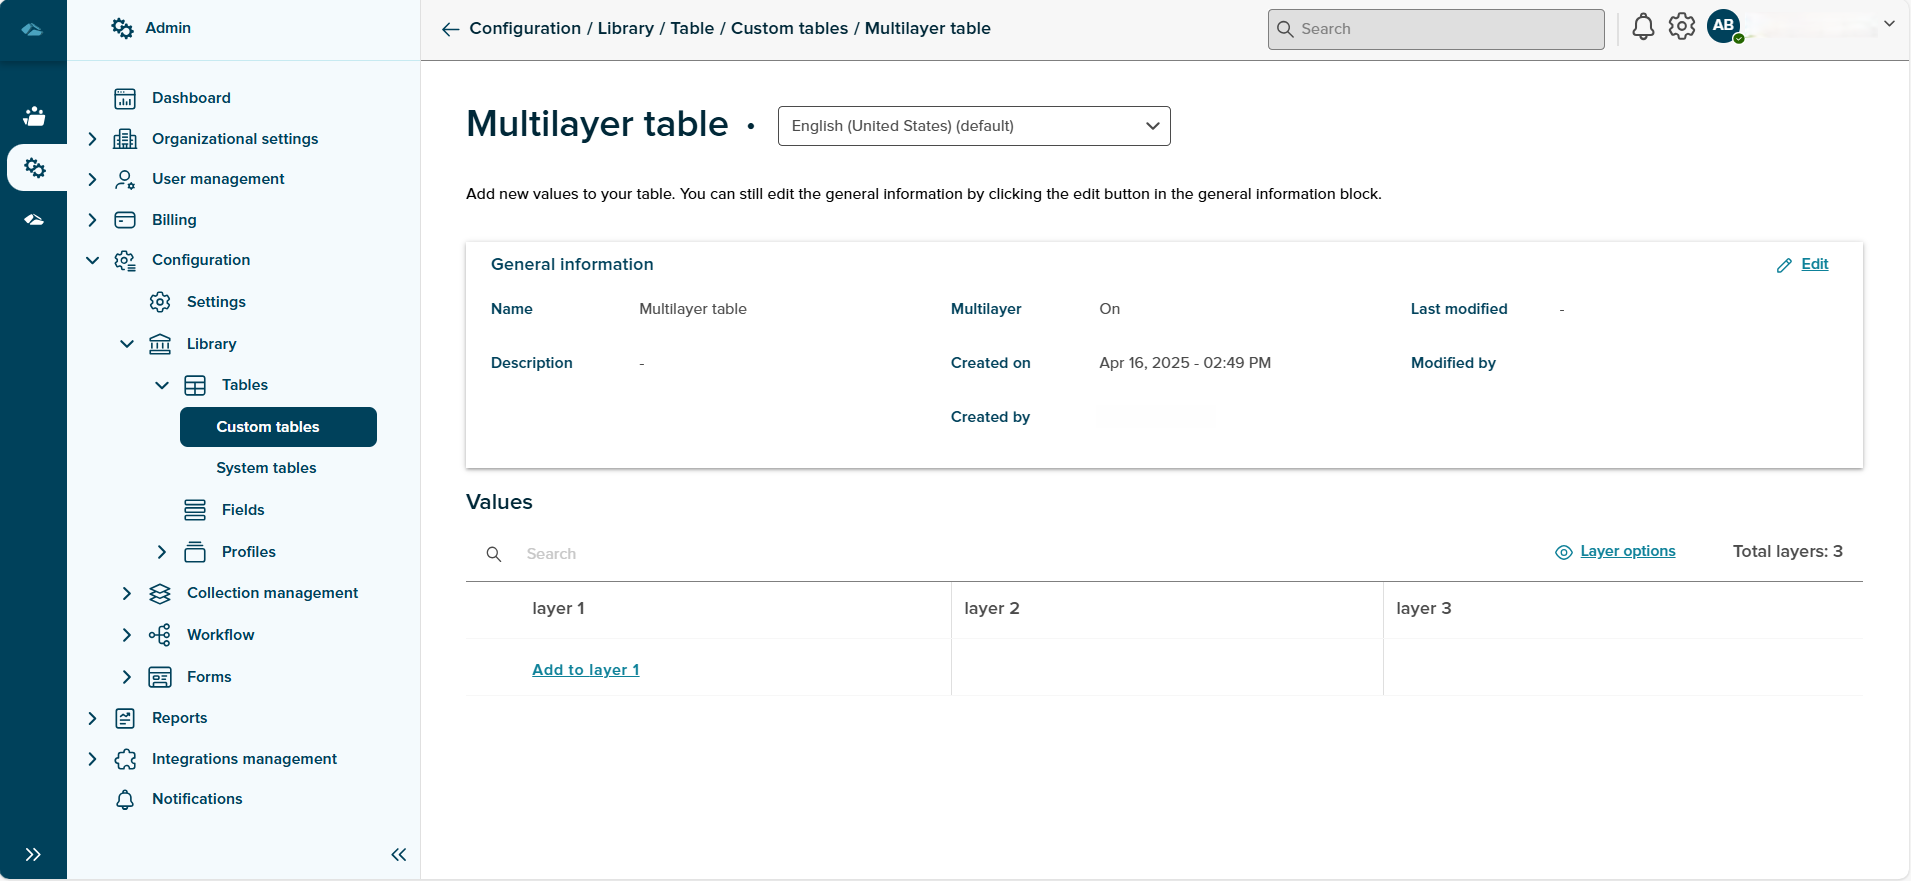
After clicking on Create button, user will be landed in detail page of custom table created, it will be displayed as below image.
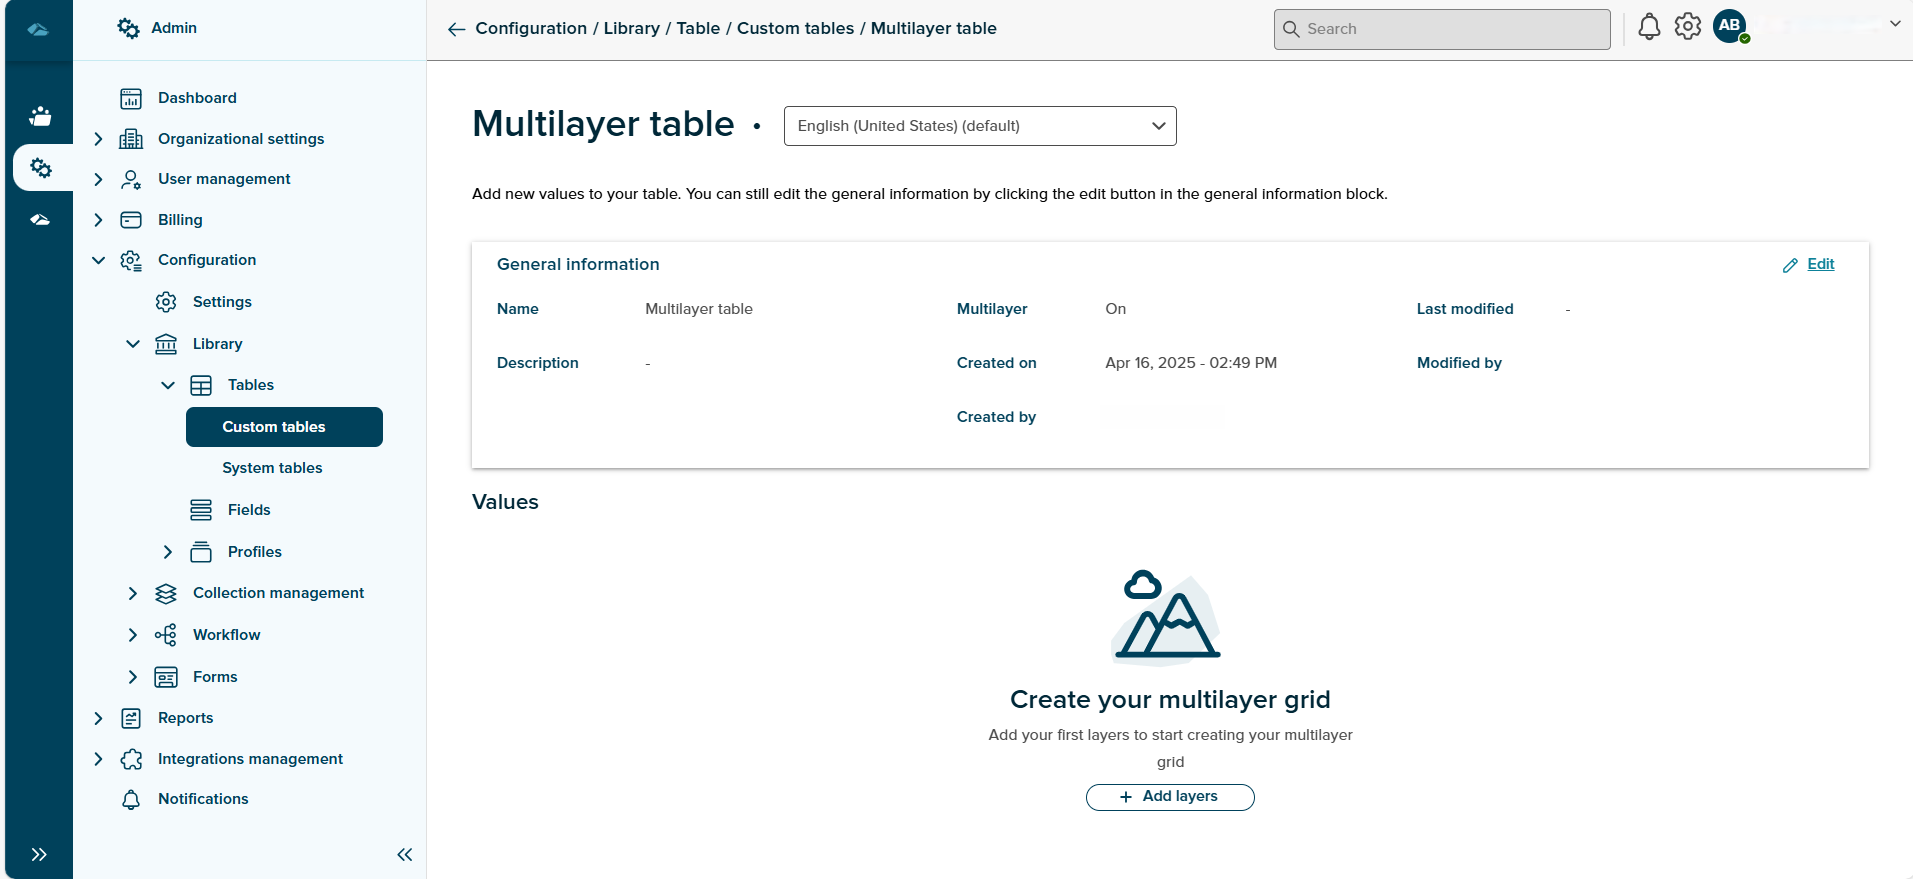
¶ Adding Layers to multilayer table
Users can click on the Add Layers in the details page of the table.
After clicking on the button, side panel will be displayed to add the layers as shown in the below image.
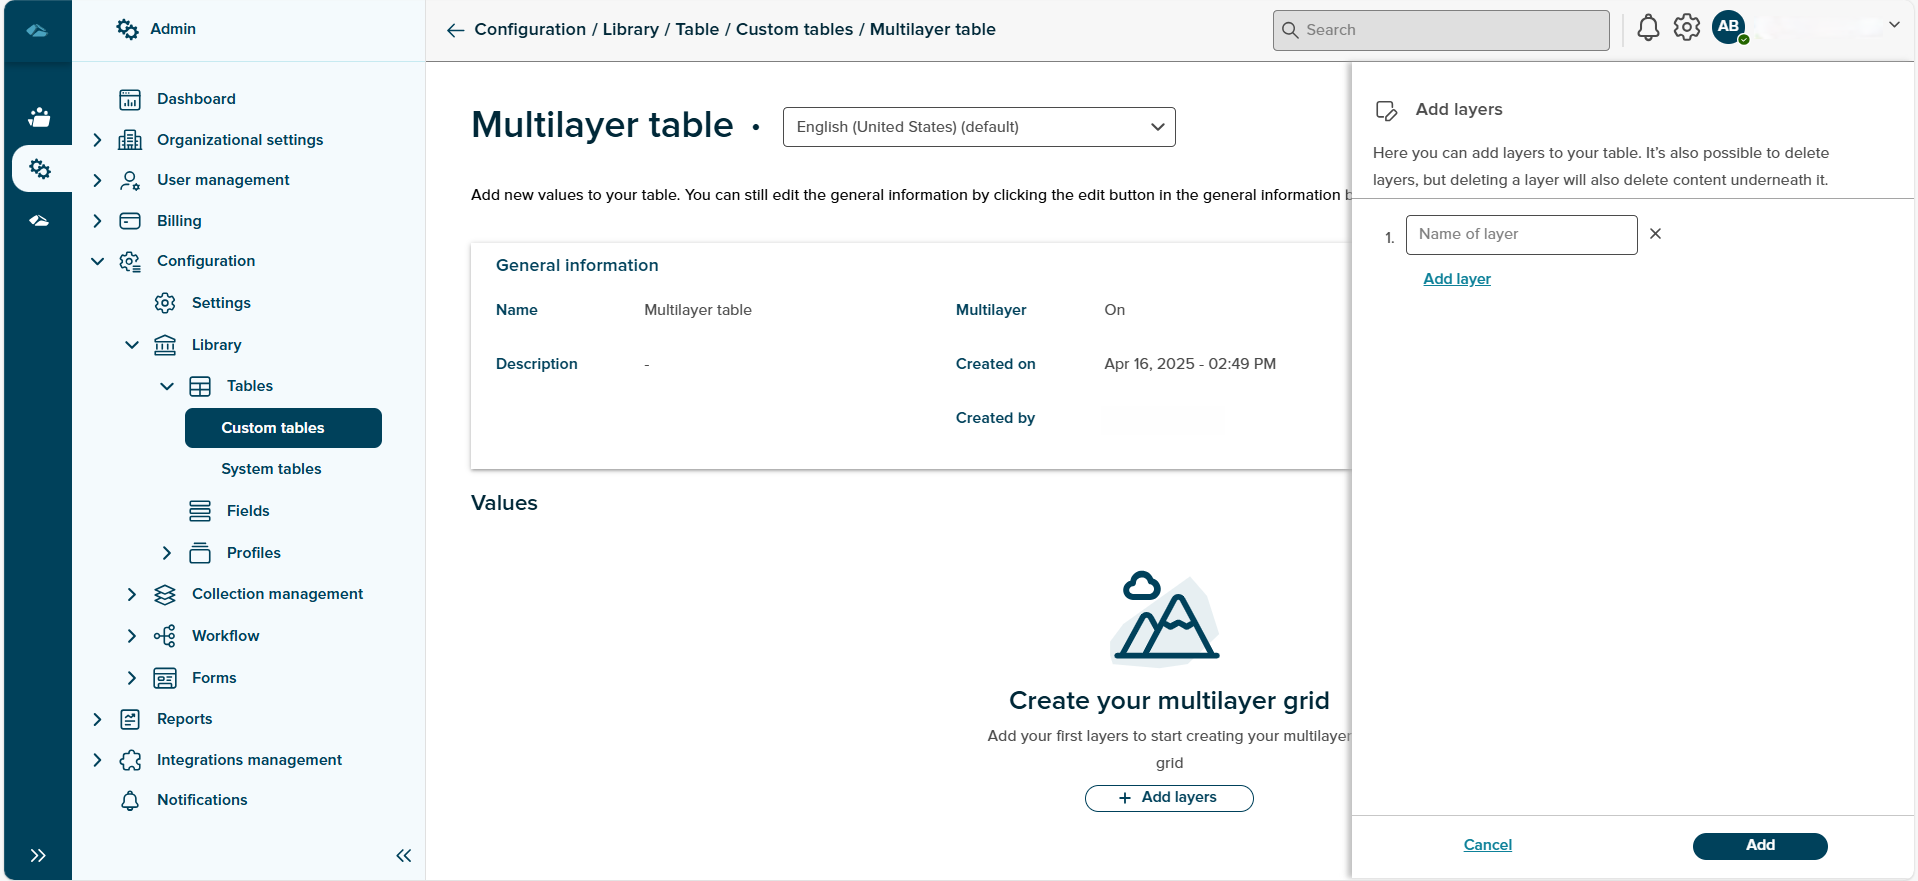
User can add the Layers name in the input field of the side panel, and also can add multiple layers by clicking on the Add layer link button in the sidepanel. After adding the layers, user can click on the Add button below in the side panel.
User has the option to edit the name of the layers by clicking on the layers options button in the details page, where the side panel will be opened and user can edit the name of the layers or can delete the layers and add the new layers to the table.
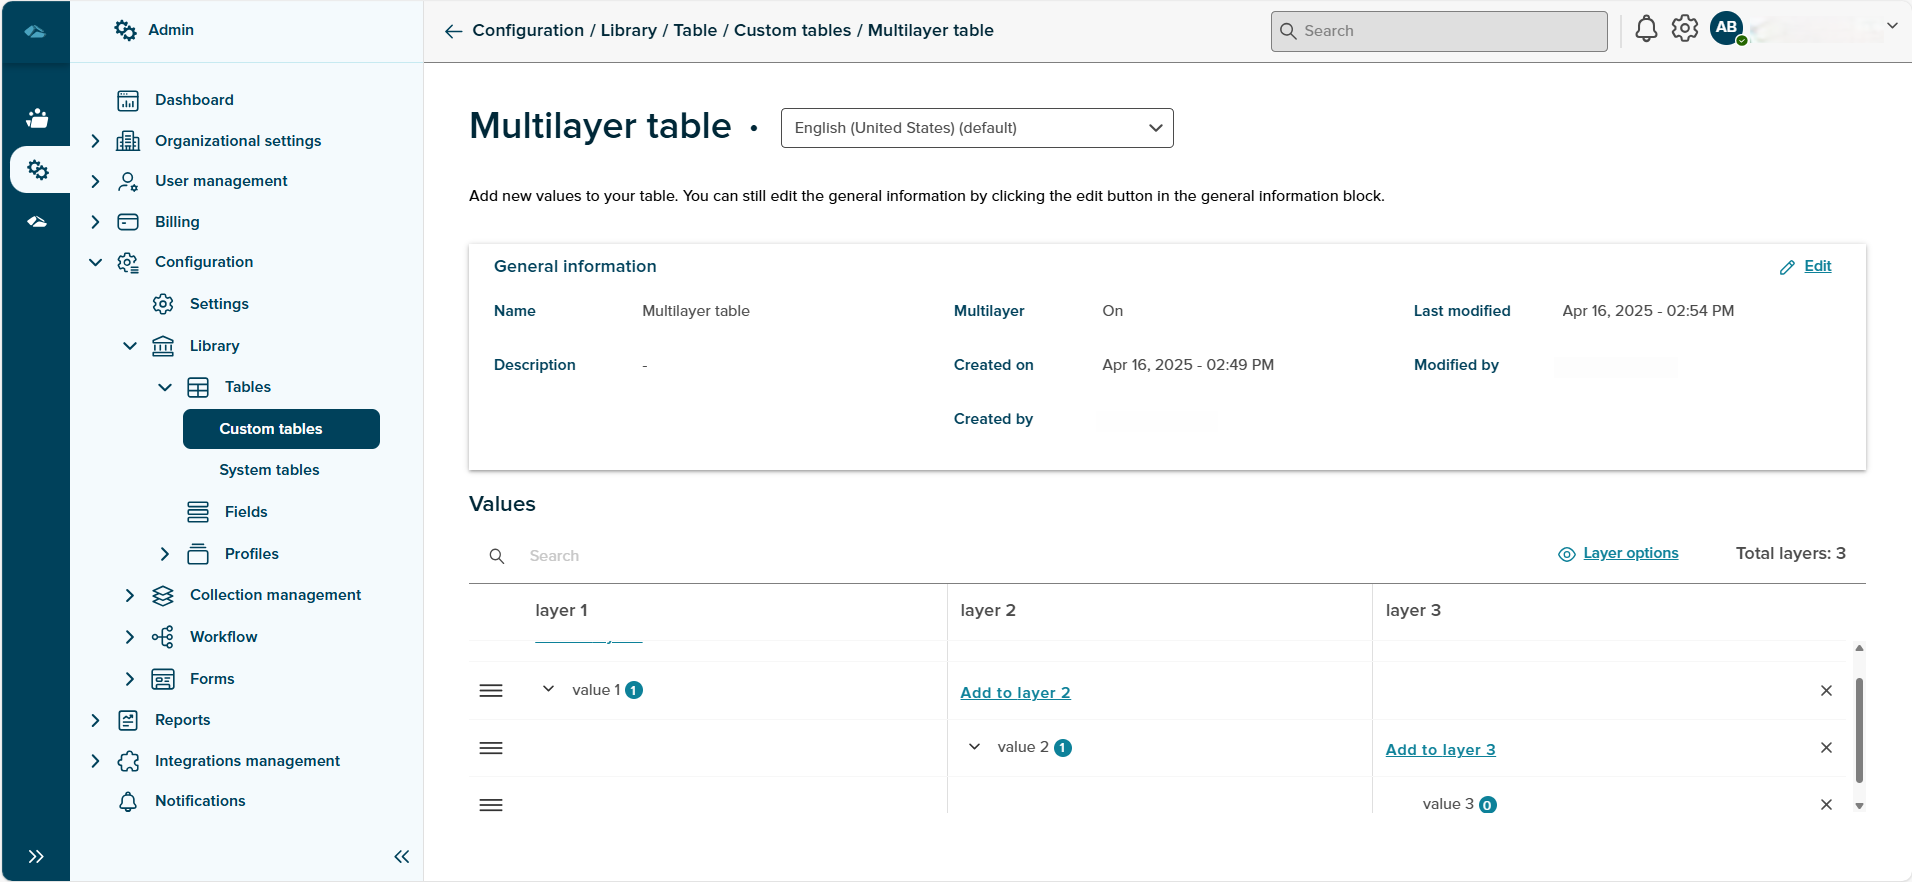
¶ Adding values to multilayer table layers
User can Add the values to the layers by clicking on the add to layer button under the layers name. after the click, a input field is displayed for the value entry.
user can save the values by clicking on the save button, or cancel the entry by clicking on the cross button.
After entrying the values in the tables, all the values will be shown as below image.
User will be able to see the table created in the overview page as highlighted row, as below image.